We have a new Prusa i3 Mk3 3D printer!

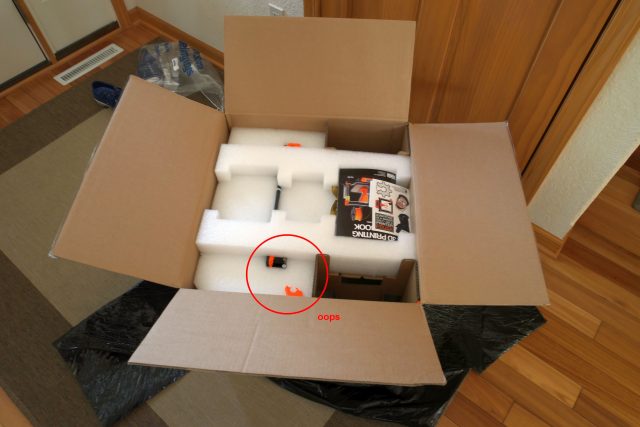
This is the printer that we won in the Hack-a-Day contest about 2 months ago.  It arrived at my house last night, so I decided to open it up and inspect the contents.  That’s when I saw it…

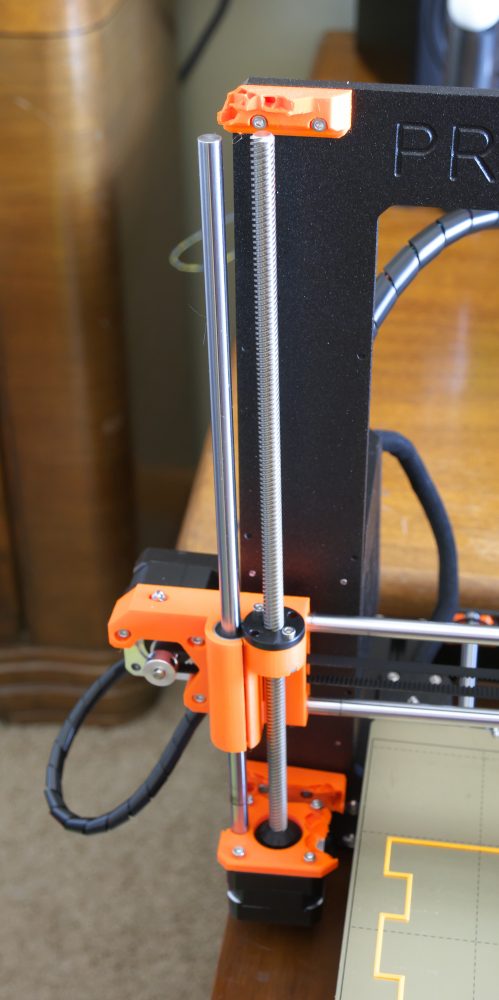
Broken upper left Z axis guide rail bracket.

Broken upper left Z axis guide rail bracket!

I lifted it out of the box and discovered that the left Z axis motor mount was also broken:

Broken upper left guide rail clamp and left Z motor mount.

Broken upper left guide rail bracket and left Z motor mount.


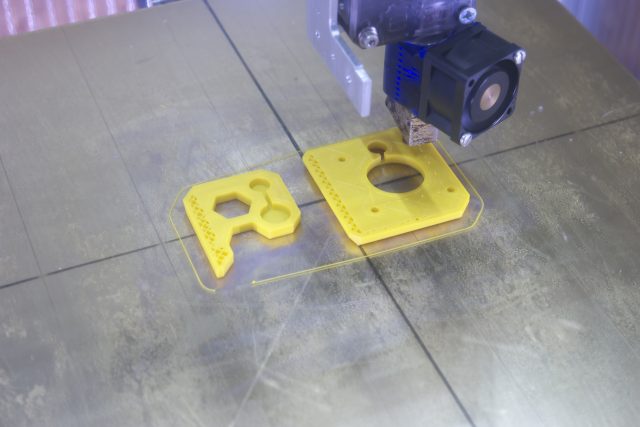
A quick trip to the Prusa web site found STL files ready for printing…


New motor mount and upper left guide rail clamp printing on UMMD.

New motor mount and upper left guide rail clamp printing on UMMD.

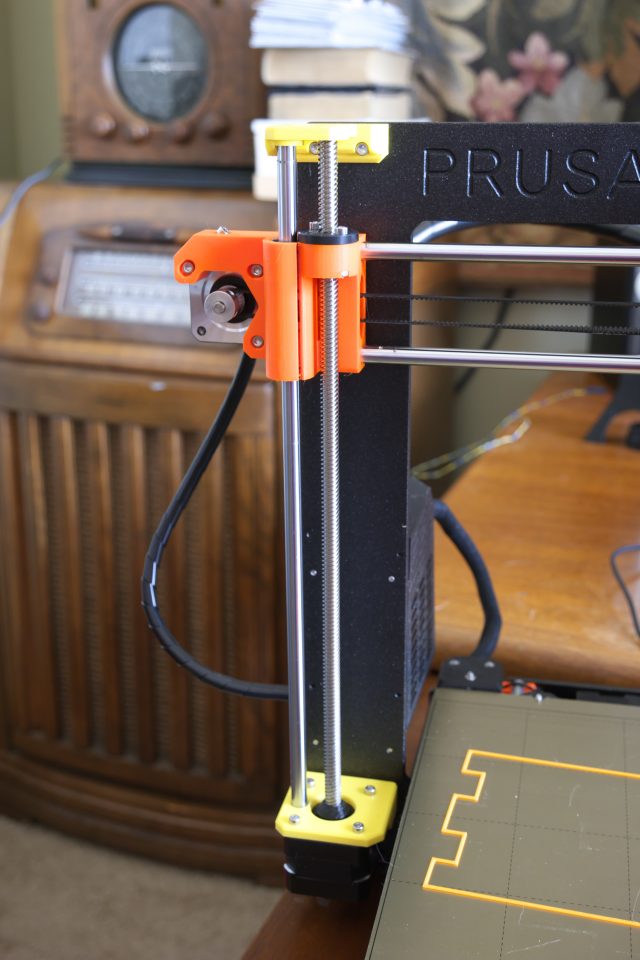
Finally, printed parts installed…

Broken parts replaced.

Broken parts replaced.


Alas, it appears that the lead screw is bent- you can see it wobbling when it rotates.  I’ll be contacting Mr. Prusa for a replacement…

Fun in the Booth at the Milwaukee Maker Faire

Last minute decisions work out once in a while.  For example, I was going to be at the Makerspace booth at the Milwaukee Maker Faire for the weekend and wanted some examples of the sorts of things you can use a 3D printer to make, so I grabbed the usual collection of sample prints, and then I thought, “sure, why not?”, and loaded the Van de Graaff generator into the car.  It sat on the floor in the booth for about 1/2 of Saturday and I was getting a little bored, so I moved it closer to the foot traffic and plugged it in.  Wow!  Kids and adults with stunted emotional development went nutz!  They were zapping themselves and each other as if it were more fun than painful.
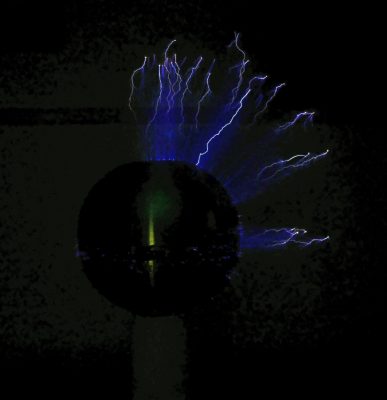
Sparks!

Sparks!  The VDG produces about 400 kV.

Then I found a plastic bucket and the fun really started.  We had kids and many adults who were definitely much too heavy, standing on the bucket and making their hair stand up with moms, dads, boyfriends, girlfriends, husbands, wives, partners all taking pictures.   I had to move one gentleman who was breathing oxygen from a tank away from the machine.  Fortunately, no one fell off the bucket or caught on fire, and next year we’ll do it right and take a block of styrofoam for people to fall off of  to stand on.
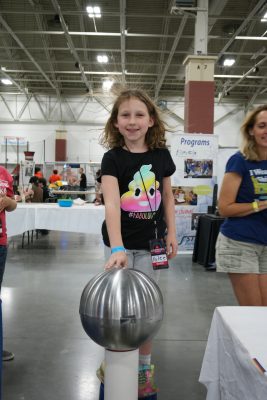
Kylee was ready to join the Makerspace just for this… and with that shirt, she’d fit right in!
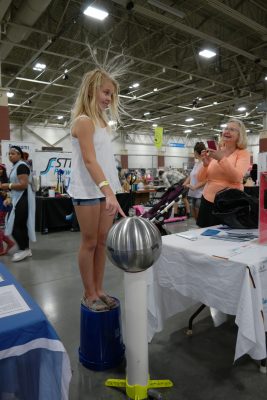
 

Blondes really do have more fun!

Blondes really do have more fun!

Even Gordon couldn't resist!

Even Gordon couldn’t resist!


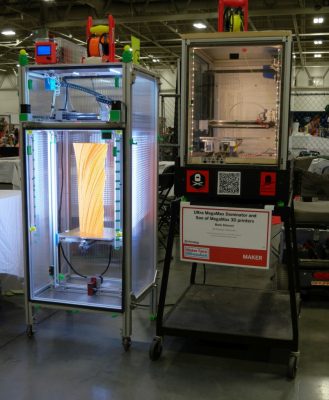
Last year Son of MegaMax (a 3D printer built at the Milwaukee Makerspace) went to the Faire.  This year he had two companions to keep him company- an extra-beefy printer being built by Erich Zeimantz: MiniMax XY.  MMXY isn’t complete yet, but promises to be a super high quality, high speed printer.  He’ll be operational at next year’s Maker Faire.  SoM also brought his big brother, Ultra MegaMax Dominator, named that because he is ultra, mega, maximum, and he dominates.
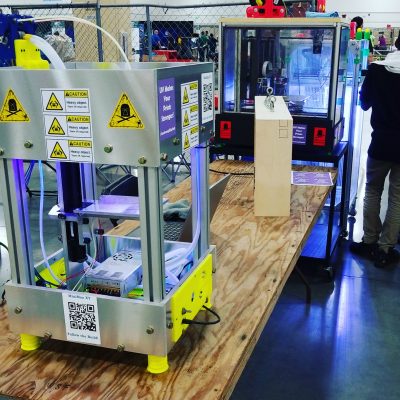
MiniMax XY at Milwaukee Maker Faire
MiniMax XY at Milwaukee Maker Faire


Ultra MegaMax Dominator and Son of MegaMax at the Milwaukee Maker Faire

Ultra MegaMax Dominator and Son of MegaMax at the Milwaukee Maker Faire

UMMD and SoM rotated between the booth and the dark room where the both printers’ UV lighting and fluorescent filament was a big hit.
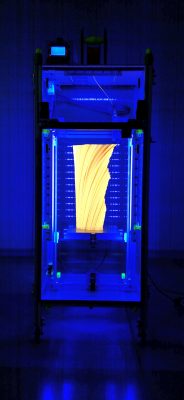
UMMD in the Dark Room at Milwaukee Maker Faire 2017

UMMD in the Dark Room at Milwaukee Maker Faire 2017

We had a few things besides 3D printers at the booth.  Tony brought in some Bismuth crystals to give away, and surprisingly, they didn’t all disappear in the first hour.  Tony thinks people left them because the Makerspace logo on the info board on which the crystals were sitting looked a lot like the skull and crossbones that usually indicates poison.  The crystals do have an other-worldly toxic look about them.  Oh well…
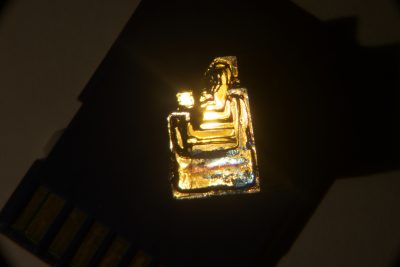
Bismuth Crystal

Bismuth Crystal

Marcin’s LED signs on the table at the booth and hanging above the entrance to the Dark Room were also very popular and hard to miss, though I managed not to take any pictures of either.  The one above the Dark Room was so bright that if you saw it, you’ve probably still got its image burned into your retinas.

Everyone involved had a great time and we’ll be there again next year with even more cool stuff!


Chocolate Printer Cooling System Test

This week I attempted the first test of the chocolate printer cooling system.  The cooling system is intended to solidify the chocolate just after it leaves the extruder nozzle so that by the time the next layer is started it will have a solid layer to sit on.  The cooling system consists of a centrifugal blower with a brushless DC motor blowing room air into a styrofoam cooler containing a block of dry ice.  The air passes over the dry ice and gets chilled as the dry ice sublimates directly into very cold CO2 gas.  The chilled air and CO2 mixture exit the box through a port with a hose that will ultimately blow the cold air on the chocolate.  At least, that’s how it is supposed to work.  It blows air at -12C as measured via a thermocouple, but unfortunately, the air exit port ices up in about 2 minutes and blocks the air flow.

There are many possible solutions.  I can add a heater to the exit port to prevent formation of ice, or dry the air going into the box using a dessicant cannister or maybe just use water ice instead of dry ice if the higher temperature will still cool the chocolate adequately.   Maybe using an old miniature freezer with an air hose coiled inside would do the job.  It would be really interesting if I could use the waste heat from a freezer to keep the chocolate liquified and flowing.  Back to the drawing board!

Son of MegaMax Lives!

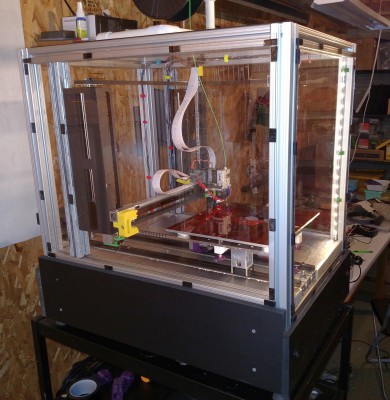
MegaMax was a great 3D printer, but it was time for some changes.  He was difficult to transport because the electronics were in a separate housing with many cables to disconnect and reconnect, barely fit through doorways, and required a positively gargantuan enclosure to keep the temperature up to control ABS delamination.  Though it hurt to do it, I tore him apart and did a complete redesign/build into a form that is more like what I would have done had I known anything at all about 3D printing when I started building MegaMax.

I reused what I could including a lot of the 8020 extrusions in the frame, the Z axis screw assemblies and drive belt, and the X and Z axis motors.

Changes include:

  • ball screw drive Y axis with high torque motor- precise but noisy
  • linear guides in X and Y axes instead of 1/2″ round guide rails and linear bearings
  • SmoothieBoard controller instead of Arduino/RAMPS
  • BullDog XL extruder and E3D v6 hot end
  • RepRapDiscount graphic LCD control panel
  • narrower frame design without giving up print volume- easier fit through doorways!
  • polycarbonate panels to enclose the print area yet provide a clear view of the print
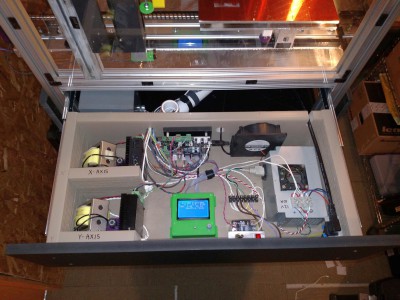
  • electronics in a drawer for easy service and transport and neater appearance
  • DSP motor drivers and 32V power supplies for X and Y axes
  • Liberal use of screw terminals to make servicing easier
  • Modular X and Y axes that can be removed for service and replaced in minutes.

SoM will be making his public debut at the Milwaukee Makerspace very soon…

Son of MegaMax electronics drawer

Son of MegaMax electronics drawer

Side view of Son of MegaMax

Side view of Son of MegaMax