Grow Beyond Earth Contest

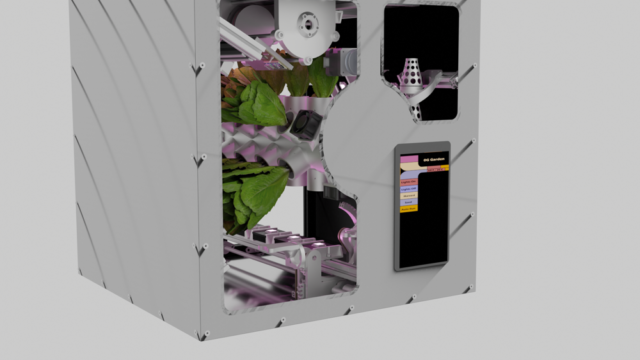
3 years ago I started participating in the Grow Beyond Earth contest.  It’s a collaboration between NASA and the Fairchild Botanical Gardens in Florida.  The goal is to create a device that will grow food on the International Space Station.  That sounded like fun to me!  Year one focused on designing the growing area to take advantage of the 0G environment and fit in a 50cm cube.   I was fortunate enough to be a finalist and walked away with some prize money.  I was not able to participate in the 2nd year but I am back in for year 3. 

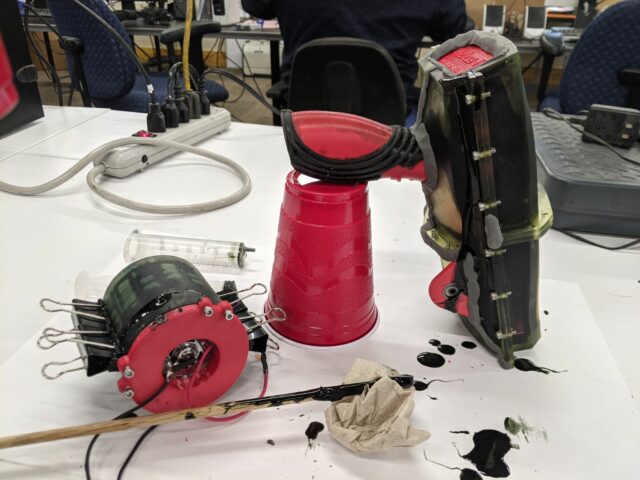
This year the focus is on creating a robotic harvesting and planting.  If you want to read all about it you can do so at the Make:Projects link below.  This has been a fun project and I learned so much.

https://makeprojects.com/project/0g-garden—year-3-professional-entry

Electronics Experiments

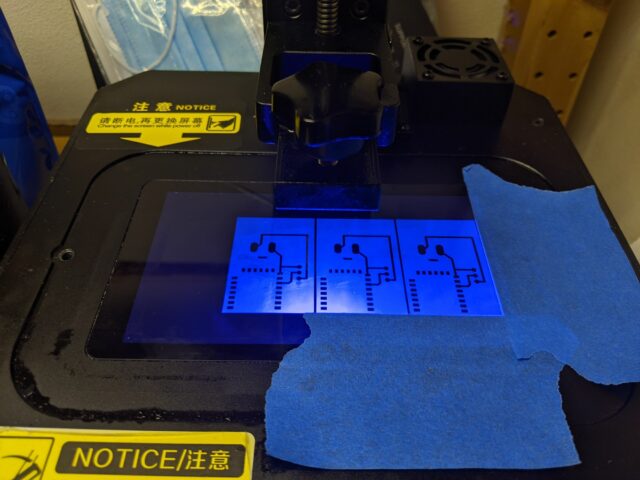
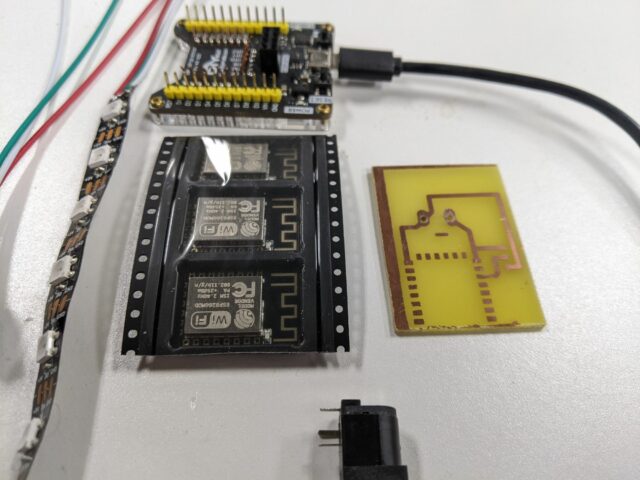
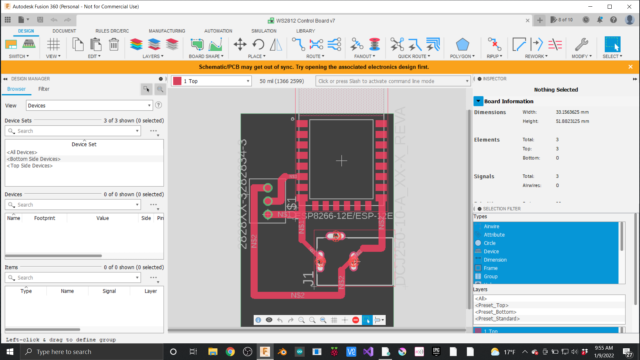
Ever get excited after seeing an YouTube video?  It happens to me all the time.  When I was Thomas Sanladerer‘s video on using an MSLA printer to make PCB’s I knew I had to try it.  In fact I have worked it into February’s Model Monday project.  This month we will be designing an Addressable LED strip control box electronics and all.  You might not know that Fusion 360 can do electronics design but after a few classes you’ll be up to speed and ready to design.

I have been looking for an excuse to learn more about the electronics design work space in Fusion 360 and I had a member request it as a project.  It’s great to be able to have electronics parts and cad design all in the same software.  This is going to be a fun one with lots of new things to learn for all of us.  Join us Mondays @7pm live or watch the recordings on YouTube at your convenience.

Money Shooting Tool.

Are you a boat or home owner?  Do you wish paying your bills was more fun?  Do you have stacks of cash sitting around just taking up space?  Well this is the project for you!  Over the next month we will be designing version 2 of the Rain Maker.  It’s a tool that you load with cash and then launch at about the speed most of my project eat cash lately.  Version 2 you ask?  That’s right most of the longer projects we model in class take me several attempts to get right.  Here is a link so you can see it in action. 

https://www.instagram.com/p/CYP6pMlIizE/

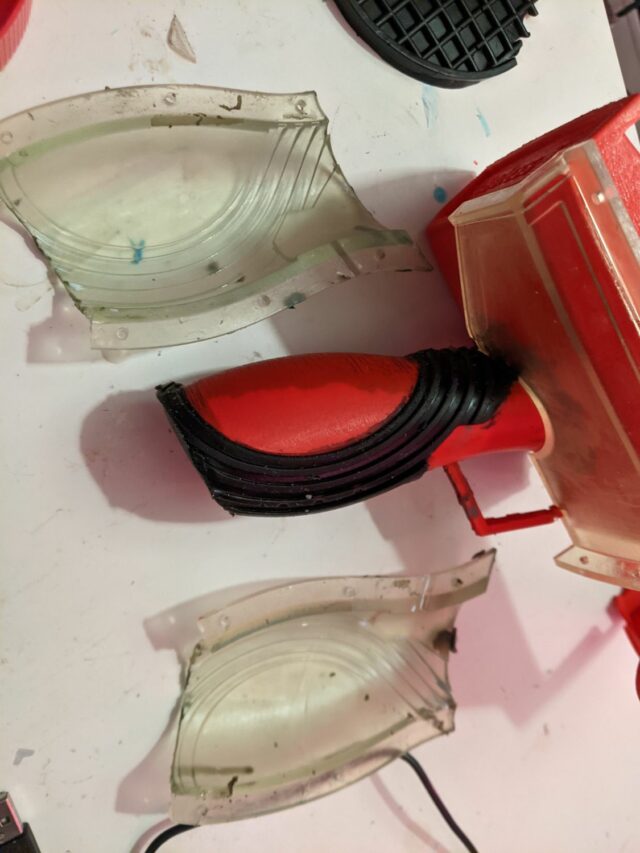
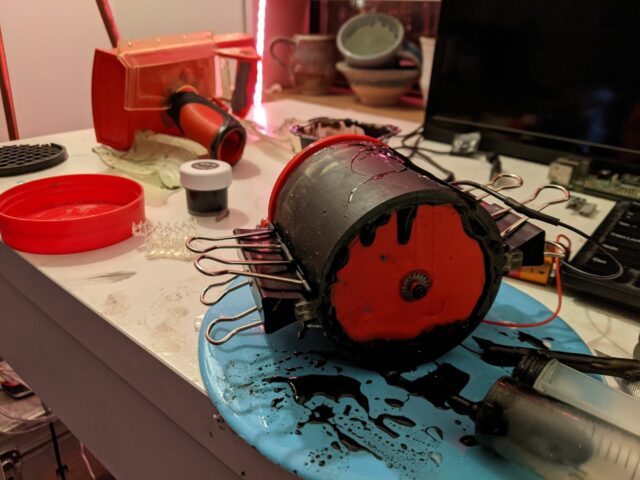
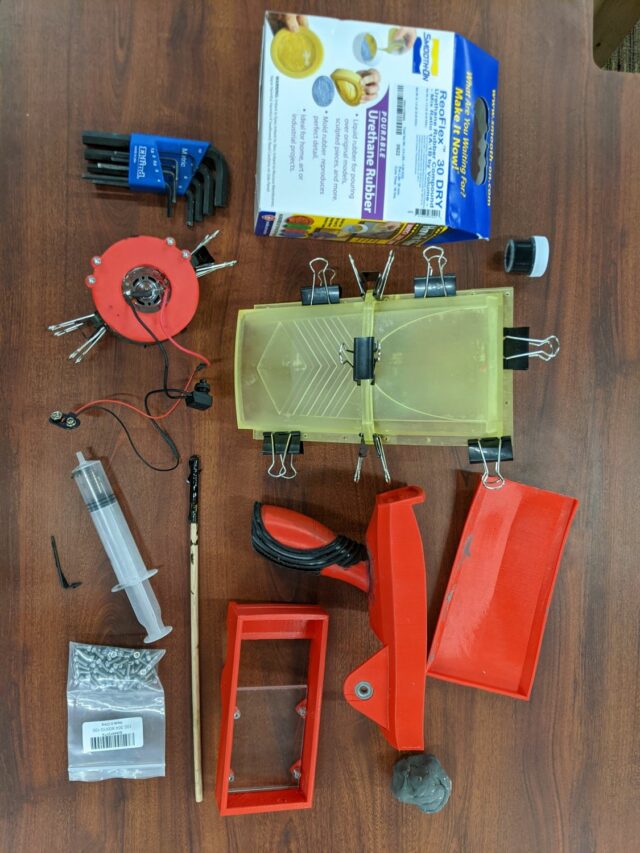
The first draft lets me work out the ideas and see if I can get a working prototype.   In this case I knew I wanted to try over molding like our favorite tool company here in Milwaukee and I was not sure if my cash accelerator device would work.  About a hundred hours of printing later I can tell you it does and I learned a lot of do’s and don’t when over molding on 3d printed parts.  I do really like the feel of the urathane rubber in my hand and it is so much fun to see money shooting our the front of the tool.  This is going to be a fun one so join us Mondays @ 7pm or watch the series on YouTube.


Fun With Fractals

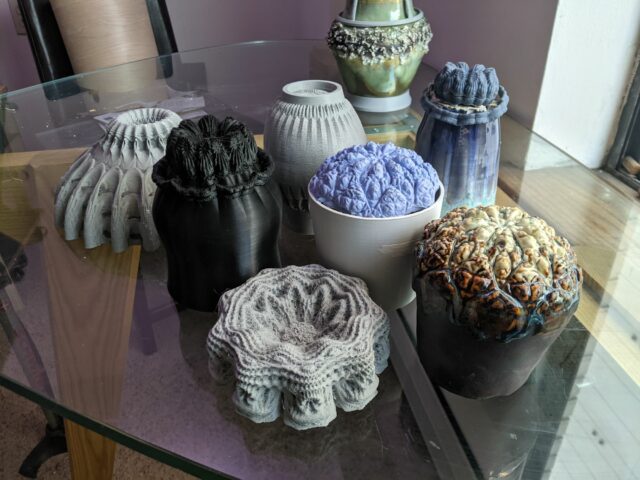
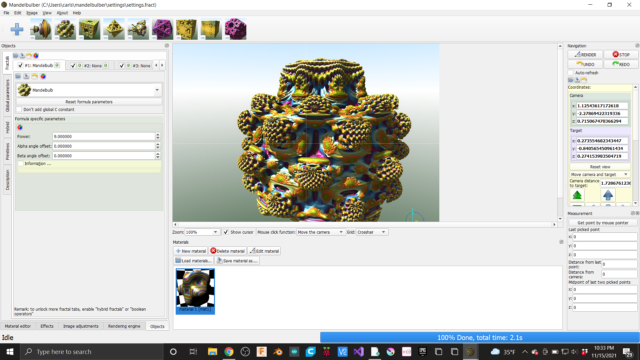
Over the past few months I have been playing with 3D fractals to create slip cast pottery.  I found a free program called Mandelbulber 3D and you know me, If it’s free I’ll take 3.  It’s shocking to me the availability of free software like this.  Right now I am just scraping the surface on what the software can do but I have a few examples of shapes made in the software posted on Thingiverse.

https://www.thingiverse.com/thing:5138435

Creating the fractals with the Mandelbulber is fairly straight forward.  Just experiment with varying a few values and click render.  The hard part is getting the shape to be cast-able with out having to make a 27 part mold.  A few weeks ago I pulled the first cast from my first successful mold.  This is part fractal and part Fusion.  The foot of the cup is part of the fractal pattern and the body of the cup is a shape designed in Fusion 360.  Although the final product warped in the kiln I think it was a good proof of concept.

After the shape is created digitally you have to make it physical.  My go to method is usually my 3D printer.  The constraints that make a part easy to 3d print without supports are similar to the  constraints that make a part easy to remove from a mold.  To make the slip cast mold I don’t print the cup but a plastic mold of the cup, there are two reasons for this.  First if you are going to make lots of slip casts you are going to need more than one mold.  Because of the time it takes to cast each cup you will need to pour several mold each day.  Second with a hard plastic mold you can make a soft silicone part.  This saves me from making a large silicone Mother Mold of my 3D printed mold.  My Mother Mold is half of the 3D printed mold with the full silicone cast part inside.  It’s worth noting that there is 15-18 percent of shrinkage from pour to final firing so you will need to scale up your prints to an almost comical size. 

(photo coming soon)…

On a side note I did some experimenting is soaking silicone parts in IPA to expand them.  This is a fun exercise if you have never done it.  To expand a part just place it in a container of IPA for several hours.  I let one part sit over night and go about the amount of growth I was looking for to but the part shrinks down slowly when removed from the IPA and the growth amount is not very predictable.  Below you can see an example of how much larger the part grew and the final fired piece from this process.
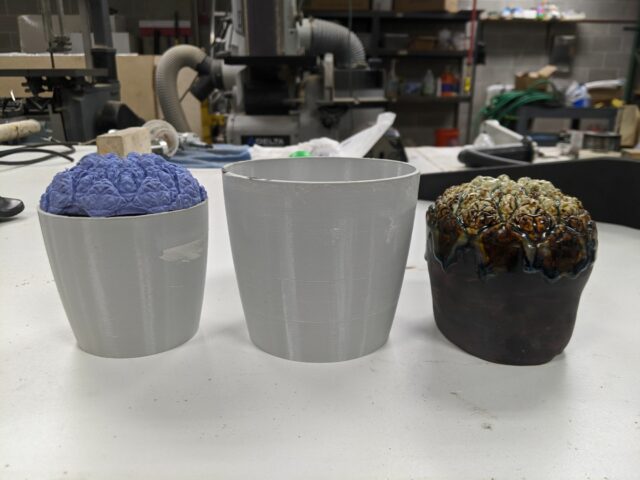
I am in the process of printing my molds right now so tonight at the open meeting I might have printed molds to show.  I also have other shapes to pass around.