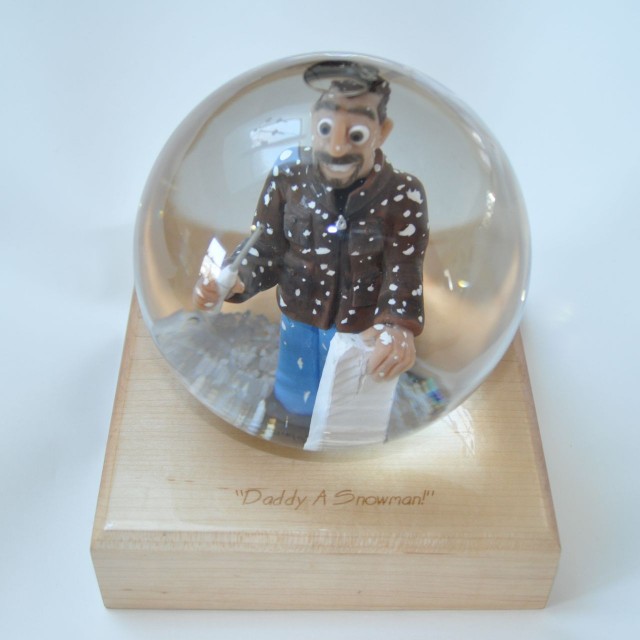
Well, I’ve been slaving away on creating a unique X-mas gift for my wife and two-year old daughter, and I think I got it right. They loved it!
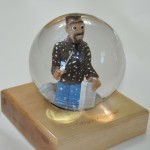
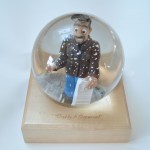
I’m talking about a Custom Snow Globe!
A while back, I was working in the driveway on a styrofoam project. Of course, that white stryrofoam dust gets static-charged and STICKS TO EVERYTHING. I also found that the best tool for cutting it was my wife’s kitchen electric carving knife. When I headed inside to take a break and warm up, I was COVERED with styrofoam. My two-year-old girl looked up at me and squeeled “Daddy a Snowman!”.
Indeed I was. I imagined myself inside a snow-globe with styrofoam swirling around me like a snowstorm. But could I actually BUILD a snowglobe that would match my imagination?
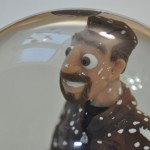
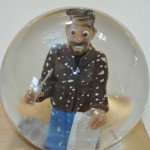
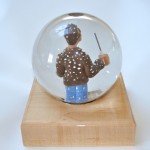
I started looking at every snow globe I could find and set to work building one. I looked around and found a glass dome, used for light fixtures. I got two of them, and gave one to my brother-in-law, who is a clay artist, among other things, and commissioned him to make a caricature of me. Since he had one globe, and I had the other, he could make a figure that would fit inside the globe, and I could do the woodworking on the base, and insure that the globe fit that.
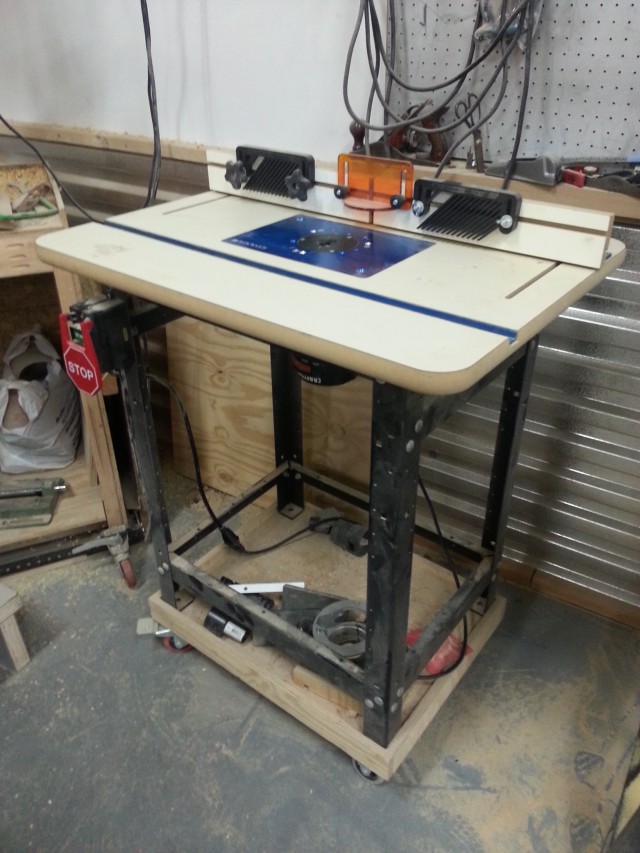
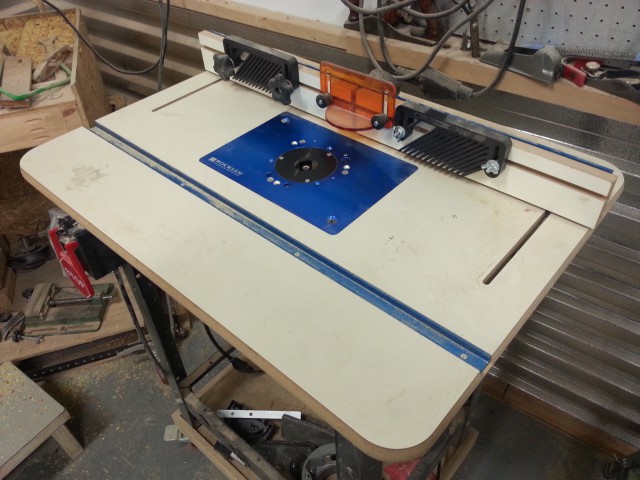
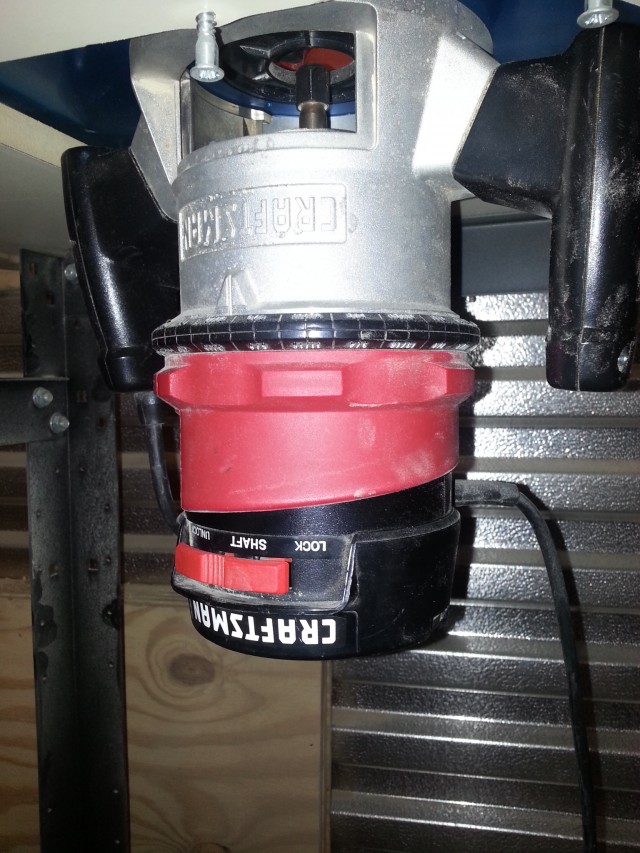
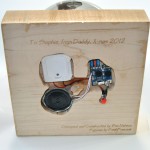
I headed to the local cabinet shop and talked to old high-school class-mate Steve about what wood to use for a base. He gave me a maple block, and I grabbed some scrap maple from the bin to practice cuts and routering on. At my Dad’s back-of-the-garage shop, I experimented with routing, until I could get it right, and routed a circle for the base of the glass globe, cut the wood base to length and cut a 45-degree bevel on the top edge, and routed a pocket in the bottom for the electronics.
I wanted to make a “singing” snow-globe, so I bought a singing greeting card at the Hallmark store, and then dissected it for parts. The electronics were then mounted on the bottom of the wood base, along with a custom switch.
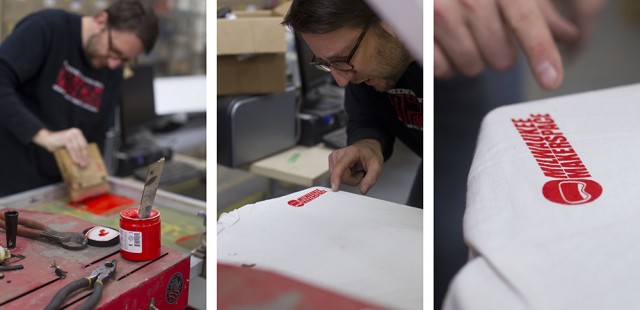
I headed to the Milwaukee Makerspace to use the laser-cutter.
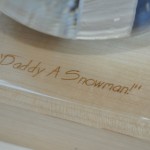
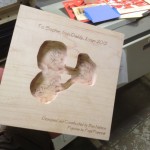
Using the vector graphics program on the laser’s computer, I laid out an inscription for both the top and bottom of the snow globe base. I practiced on a piece of paper, and then when I actually focused the laser properly and had everything else figured out, I wood-burned the maple block, front and back.
I also used a solder station to add the momentary on switch to the greeting card electronics, so that the song would play whenever the globe was picked up to shake up the snow.
Next, was clear-coating the figure and the wood base. I used “Parks Super-Glaze”, a two-part epoxy clear coat used for bars, to completely seal and waterproof both the figure and the base, as well as to permanently attach the figure to the base.
Then, it was a matter to holding the globe upside down, filling it with water, filling the routed circular grove of the base with silicon glue, and flipping the figure and base, upside-down, into the dome of water. Once it was cured, the snow-globe can be flipped right-side-up, gift-wrapped, and put under the tree!
I’m glad to say that the project turned out just great! It was a bit of a stretch to my skill-set, so THANK YOU to the people who gave me a hand with it. Nothing quite like a project that runs the gamut from sculpture to wood-working, electronics, glass, water, laser-engraving, and more! But that’s how we grow… by stretching a little bit more every time!
Merry X-mas
From Ben the Snowman.
