Happy Shiny Bolts

Bolts

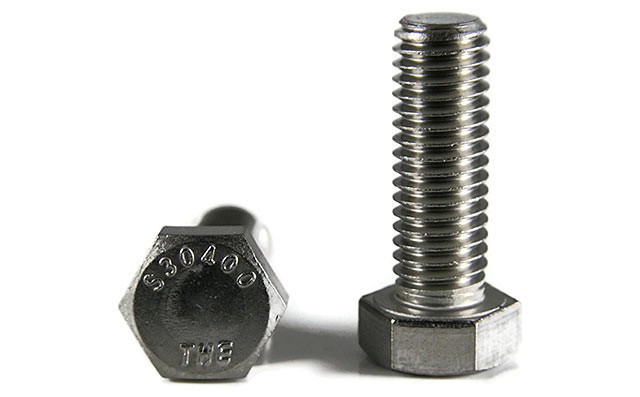
When you buy a bolt, it doesn’t typically have a nice flat head on it. It’s got a bunch of markings, and usually some sort of part number, or something. Here’s a bolt I found on eBay. Look at all those numbers and letters!

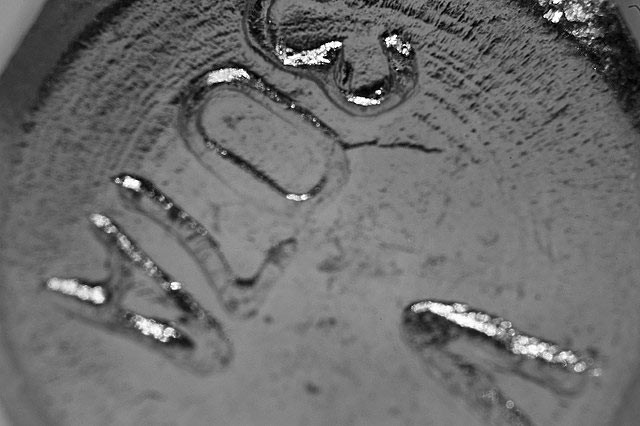
Bolt Close-up

Here’s a close-up I shot of a bolt head. What does it all mean? Well, Brant told me that the manufacturers add these markings to help prevent counterfeit parts. He even mentioned that years ago a building was built with some knock-off fasteners and it collapsed causing terrible damage. Terrible!

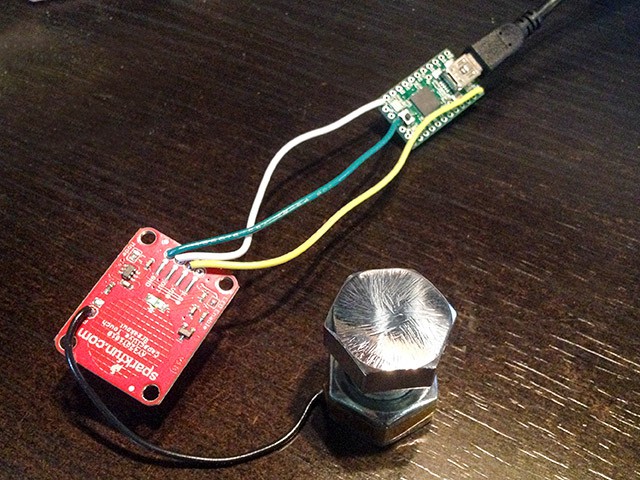
Well, I brought a bolt to the makerspace because I wanted it to have a nice smooth and shiny top. Bill**2 was kind enough to show me the new metal buffing area, which has a nice belt sander (which we used to remove the lettering) and 6 (yes, six!) buffing wheels of various grit. I used all six to give my bolt a nice clean shine.

Shiny Bolt

Here’s my bolt after removing the letters and buffing it up. I probably could have done a bit more, but this was still a hundred times better than before I started. And yes, it is hooked up to an AT42QT1010 Capacitive Touch Breakout Board and a Teensy.

DIY Exterior Ashtray

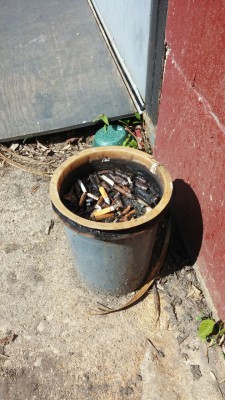
For the longest time, members and guests were treated to this gorgeous sight:
0523141537a


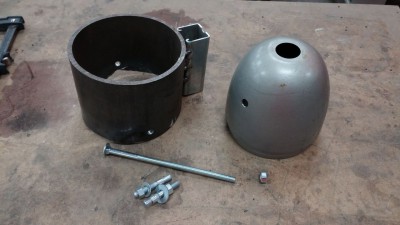
We can do better! All it took was some scrap metal, an old light fixture, and scrounged hardware. Grinding, welding, drilling, done.
0523141708


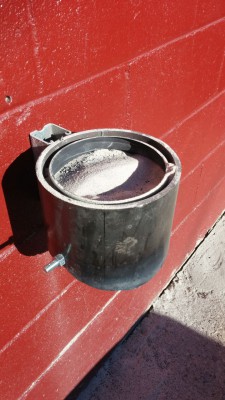
Ninety minutes later, I had chucked the vile plastic bucket in the dumpster and this hotness was bolted to the wall. One project done and a great way to start the Memorial Day weekend.
0523141747b

Awesome Aluminum Anodizing!

Anodizing
On November 16th, 2013 we had an Aluminum Anodizing Workshop led by Frankie Flood. We had about 16 members in the workshop, which ran from 10am to 6pm. That seems like a long class, but the first few hours were really dedicated to learning all about the process, and about working with metal.
Annealing
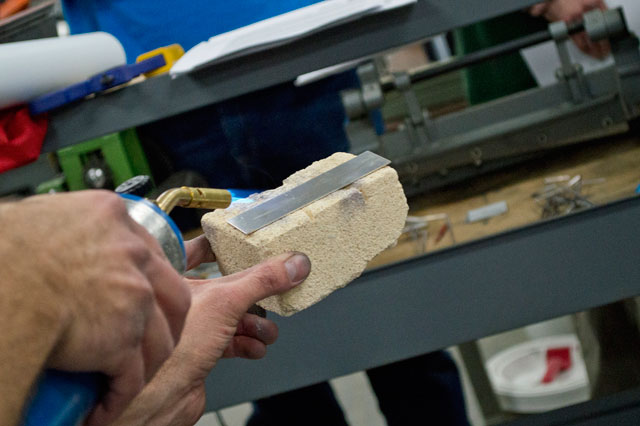
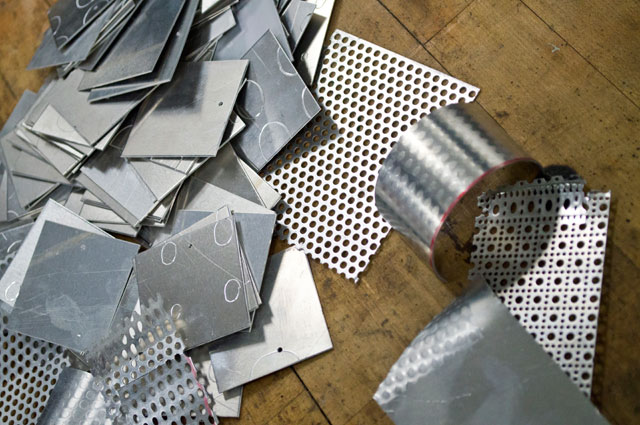
We learned about annealing metal, about forming it and shaping it, and how to add texture, and ping it with a hammer, and buffing and polishing, and about the anodizing process, and the dying of metal, and how to add resist, and the sealing process.
METAL!!!
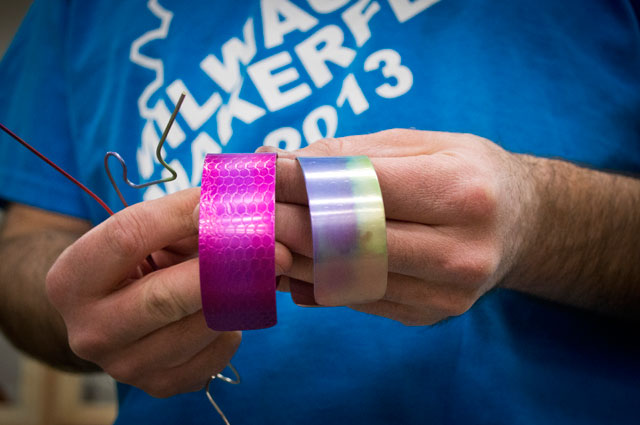
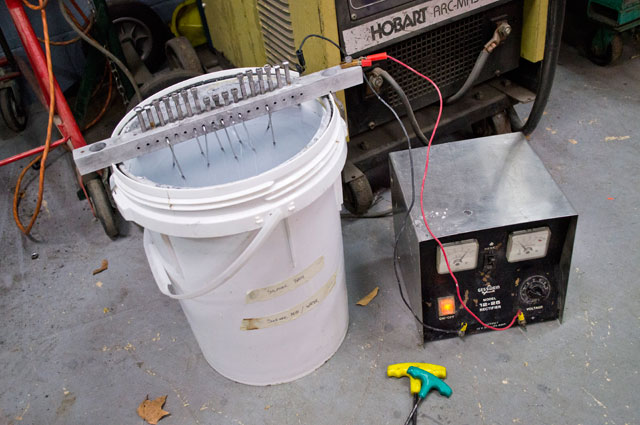
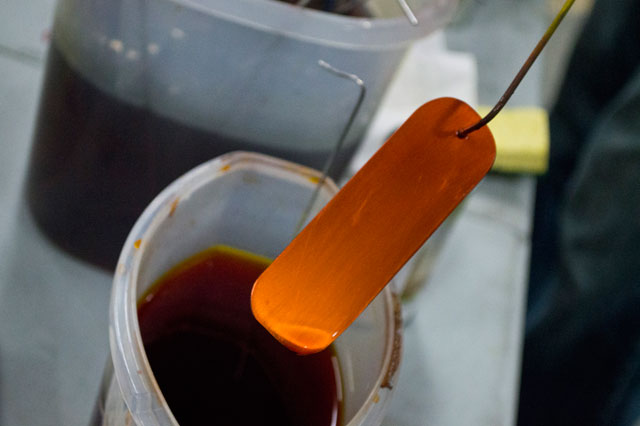
After Frankie dropped all the knowledge on us, we had the rest of the workshop to make things. Everyone got busy, first cutting pieces of metal, and then doing whatever they wanted with it. When a piece was ready it went into the first bath for 15 minutes, then a second bath for 5 minutes, and then it sat in a rinse until we had enough to anodize, which we did every 45 minutes or so. Almost everyone left the class with a few pieces (or one totally awesome piece.)
The Anodizing Bath
There was a lot of interest in the workshop, so we may run another one (if Frankie is willing!) and we’re also talking about permanently adding anodizing to the capabilities of the space.
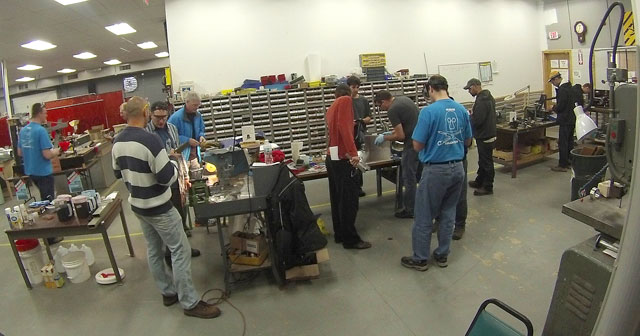
Metal Shop
We also want to give a big thanks to Frankie for teaching us, and to Michael for organizing the class. Everyone had a good time, learned a lot, and walked away with some nice looking pieces of metal.
Orange Metal

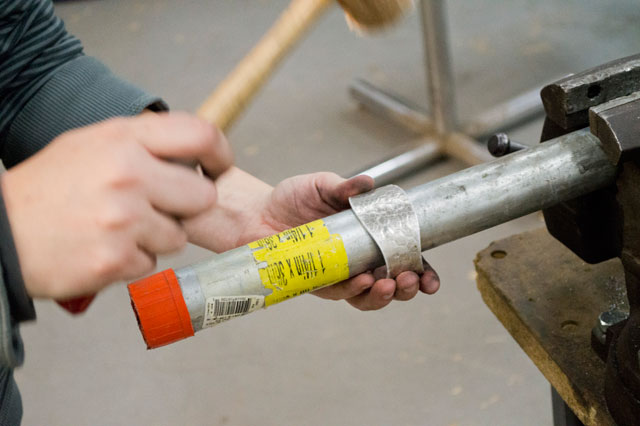
Forming Metal

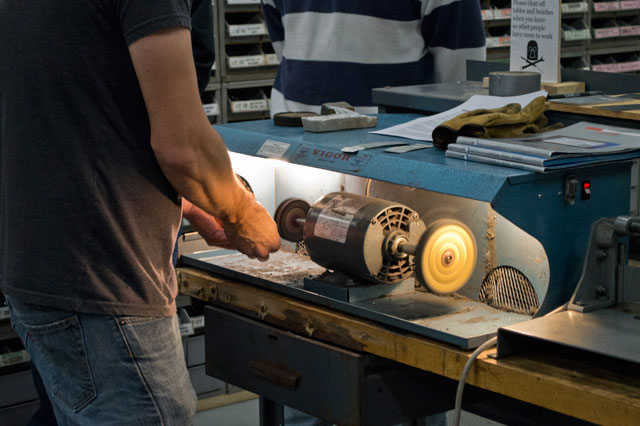
Buffing Metal

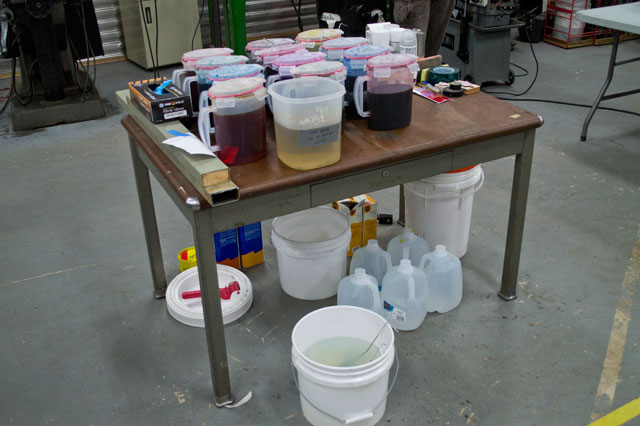
Dye Baths

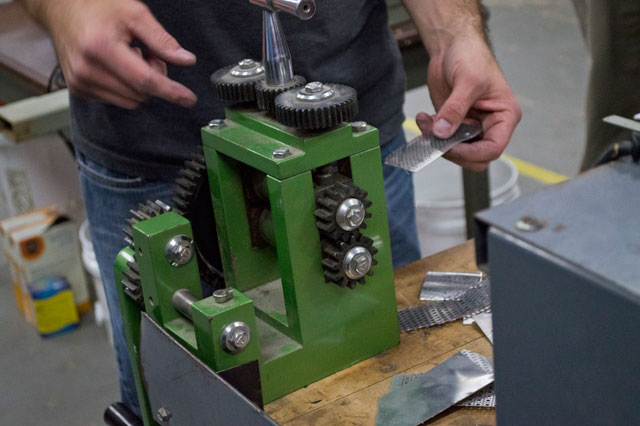
Squishing Metal

Note: See Frankie’s post for a ton more photos!