Barge Simpson: Recycling & Relaxation

After several years of canoeing the Wisconsin River, my brother Jason and I had the idea to build a barrel raft capable of navigating the river while everyone aboard relaxed and enjoyed the trip.

pastedGraphic.png

Originally we wanted to make the raft how most people do, wood and barrels. However, after settling on a size, we quickly realized that wood and metal barrels are quite heavy.

pastedGraphic_1.png

Eventually, after tossing around ideas ranging from aluminum square channels and dock pieces, we settled on 6 premade plastic pallets and 8 plastic food-grade barrels. The combination left us with a very sturdy initial platform to build our raft on.

pastedGraphic_2.png

Prior to settling on a pontoon orientation, we experimented 4 sets of 2 side by side barrels but determined that the water resistance and transportation would be a challenge.

pastedGraphic_3.png

The first task was to secure each pallet together over the length of the raft and then the width. To accomplish this we took 12 foot pressure treated 2x4s and hammered them into the fork spaces of the pallets.

pastedGraphic_4.png

Hammering the 2x4s into the pallets proved to be difficult so clamps plywood cutoffs were used to align the pallets.

pastedGraphic_5.png

Once hammered through the length, the 2x4s were hammered as close to the edges as possible and screwed into place with long wood screws through the bottom of the pallet. This processed was repeated for the other set of three pallets.

pastedGraphic_6.png

pastedGraphic_7.png

The two sets of three pallets were then secured together by drilling holes through the 2x4s and running cut lengths of 3/8 inch threaded rod between them. These were secured with nylon lock nuts and washers.

pastedGraphic_8.png

Another experiment with mounting the barrels, this time with steel strapping to the hammered 2x4s, this ended in abject failure.

pastedGraphic_9.png

Our raft now needed a way to get around, for this we went with a small 3.5 HP outboard off Amazon.

pastedGraphic_10.png

Being a 2 stroke that runs off a gas-oil mix we had to break-in the motor per the manufacturer manual, very loud in a suburban driveway…

pastedGraphic_11.png

The project was then moved to a different location and sat for a while before being picked back up this year. We discovered that the threaded rod held the pallets together, but didn’t stop them from flexing and coming loose. To address this we added 2x4s along the top and bottom short edges and bolted them together.

pastedGraphic_12.png

We also added a ladder off the front for swimmers to get back on.

pastedGraphic_13.png

No raft is complete without carpeting and shade! This pavilion off Amazon with mounting holes in the feet was able to bolt with nicely through the pallet deck. We also tested a few types of carpeting and turf before settling on marine “boat bunking” carpet.

pastedGraphic_14.png

Using leftover 2x4s we built a motor transom off the back.

pastedGraphic_15.png

The end result was too large for our trailers and had the barrels attached on-site. Due to the motor, the raft had to be registered as a boat with the DNR and required a licensed operator.

pastedGraphic_16.png

IT FLOATS…always knew it would…

pastedGraphic_17.png

The Wisconsin River is quite shallow in some places and requires the use of our high-tech stick.

pastedGraphic_18.png

When the river was deep enough, the small motor had no problem moving the raft at a blistering 5 MPH!

pastedGraphic_19.png

To say the raft was a hit with friends on the trip would be an understatement, the 8 of us spent most of the time enjoying the sun as we floated down the river.

pastedGraphic_20.png

Unfortunately, the trip was not without incident. As we were disassembling the raft at our take-out point, a strong gust of wind blew over the decking and crushed our plastic light and fire extinguisher mounts. Luckily, no one was hurt and we got the raft and barrels back on the trailer.

That’s likely it for this year, river levels continue to fall in the summer months and would make the trip much harder. We’ll likely revisit this project next year and make improvements on the weight and transportation side. 


Written by Michael Reichard

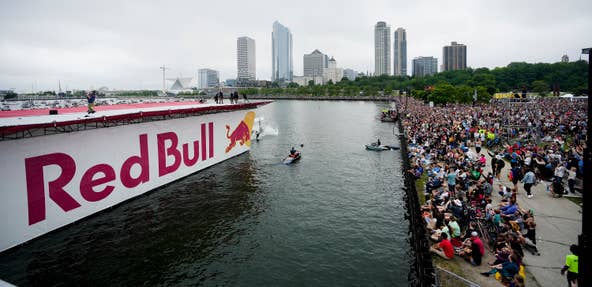
Redbull Flugtag Milwaukee

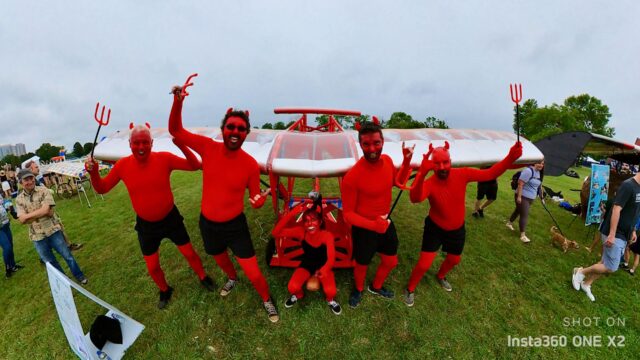
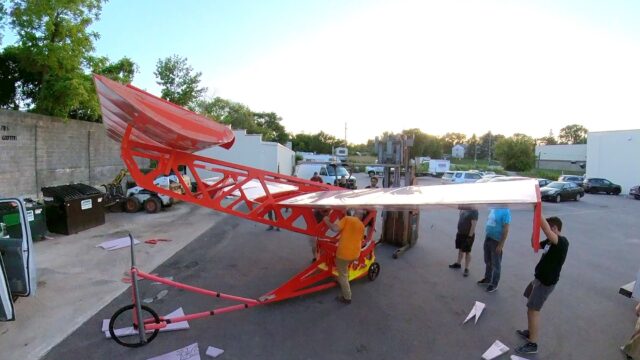
For the past 2 months a team of makers has been frantically designing and building a glider for Redbull Flugtag.  It was one of the most fun projects I have ever had the privilege of working on.  Thought we did not place in the competition I wanted to share what we have learned and share some CAD files for future Flugtag builders to find and reference if they wish.

Team Flies at All:

When I put up the call to see if other members where interested in participating I was shocked when almost 20 people came to the first meeting.  At that meeting two opposing directions were posed for our entry.  One was a craft that would be as crazy as possible that would just be fun to look at and not attempt flight in a meaning full way.  The second was “team flies at all” who thought the fun part of the project would be the challenges of making a craft that would generate lift.  As the next weeks went on that second team was the only group that kept meeting and planning.  

Material choice and testing:

At one of the first design meetings Jon Drayna brought in a sample that he had worked on that week that would become the structure of our design.  It was 1 inch pink insulation board laminated on either side with 2mm strips of wood.  This made the normally flexible material very ridged while still being extremally light weight.

With this structure in mind I went to work in Fusion 360 and modeled up a craft.  Using a paper added to a google drive the team was sharing I was able to design a parametric air foil that would in theory provide high lift at low speed.  I even devoted the weekly Fusion 360 class to making an airfoil.  Below is a link to that class and the parametric airfoil Fusion 360 file will be in the link at the bottom.

We chose to cover our wings with window cling film.  I think this is one of the best choices we made.  Even though the film required lots of care it was cheap and light weight compared to alternatives.  On the day of the event we saw boat vinyl and lots of other materials but I stand by our window film.  Another decision that I was happy with on our craft were the ridged supports in the front and back of our wing.  Lots of teams chose not to do this and their air foil shapes were lost due to the shrinking material. 

Our biggest lesson:

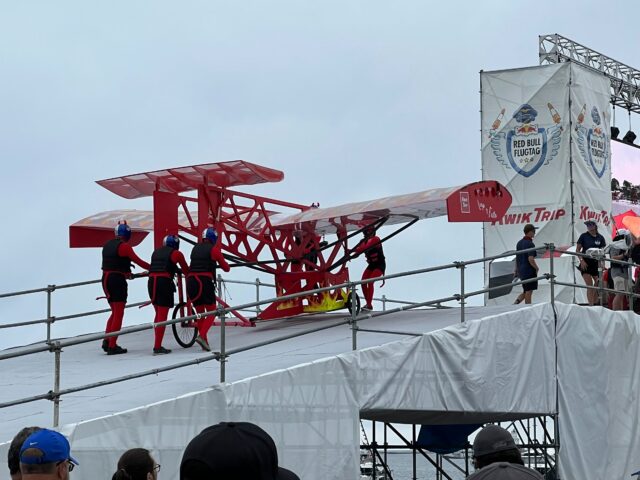
If you have ever attempted to do something for the first time before you know that it usually doesn’t work.  We all had lots of optimism about our chances to “fly” but it takes practice to learn new things.  You can’t make an omelet with out breaking a few eggs.  On Flugtag our point of failure was the cart.  We knew that if the back of the cart were to push up on the back of the glider it would push the nose down right into the water.  We had taken care to design a two part cart that would we thought drop away from the craft with the use of a one way hinge mechanism.  The idea was as the front of the cart holding the glider went off the edge it would fall down bending at the hinge and not creating leverage lifting the back of the glider.  Maybe it was swelling due to humidity or jus the paint being sticky but this was our point of failure.   You can see in the video the cart breaking part of the tail as it forced it up and as soon as it fell away the wings started to work.  It was too late at that point though.

I use used a bad word in that last paragraph, failure.  At least most people think of it as a bad word.  Lets reframe that right now.  Failure is what happens on the path to success.  Failure is what happens when you are pushing your self far beyond your current capabilities and knowledge.  No one has ever learned something from success it is failure that teaches us and failure that motivates us.  

We failed to fly but we succeeded at working together to build one of the coolest projects to ever come out of this building.  It was so much fun working with everyone that pitched in for an hour or two or for weeks on end.  The bravest member of the Makerspace, Faith, got to stand on a stage in front of 50,000 people and answer questions about what a the Milwaukee Makerspace is.  I have zero regret except for maybe not jumping of the edge of the ramp…

Open Source Everything:

We learned so much.  You can take a look at our CAD files and build images and learn with us.  All are at the link below for you to copy and improve.

Open Source Project Link.

Electronics Experiments

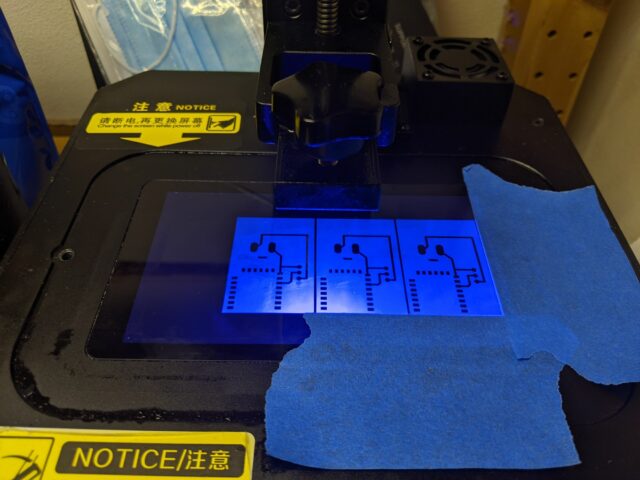
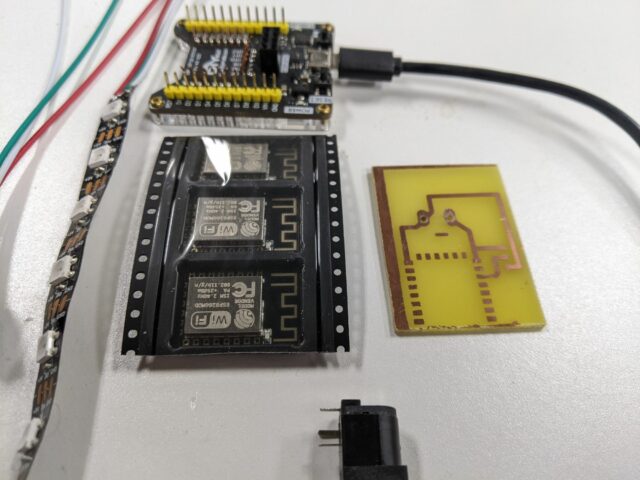
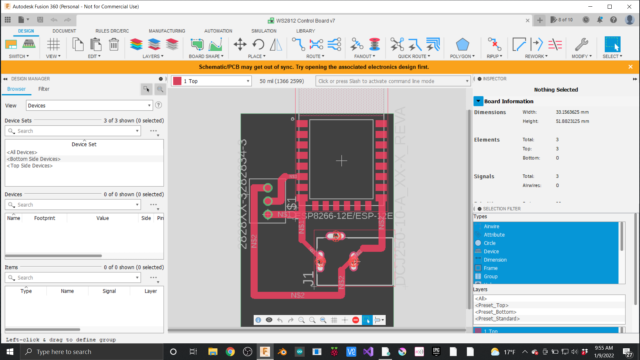
Ever get excited after seeing an YouTube video?  It happens to me all the time.  When I was Thomas Sanladerer‘s video on using an MSLA printer to make PCB’s I knew I had to try it.  In fact I have worked it into February’s Model Monday project.  This month we will be designing an Addressable LED strip control box electronics and all.  You might not know that Fusion 360 can do electronics design but after a few classes you’ll be up to speed and ready to design.

I have been looking for an excuse to learn more about the electronics design work space in Fusion 360 and I had a member request it as a project.  It’s great to be able to have electronics parts and cad design all in the same software.  This is going to be a fun one with lots of new things to learn for all of us.  Join us Mondays @7pm live or watch the recordings on YouTube at your convenience.

Salon Divider

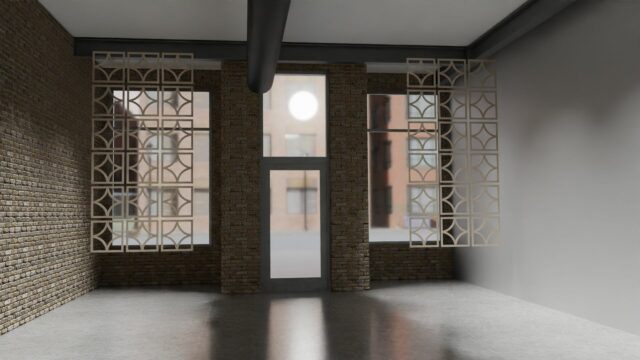
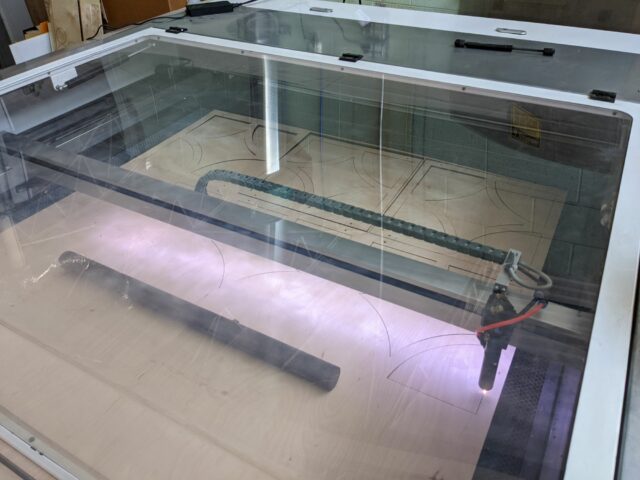
A few weeks ago a friend asked if I could help with a project for his wife’s new salon and I jumped at the opportunity.  I had been looking for a project that would mean using the big new 100W laser since it was donated.  My friend sent over a design and I got to cutting.

This is by far my favorite laser we have.  The software is easy to use and the laser makes aligning the uncut piece in the laser bed a breeze.  This project was also a chance to show off some of the new things I am learning in Blender to make a nice rendering of the final product.