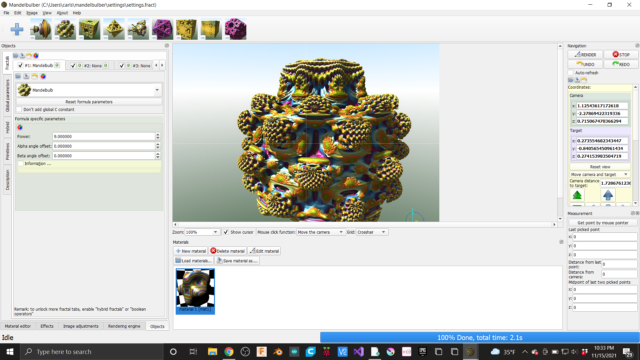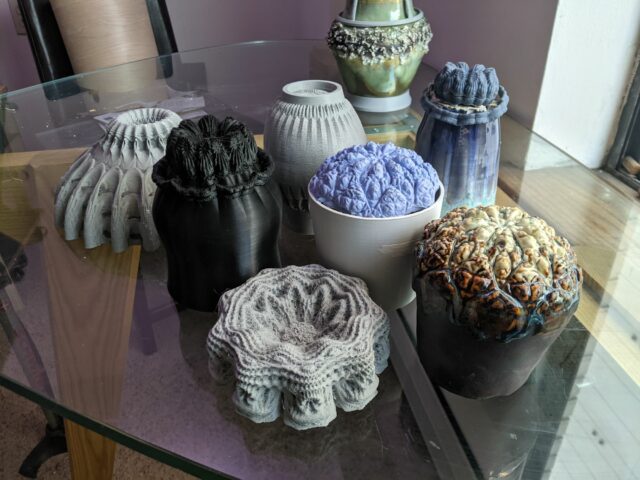
Over the past few months I have been playing with 3D fractals to create slip cast pottery. I found a free program called Mandelbulber 3D and you know me, If it’s free I’ll take 3. It’s shocking to me the availability of free software like this. Right now I am just scraping the surface on what the software can do but I have a few examples of shapes made in the software posted on Thingiverse.
https://www.thingiverse.com/thing:5138435
Creating the fractals with the Mandelbulber is fairly straight forward. Just experiment with varying a few values and click render. The hard part is getting the shape to be cast-able with out having to make a 27 part mold. A few weeks ago I pulled the first cast from my first successful mold. This is part fractal and part Fusion. The foot of the cup is part of the fractal pattern and the body of the cup is a shape designed in Fusion 360. Although the final product warped in the kiln I think it was a good proof of concept.
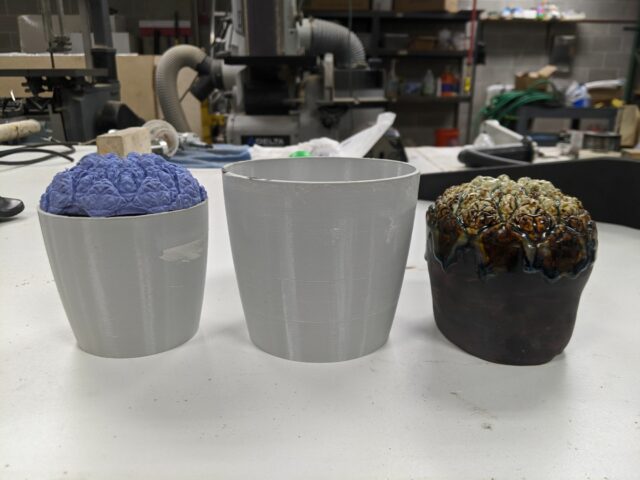
After the shape is created digitally you have to make it physical. My go to method is usually my 3D printer. The constraints that make a part easy to 3d print without supports are similar to the constraints that make a part easy to remove from a mold. To make the slip cast mold I don’t print the cup but a plastic mold of the cup, there are two reasons for this. First if you are going to make lots of slip casts you are going to need more than one mold. Because of the time it takes to cast each cup you will need to pour several mold each day. Second with a hard plastic mold you can make a soft silicone part. This saves me from making a large silicone Mother Mold of my 3D printed mold. My Mother Mold is half of the 3D printed mold with the full silicone cast part inside. It’s worth noting that there is 15-18 percent of shrinkage from pour to final firing so you will need to scale up your prints to an almost comical size.
(photo coming soon)…
On a side note I did some experimenting is soaking silicone parts in IPA to expand them. This is a fun exercise if you have never done it. To expand a part just place it in a container of IPA for several hours. I let one part sit over night and go about the amount of growth I was looking for to but the part shrinks down slowly when removed from the IPA and the growth amount is not very predictable. Below you can see an example of how much larger the part grew and the final fired piece from this process.

I am in the process of printing my molds right now so tonight at the open meeting I might have printed molds to show. I also have other shapes to pass around.
