Chocolate Printer Cooling System Test

This week I attempted the first test of the chocolate printer cooling system.  The cooling system is intended to solidify the chocolate just after it leaves the extruder nozzle so that by the time the next layer is started it will have a solid layer to sit on.  The cooling system consists of a centrifugal blower with a brushless DC motor blowing room air into a styrofoam cooler containing a block of dry ice.  The air passes over the dry ice and gets chilled as the dry ice sublimates directly into very cold CO2 gas.  The chilled air and CO2 mixture exit the box through a port with a hose that will ultimately blow the cold air on the chocolate.  At least, that’s how it is supposed to work.  It blows air at -12C as measured via a thermocouple, but unfortunately, the air exit port ices up in about 2 minutes and blocks the air flow.

There are many possible solutions.  I can add a heater to the exit port to prevent formation of ice, or dry the air going into the box using a dessicant cannister or maybe just use water ice instead of dry ice if the higher temperature will still cool the chocolate adequately.   Maybe using an old miniature freezer with an air hose coiled inside would do the job.  It would be really interesting if I could use the waste heat from a freezer to keep the chocolate liquified and flowing.  Back to the drawing board!
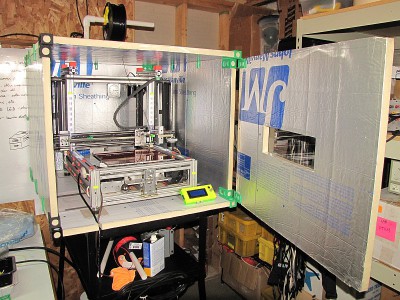
3D Printable Thermal Enclosure For 3D Printer

Well, OK, not the whole enclosure, just the parts that hold it together.

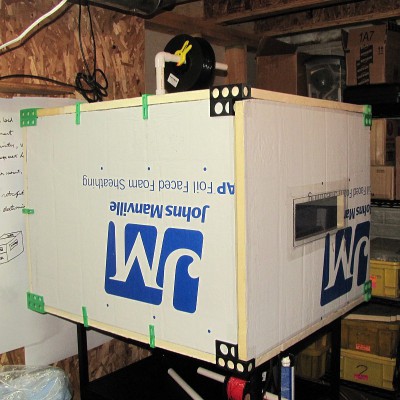
MegaMax can print big stuff but he’s had problems with large prints delaminating.  The answer seems to be enclosing the printer to keep the prints warm while printing.  I designed this box and 3D printable parts to hold it together so that I can take the box apart easily to work on MegaMax or move him to other locations and put it back together when I’m done.  The box is 38″ D x 28″ H x 32″ W.

box door open


box door closed


The box is made of 1″ PIR foam with corners suitably notched to accommodate the printed parts.  MegaMax has a 450 Watt heater in the printbed so the box gets super-toasty inside.  I suspect it gets a little too toasty but haven’t made any measurements yet.  I’ll soon be moving the electronics out of the box.  I didn’t do anything to seal the seams in the box because it doesn’t seem to be necessary.  I did tape the edges of some of the foam boards with clear packing tape to prevent damage.

Design and stl files are available at http://www.thingiverse.com/thing:269586

Weekend Project: Planter Boxes!

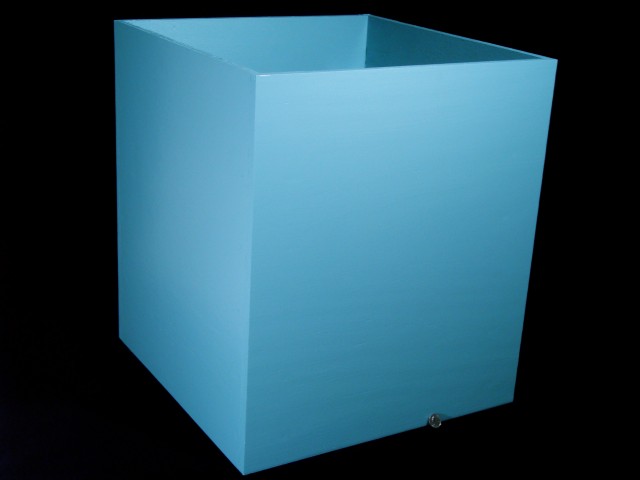
Last weekend I made three huge, turquoise planter boxes for my rooftop deck – check out the quarter for scale.  Naturally, help from other Makerspace members was key, as I relied on JackD and his JAMbulence for help transporting two sheets of plywood (Thanks!).  I safely sliced ’em up on the panel saw, and then glued, screwed and nailed them together.  After applying numerous coats of outdoor latex paint and a bit of sanding, they’re already in use in downtown Milwaukee!

Planter_Box

Tabletop Game Boxes

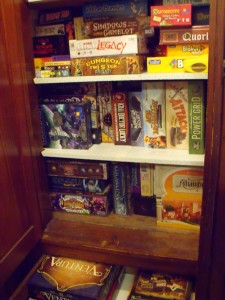
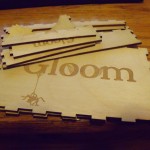
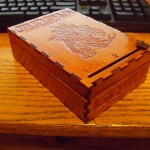
With Tabletop Day approaching and my great affinity for complicated rules attached to cardboard (see picture on leftDSCF0722 of what should be my linen closet) I thought it would be the perfect time to work on a few projects to improve some games that I much enjoy. On top of some other, smaller things I decided that the boxes that come with a great majority of card games are kind of worthless. Take for example. Gloom. A fantastic game in which you try to make your family as miserable as possible before killing them off in horrid ways all the time trying to make your opponents family happy so they cannot do the same (I realize I sound crazy but if you come down to the MakerSpace this Saturday I will have it so you should give it a shot. It really is fantastic). While the game is fantastic it came in was one of those that has the bump of cardboard in the middle between the two stacks of cards that is supposedly, in some fantasy universe where cards have different physics than everything else, supposed to keep them separate. This never works and the box usually breaks fairly quickly.

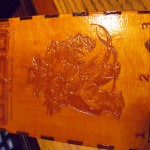
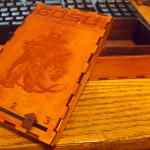
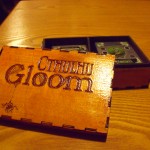
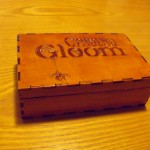
Being utterly fed-up with these boxes I decided to make my own for 3 games. Gloom, Cthulhu Gloom, and GOSU: Tactics. With the first two this also has the added benefit of being able to make the box large enough that I can fit expansions in with the base game and in the case of GOSU it is an opportunity to make a box that better fits sleeved cards and add a 3 turn counter to keep track of the round after the pass (If you have played GOSU you know it can get a little hazy when some people are taking a whole slew of turns per round).

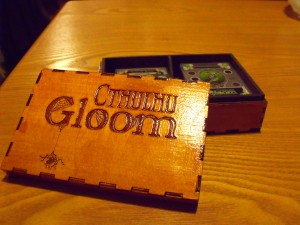
After some playing with Inkscape, cutting out the first one on the laser cutter, realizing I suck at measuring, cutting things again, some gluing, and several layers of shellac later I had a few new boxes.

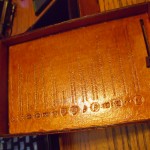
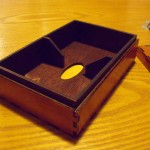
I had several people ask me how it was that I achieved this look on Baltic birch plywood so I thought I would go over that quickly. TheCGloom Box Open

inner part was just rag stained with some dark Minwax stain (I think it was Red Mahogany) so nothing special there but it adds a nice contrast to the lighter outside I feel. The outside is an amber shellac. I just applied 5-6 coats with a heavy sanding between the first two and a very light sanding between the rest. Nothing too exciting but it really makes this plain wood look pretty decent.


Hot Stuff! Aluminum Pour Night.


To quote the Iron Worker on THE SIMPSONS,  “Hot stuff, coming through!”
I was pretty excited that I finally made it down to the Milwaukee Makerspace last night to attend an aluminum pour! I’ve seen a couple of the videos and really wanted to get in on some of that hot metal casting. I have what’s called a “speed-ring”, a metal ring that holds a soft-box for photographic lighting, and I wanted to make a copy of it.

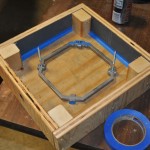
So far, much of the casting has been using a “lost-styrofoam” method. A shape is carved from foam and set in sand, and the aluminum melts the foam as it’s poured in. But I wanted a COPY of an existing item. I asked Bret about it, and he said we could try an experiment of pretty much just pressing the ring down into some sand. An X channel was then added in the middle as a point for the aluminum to pour into and spread out into the shape.

I built a wood box for my item, and we filled it with oily sand, packed it in there, and added the X-trough. My item didn’t pull out of the sand quite as well as I had hoped, but hey, it’s an experiment…

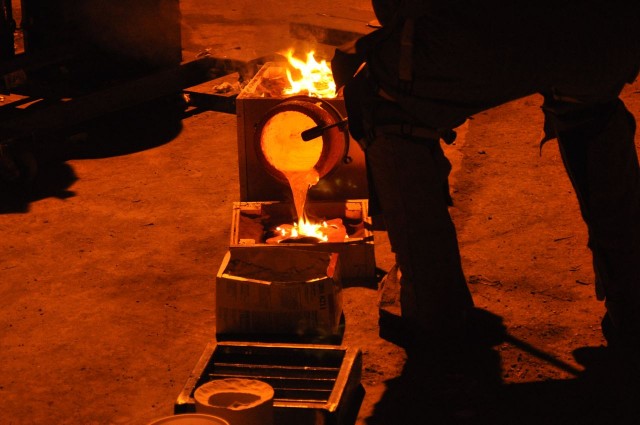
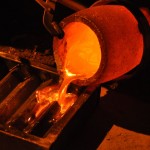
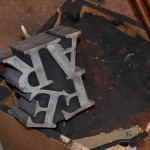
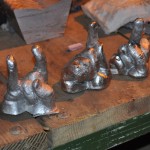
Outside, the aluminum furnace was roaring away, heating aluminum to a delightful orange liquid. The first pour made it through Kevin’s FEAR art piece, my piece, and another members. Later, a second pour took care of Phil’s hand-casting series (which turned out great!)  and the rest went into an ingot mold.

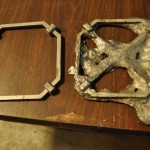
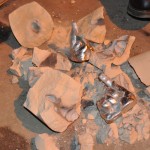
Once my piece was cool enough, we pulled it out to take a look at the results. Not perfect, but not bad for a first time, and an experimental casting at that. There was quite a bit of extra metal, but most of that could be easily trimmed off with the bandsaw. Other members were taking photos of their work. It was obvious that everyone was pretty proud of their individual castings. Even without being the one pouring out twenty pounds of molten metal, it was still a pretty macho experience just to be part of.

If you too want to come play with crazy hot metal, come on down to the Makerspace next time we do an aluminum pour!