Chocolate Printer Cooling System Test

This week I attempted the first test of the chocolate printer cooling system.  The cooling system is intended to solidify the chocolate just after it leaves the extruder nozzle so that by the time the next layer is started it will have a solid layer to sit on.  The cooling system consists of a centrifugal blower with a brushless DC motor blowing room air into a styrofoam cooler containing a block of dry ice.  The air passes over the dry ice and gets chilled as the dry ice sublimates directly into very cold CO2 gas.  The chilled air and CO2 mixture exit the box through a port with a hose that will ultimately blow the cold air on the chocolate.  At least, that’s how it is supposed to work.  It blows air at -12C as measured via a thermocouple, but unfortunately, the air exit port ices up in about 2 minutes and blocks the air flow.

There are many possible solutions.  I can add a heater to the exit port to prevent formation of ice, or dry the air going into the box using a dessicant cannister or maybe just use water ice instead of dry ice if the higher temperature will still cool the chocolate adequately.   Maybe using an old miniature freezer with an air hose coiled inside would do the job.  It would be really interesting if I could use the waste heat from a freezer to keep the chocolate liquified and flowing.  Back to the drawing board!

Chocolate Cooling System Almost Ready For Testing

Chocolate printer progress continues.  This week was devoted to the print cooling system.  The chocolate will come out the extruder nozzle in a semi-molten state.  It needs to solidify by the time the next layer of chocolate gets deposited on it, and I’d prefer it doesn’t drip or sag, so it needs to be chilled right after extrusion.  The current plan is to blow chilled air over the chocolate just after it leaves the extruder.   The chilled air will come from a foam insulated box containing a block of dry ice.  There will be a blower pushing air into the box and a hose delivering the chilled air/CO2 to the print.

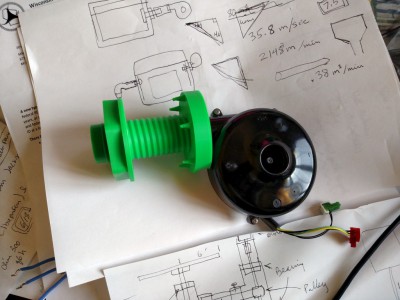
A couple weeks ago I got a blower from American Science and Surplus and this week I got it running by using a model airplane ESC and servo tester to drive its brushless DC motor.  It appears to be capable of blowing much more air than I’ll need.  There are many unknowns yet to test.  How much chilled air/CO2 will it take to solidify the chocolate after it leaves the extruder?  How long will a block of dry ice last when used this way?  Will ice build-up inside the chiller box adversely affect its performance?

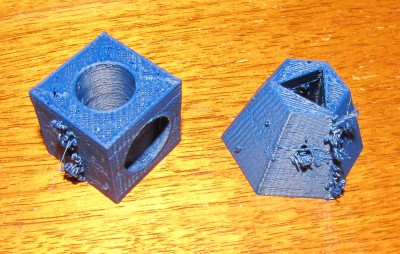
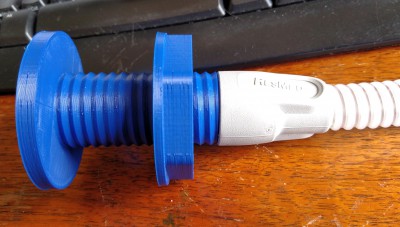
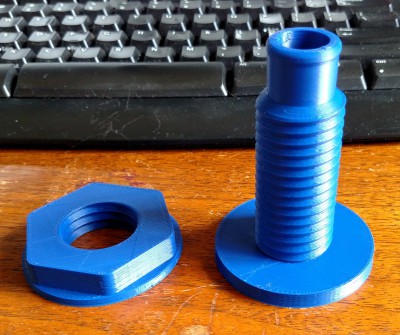
I designed and printed three parts for this system- a mount to attach the blower to a foam box up to 1.5″ thick, a hose coupler to allow delivery of the chilled air/CO2 to the print, and a hole saw to cut holes to fit the other two parts.   The printed parts fit as if they were designed for the job!

3D printed hole saw

3D printed hole saw

Hose connected to hose coupler

Hose connected to hose coupler

Hose coupler parts

Hose coupler parts

Blower mount for air chiller box

Blower mount for air chiller box

First Ever Test of the 3.5 Liter Syringe Extruder

My last post showed how I made a plunger for a 3.5 liter syringe.  Today’s post is the results of the first ever test of that syringe assembly including the plunger.  The goal of the test was to determine if the syringe pusher would be able to push very thick, viscous paste (sort of like melted chocolate) out of the 1/4″ syringe nozzle.  It was also a test of the ability of the previously made silicone plunger to maintain a seal even against whatever pressure develops inside the syringe as it is pushing.

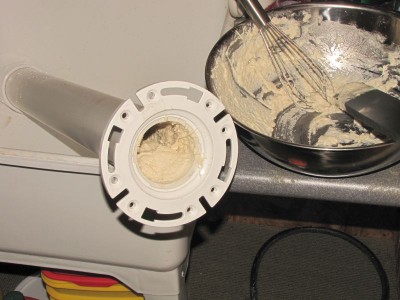
I mixed about 1 liter of extra thick pancake batter to a consistency that I thought would be much thicker than molten chocolate (pancake batter is much cheaper than chocolate) and shoveled it into the syringe, then bolted on the pusher and hooked it up to a power supply:

Looking back, I probably should have loaded the syringe from the other end.

Syringe loaded with super thick pancake batter.

Syringe loaded with super thick pancake batter.


Here’s the actual test.  It gets especially interesting about 1 minute in:

The syringe continued drooling after power was removed due to air that was trapped inside the syringe.  As the plunger pushed, the air was compressed.  When the motor stopped the compressed air continued to push out the batter.  I will have to be careful to eliminate air bubbles in the material when it comes time to use this in a printer.

It only took a couple minutes to clean out the syringe after the test was done.

The pusher did its job much better than expected, and the plunger held up just fine, too.  I feel confident that this device will be able to extrude chocolate.   Now the real work begins…

CNC Mogul Introduction

A few weeks ago Mike Stone of CNCMogul.com visited the Milwaukee Makerspace.

Mike donated one of his machines to the space for testing and feedback as well as to use for the membership. It should also be mentioned that Mike is local and has his shop and distribution in Wales, Wisconsin.

Joe Rodriguez built one machine and I also put one together at our shop at home. So here are some thoughts on the process as well as some pictures. It isn’t a review as these machines haven’t really been put to the test as of yet. Time will tell.

The CNC Mogul is a general purpose 3 axis CNC kit that is relatively easy to put together and can be used for anything that you like. I’ll be using ours for routing and Joe wants to make a CNC plasma cutter with the one in the space. The basic kit is affordable and it uses the Makerslide as it’s building blocks. The stepper motors are run with a rack and pinion setup on aluminum tracks and gearing as well.

The controller is a Chinese Tb6560 Stepper Motor Driver Controller that is controlled via parallel port.

The power supply is a 24V 14.6 AMP 350W Max Power Supply.

The whole kit can be ordered online from 2ft X 3ft up to 4ft X 8ft. Custom dimensions are also available.

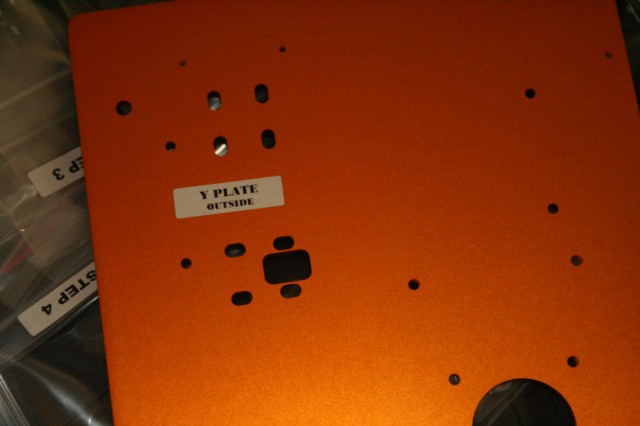
So here is the kit before assembly. This is a 3ft x 3ft kit that I will be building and using with a router.
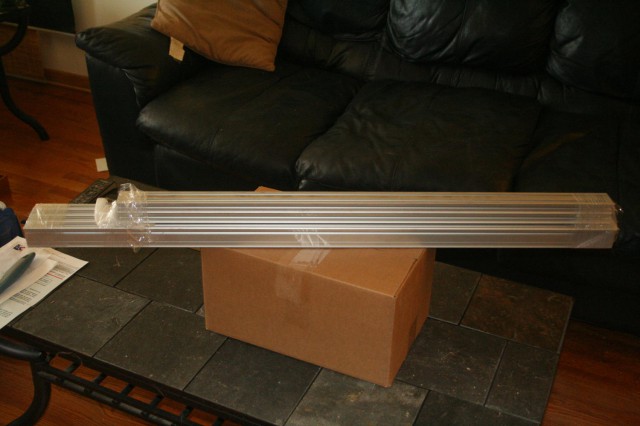
This is the kit right before opening.

This is the kit right before opening.

Inside the kit there are a bunch of baggies with tons of little parts. You can look at the manual here

I’m assembling the quad rail kit. Once I start pulling things out of the box there is an amazing array of parts that explodes out of it. Fortunately each bag and part are well marked.
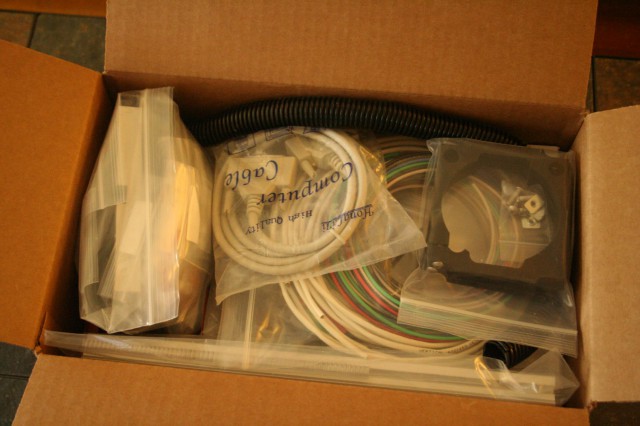
Everything that you need to build your own CNC controlled machine.
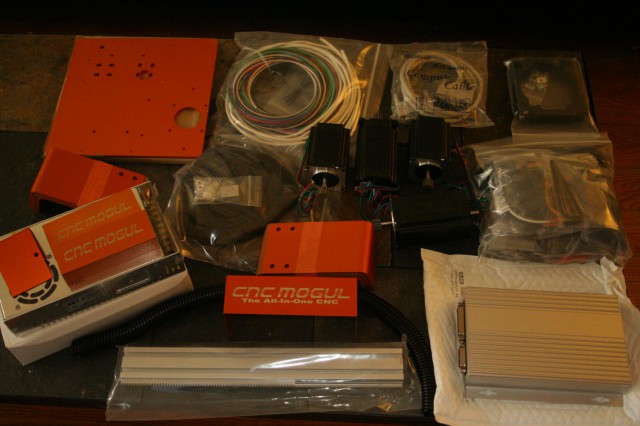
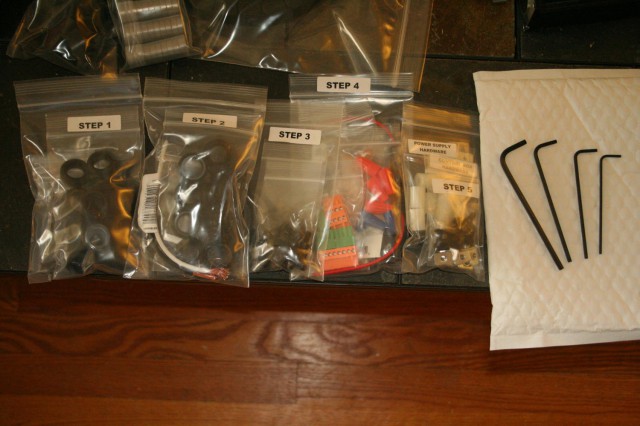
Everything that you need to build your own CNC controlled machine.

cncmogul03

Everything is labeled really well.

Everything is labeled really well.

Everything is labeled really well.

Everything is labeled really well.

The kit took approximately 3+ hours to put together. The documentation in the manual is hit or miss. The pictures are extremely good and really help in putting this together. The accompanying text is also great for the first 1/3 of the manual and then you’re left to interpret pictures from there. There are a few questions that came up while building this but fortunately I was able to figure it out.
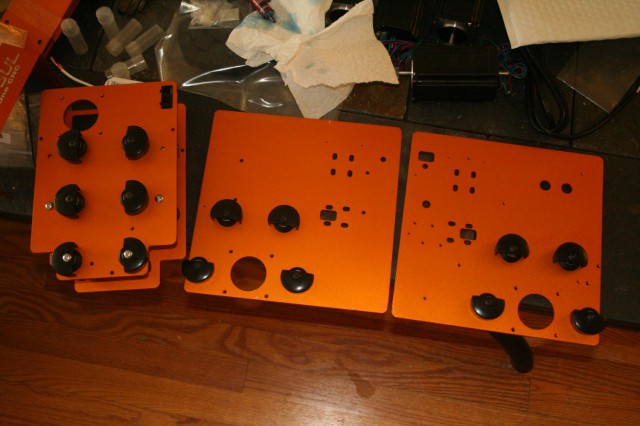
Little by little the parts are being built.

Little by little the parts are being built.

After the gantry gets built and all of the wires are connected it’s time to test. CNC Mogul recommends using Mach 3 for your machine control. And even has a few pointers on how to setup Mach 3 on their site.

I decided to go with LinuxCNC because it’s open source, I’m comfortable with Linux and it’s low cost (free). I loaded it up on a spare computer and after running through the instructions I was able to control the stepper motors on the Mogul.

What I had difficulty with is that the CNC Mogul uses an “A” axis and “Y” axis slaved together. LinuxCNC can do that but you can NOT test for that in the setting up process. You essentially tell the “A” axis to use the same step and direction pulses as the “Y” axis. I also inverted the “A” axis so they would turn the same direction when they are facing each other.

One of the other difficulties I had was figuring out the leadscrew pitch to enter into LinuxCNC. After some experimentation 1.27 inches per revolution seems about right but some more testing is needed.

Once you’re finished building the whole thing you need to mount it to something. I picked up a Craigslist find and the Mogul fit perfectly.

I generated some G-code from Vectric’s Vcarve Pro Zeroed each axis and started to cut.

I still need to put a waste board down and face it off flat and put some type of work hold-down system in place.

After the unit gets setup in the Makerspace the members will have access to the machine and we’ll see how durable it is.
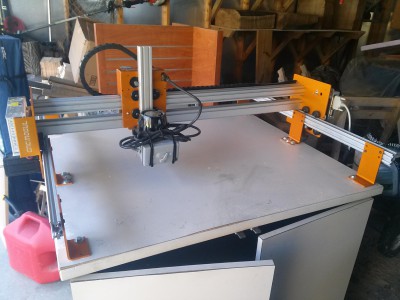
The CNC Mogul with router mounted and ready to cut.

The CNC Mogul with router mounted and ready to cut.

Total time to build, test, and implement the whole system has been approximately 6 hours. There is still some testing and tweaking to be done as well as putting in a dust collection system.

If there are any questions feel free to ask me either on this post or in person. I’ll be putting this through it’s paces as well.
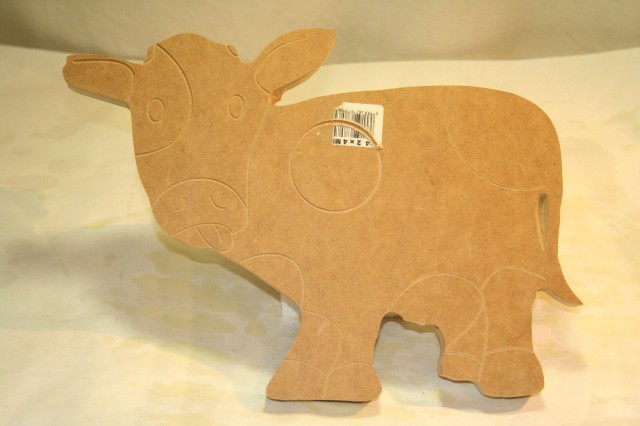
My 2nd test using the CNC Mogul with 2 types of router bits.
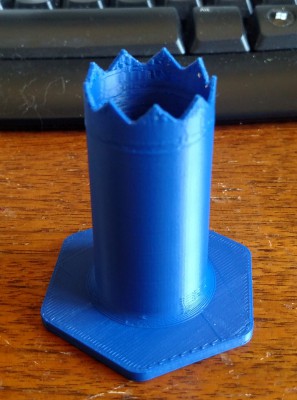
My 2nd test using the CNC Mogul with 2 types of router bits.
SnakeBite Extruder Works!

I repaired the Budaschnozzle hot-end over the weekend and bolted the SnakeBite extruder to it and then to MegaMax and tested it last night.  There’s plenty of tuning to do, but the first print looks promising:


Start of SnakeBite’s first print


More of SnakeBite’s first print


Not too pretty but it shows promise.

Not too pretty but it shows promise.