Come Learn Something


Screen Printing

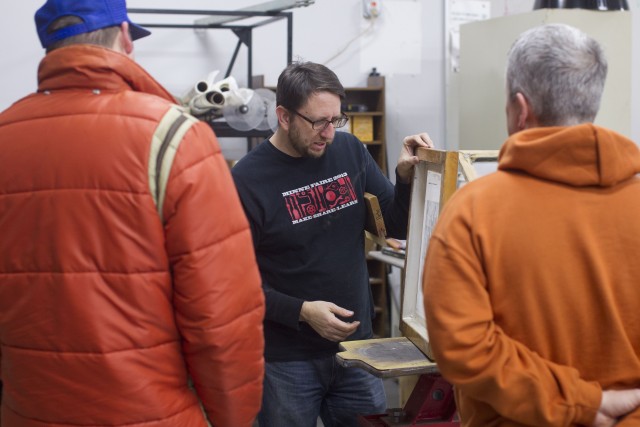
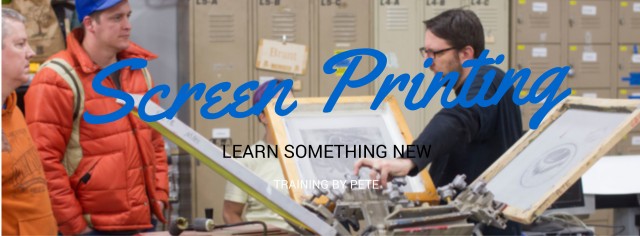
Tuesday meetings often turn into training night at the Makerspace.  So many members come the the weekly meeting that it can be easy to find something new to learn.  Last week was no exception when Pete gave an intro to screen printing.

_I9H3009

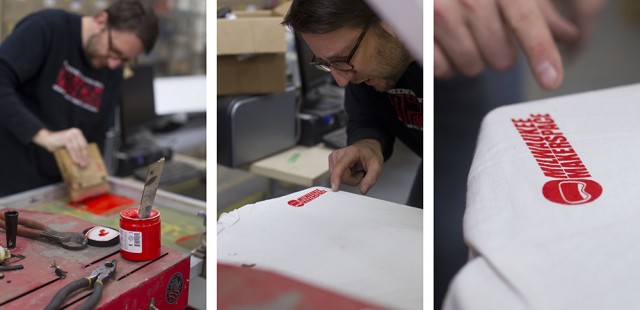
It seemed like a straight forward process and I would encourage people who want to try making a t-shirt to email Pete to get checked out on the machine.

pete printing small

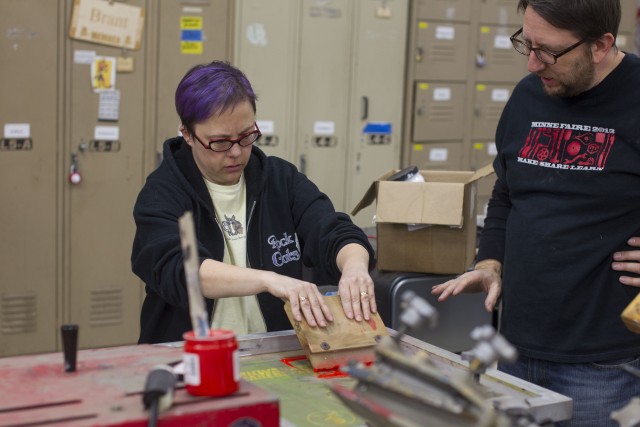
After walking the class through the basics of preparing the silk with the design. Pete set up an example print and let his small class of makers give it a try.

_I9H3031

Chocolate Printer Cooling System Test

This week I attempted the first test of the chocolate printer cooling system.  The cooling system is intended to solidify the chocolate just after it leaves the extruder nozzle so that by the time the next layer is started it will have a solid layer to sit on.  The cooling system consists of a centrifugal blower with a brushless DC motor blowing room air into a styrofoam cooler containing a block of dry ice.  The air passes over the dry ice and gets chilled as the dry ice sublimates directly into very cold CO2 gas.  The chilled air and CO2 mixture exit the box through a port with a hose that will ultimately blow the cold air on the chocolate.  At least, that’s how it is supposed to work.  It blows air at -12C as measured via a thermocouple, but unfortunately, the air exit port ices up in about 2 minutes and blocks the air flow.

There are many possible solutions.  I can add a heater to the exit port to prevent formation of ice, or dry the air going into the box using a dessicant cannister or maybe just use water ice instead of dry ice if the higher temperature will still cool the chocolate adequately.   Maybe using an old miniature freezer with an air hose coiled inside would do the job.  It would be really interesting if I could use the waste heat from a freezer to keep the chocolate liquified and flowing.  Back to the drawing board!

Chocolate Cooling System Almost Ready For Testing

Chocolate printer progress continues.  This week was devoted to the print cooling system.  The chocolate will come out the extruder nozzle in a semi-molten state.  It needs to solidify by the time the next layer of chocolate gets deposited on it, and I’d prefer it doesn’t drip or sag, so it needs to be chilled right after extrusion.  The current plan is to blow chilled air over the chocolate just after it leaves the extruder.   The chilled air will come from a foam insulated box containing a block of dry ice.  There will be a blower pushing air into the box and a hose delivering the chilled air/CO2 to the print.

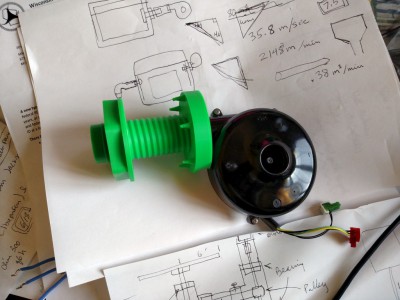
A couple weeks ago I got a blower from American Science and Surplus and this week I got it running by using a model airplane ESC and servo tester to drive its brushless DC motor.  It appears to be capable of blowing much more air than I’ll need.  There are many unknowns yet to test.  How much chilled air/CO2 will it take to solidify the chocolate after it leaves the extruder?  How long will a block of dry ice last when used this way?  Will ice build-up inside the chiller box adversely affect its performance?

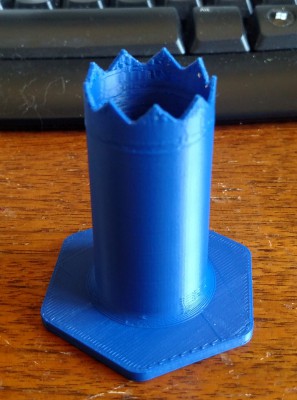
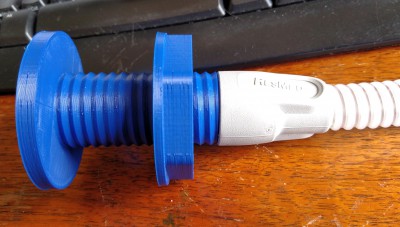
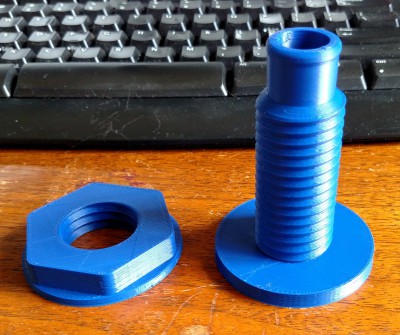
I designed and printed three parts for this system- a mount to attach the blower to a foam box up to 1.5″ thick, a hose coupler to allow delivery of the chilled air/CO2 to the print, and a hole saw to cut holes to fit the other two parts.   The printed parts fit as if they were designed for the job!

3D printed hole saw

3D printed hole saw

Hose connected to hose coupler

Hose connected to hose coupler

Hose coupler parts

Hose coupler parts

Blower mount for air chiller box

Blower mount for air chiller box

First Ever Test of the 3.5 Liter Syringe Extruder

My last post showed how I made a plunger for a 3.5 liter syringe.  Today’s post is the results of the first ever test of that syringe assembly including the plunger.  The goal of the test was to determine if the syringe pusher would be able to push very thick, viscous paste (sort of like melted chocolate) out of the 1/4″ syringe nozzle.  It was also a test of the ability of the previously made silicone plunger to maintain a seal even against whatever pressure develops inside the syringe as it is pushing.

I mixed about 1 liter of extra thick pancake batter to a consistency that I thought would be much thicker than molten chocolate (pancake batter is much cheaper than chocolate) and shoveled it into the syringe, then bolted on the pusher and hooked it up to a power supply:

Looking back, I probably should have loaded the syringe from the other end.
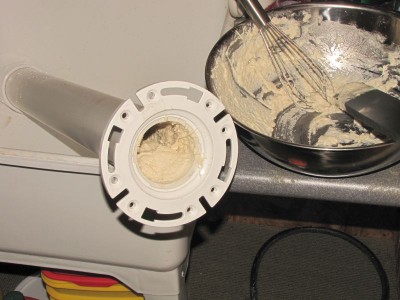
Syringe loaded with super thick pancake batter.

Syringe loaded with super thick pancake batter.


Here’s the actual test.  It gets especially interesting about 1 minute in:

The syringe continued drooling after power was removed due to air that was trapped inside the syringe.  As the plunger pushed, the air was compressed.  When the motor stopped the compressed air continued to push out the batter.  I will have to be careful to eliminate air bubbles in the material when it comes time to use this in a printer.

It only took a couple minutes to clean out the syringe after the test was done.

The pusher did its job much better than expected, and the plunger held up just fine, too.  I feel confident that this device will be able to extrude chocolate.   Now the real work begins…
Son of MegaMax Enters Instructables 3D Printing Contest

Many 3D printers being given away as prizes!  If I win one I’ll be donating it to my son’s school or other school or library that would like a machine and doesn’t already have one.  To do that I need your votes!

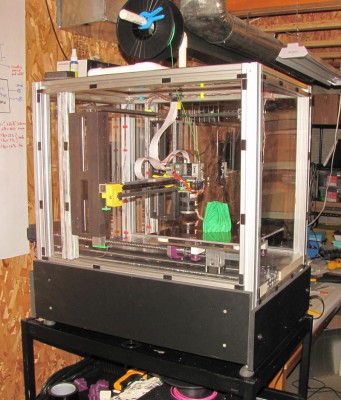
Son of MegaMax

Son of MegaMax

Please see my Instructable here:  http://www.instructables.com/id/An-Almost-Reliable-High-Precision-3D-Printer-Son-o/and vote for me by clicking the little red “vote” ribbon in the upper right corner of the start page.

Thanks!

http://www.instructables.com/id/An-Almost-Reliable-High-Precision-3D-Printer-Son-o/