We have some great projects erupting from the Neon program!!!
As you read, HgAr = Mercury/Argon – gas emanates a powder blue color
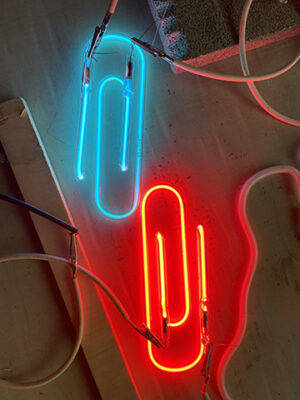
Ne = Neon gas, emanates the “no vacancy” red color seen on many neon signs
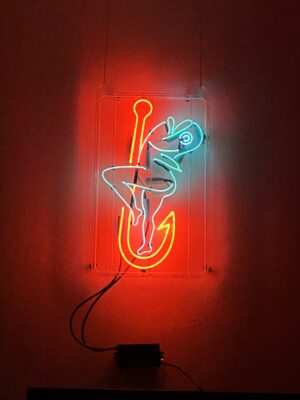
Self Portrait
Starting off with the latest fantabulousness from Gary. An excellent job working with a multimedia project that required the Neon area and woodshop.
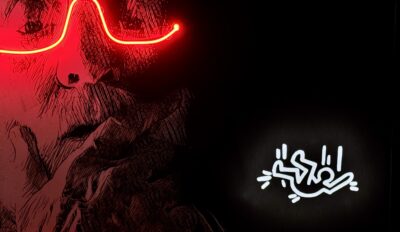
The dimensions are 38″w x 24″h, 10mm diameter glass, filled with Ne (red), and a white phosphor-coated 10mm tube filled with HrAr (blue) to create white.
From 50K feet, how was it done?
- Gary constructed a wooden frame utilizing the Norwich wood shop.
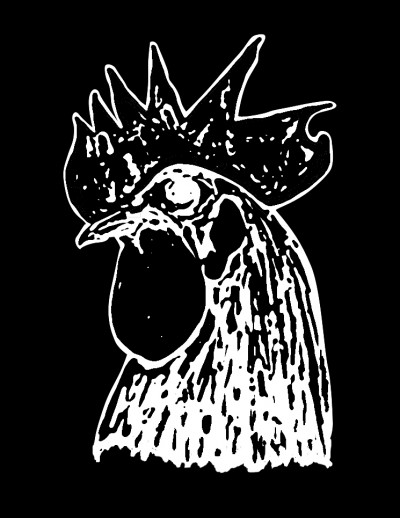
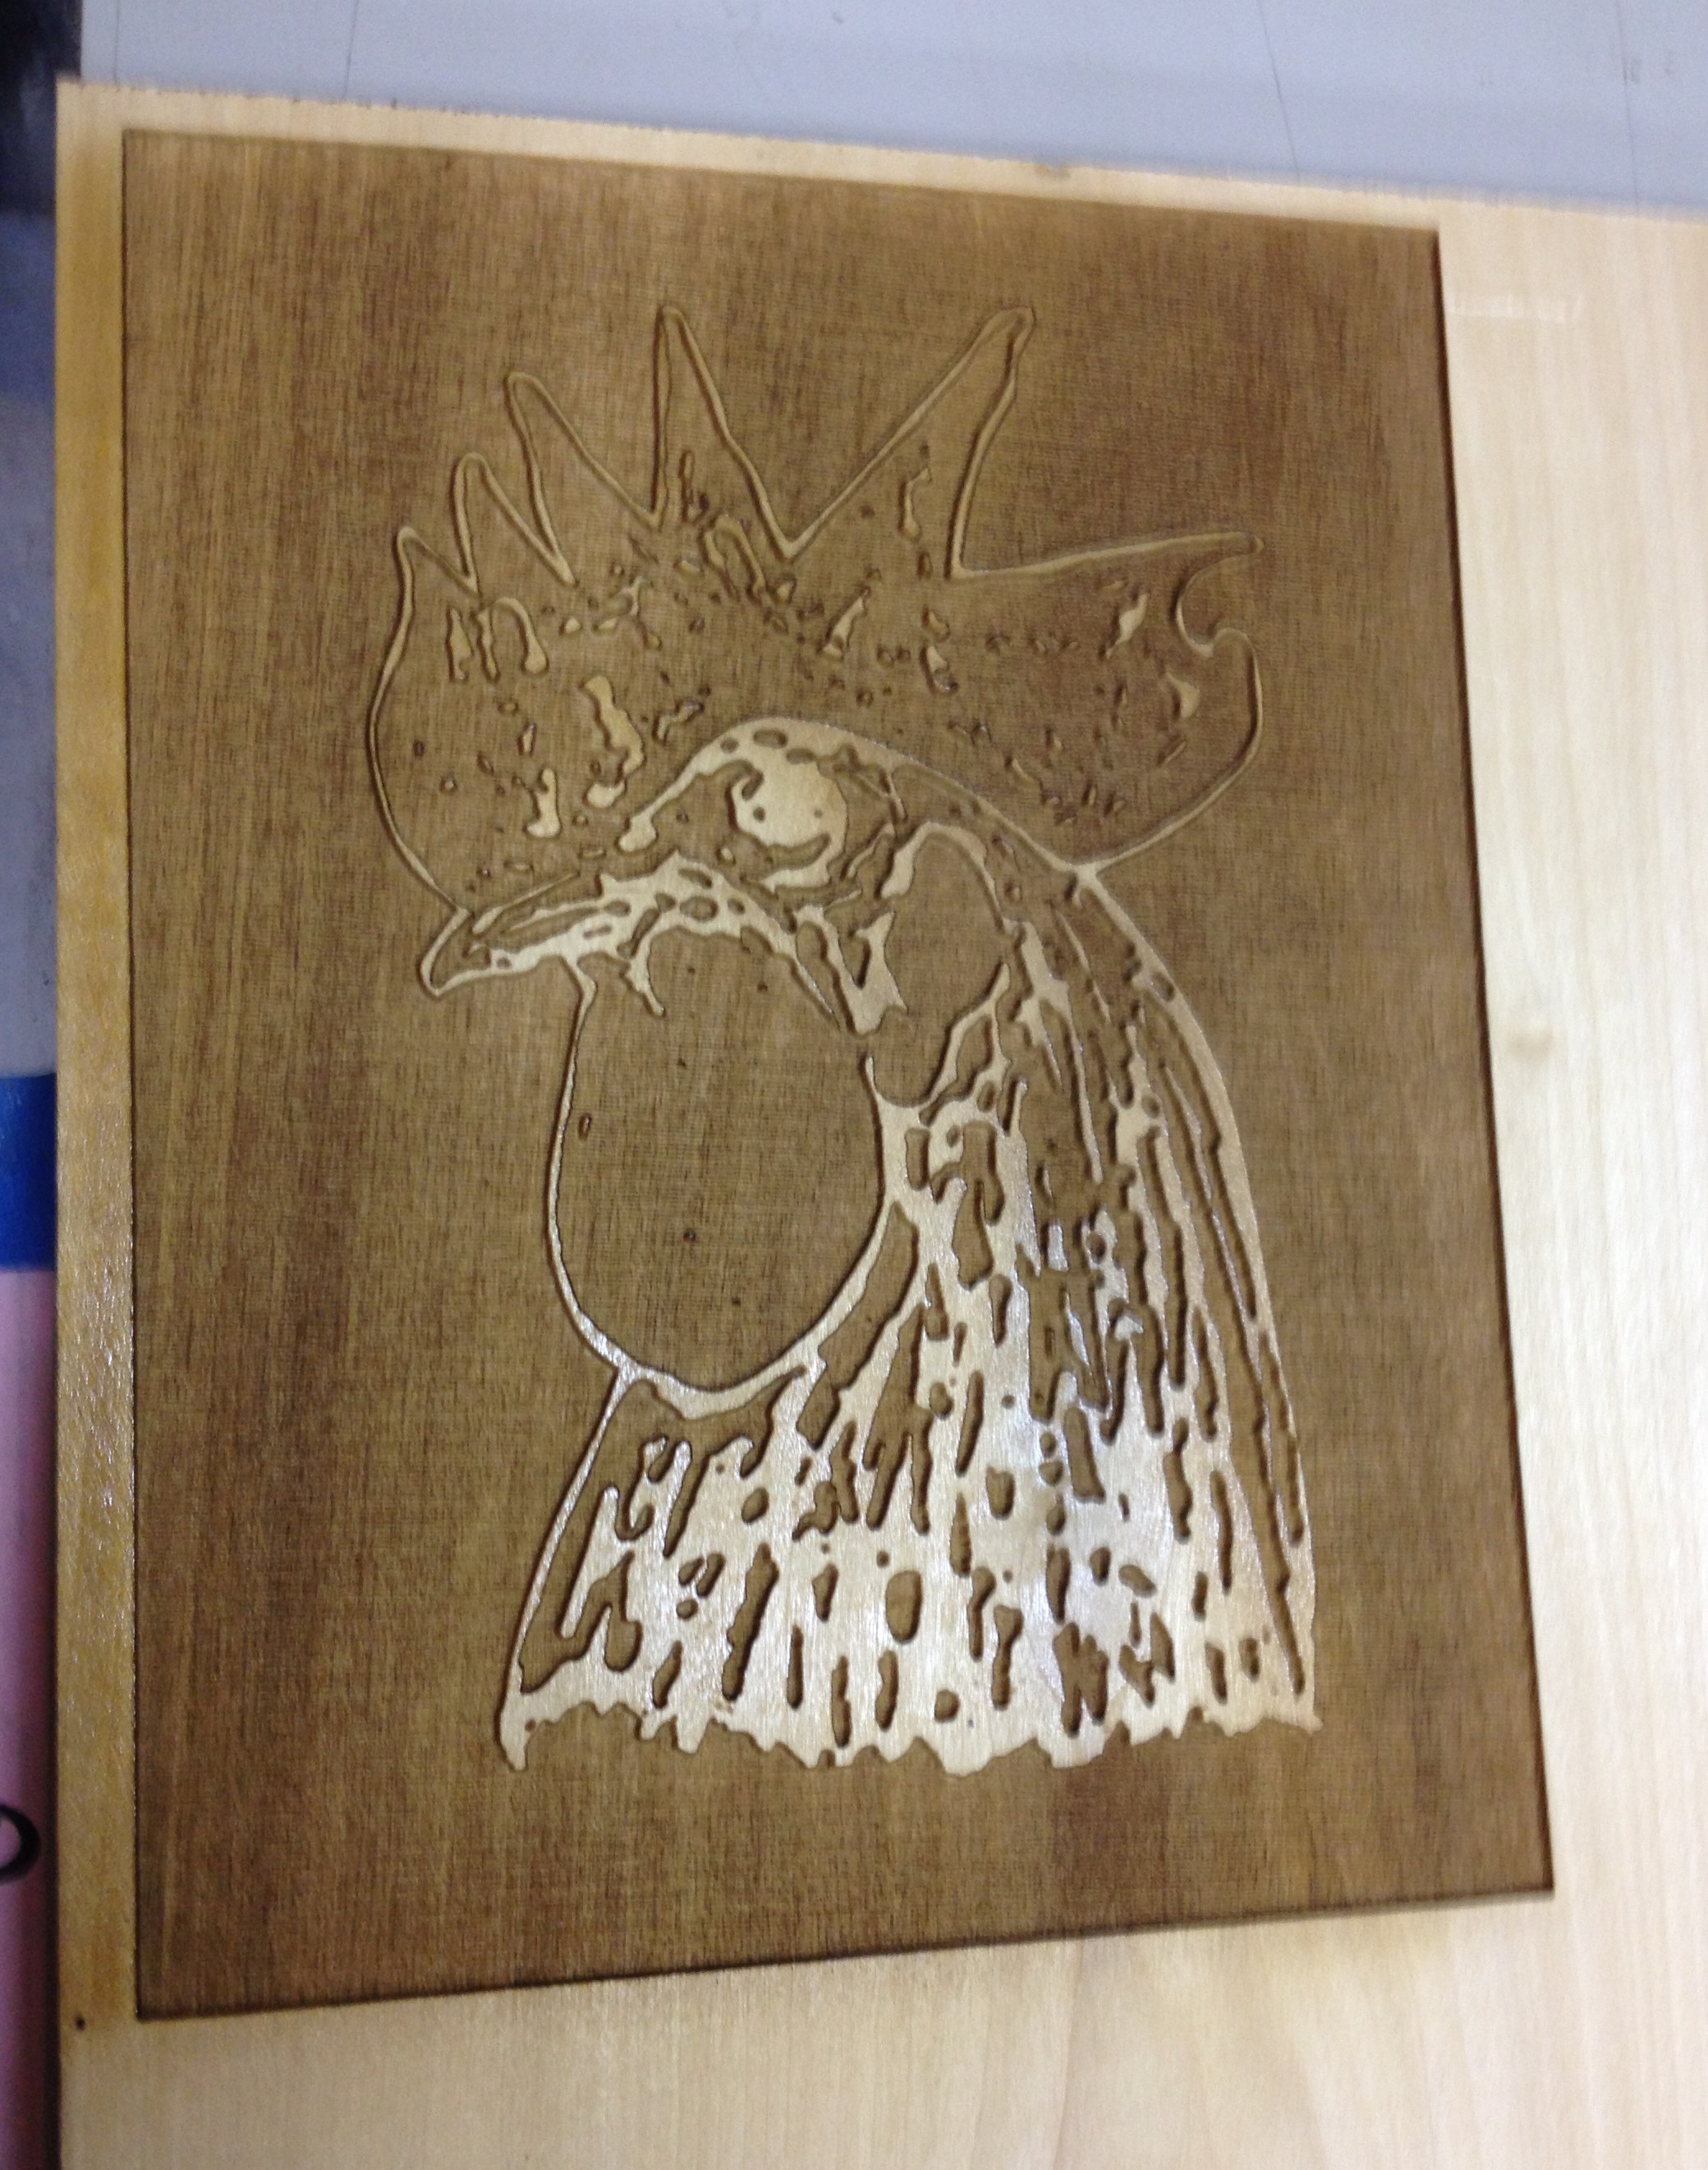
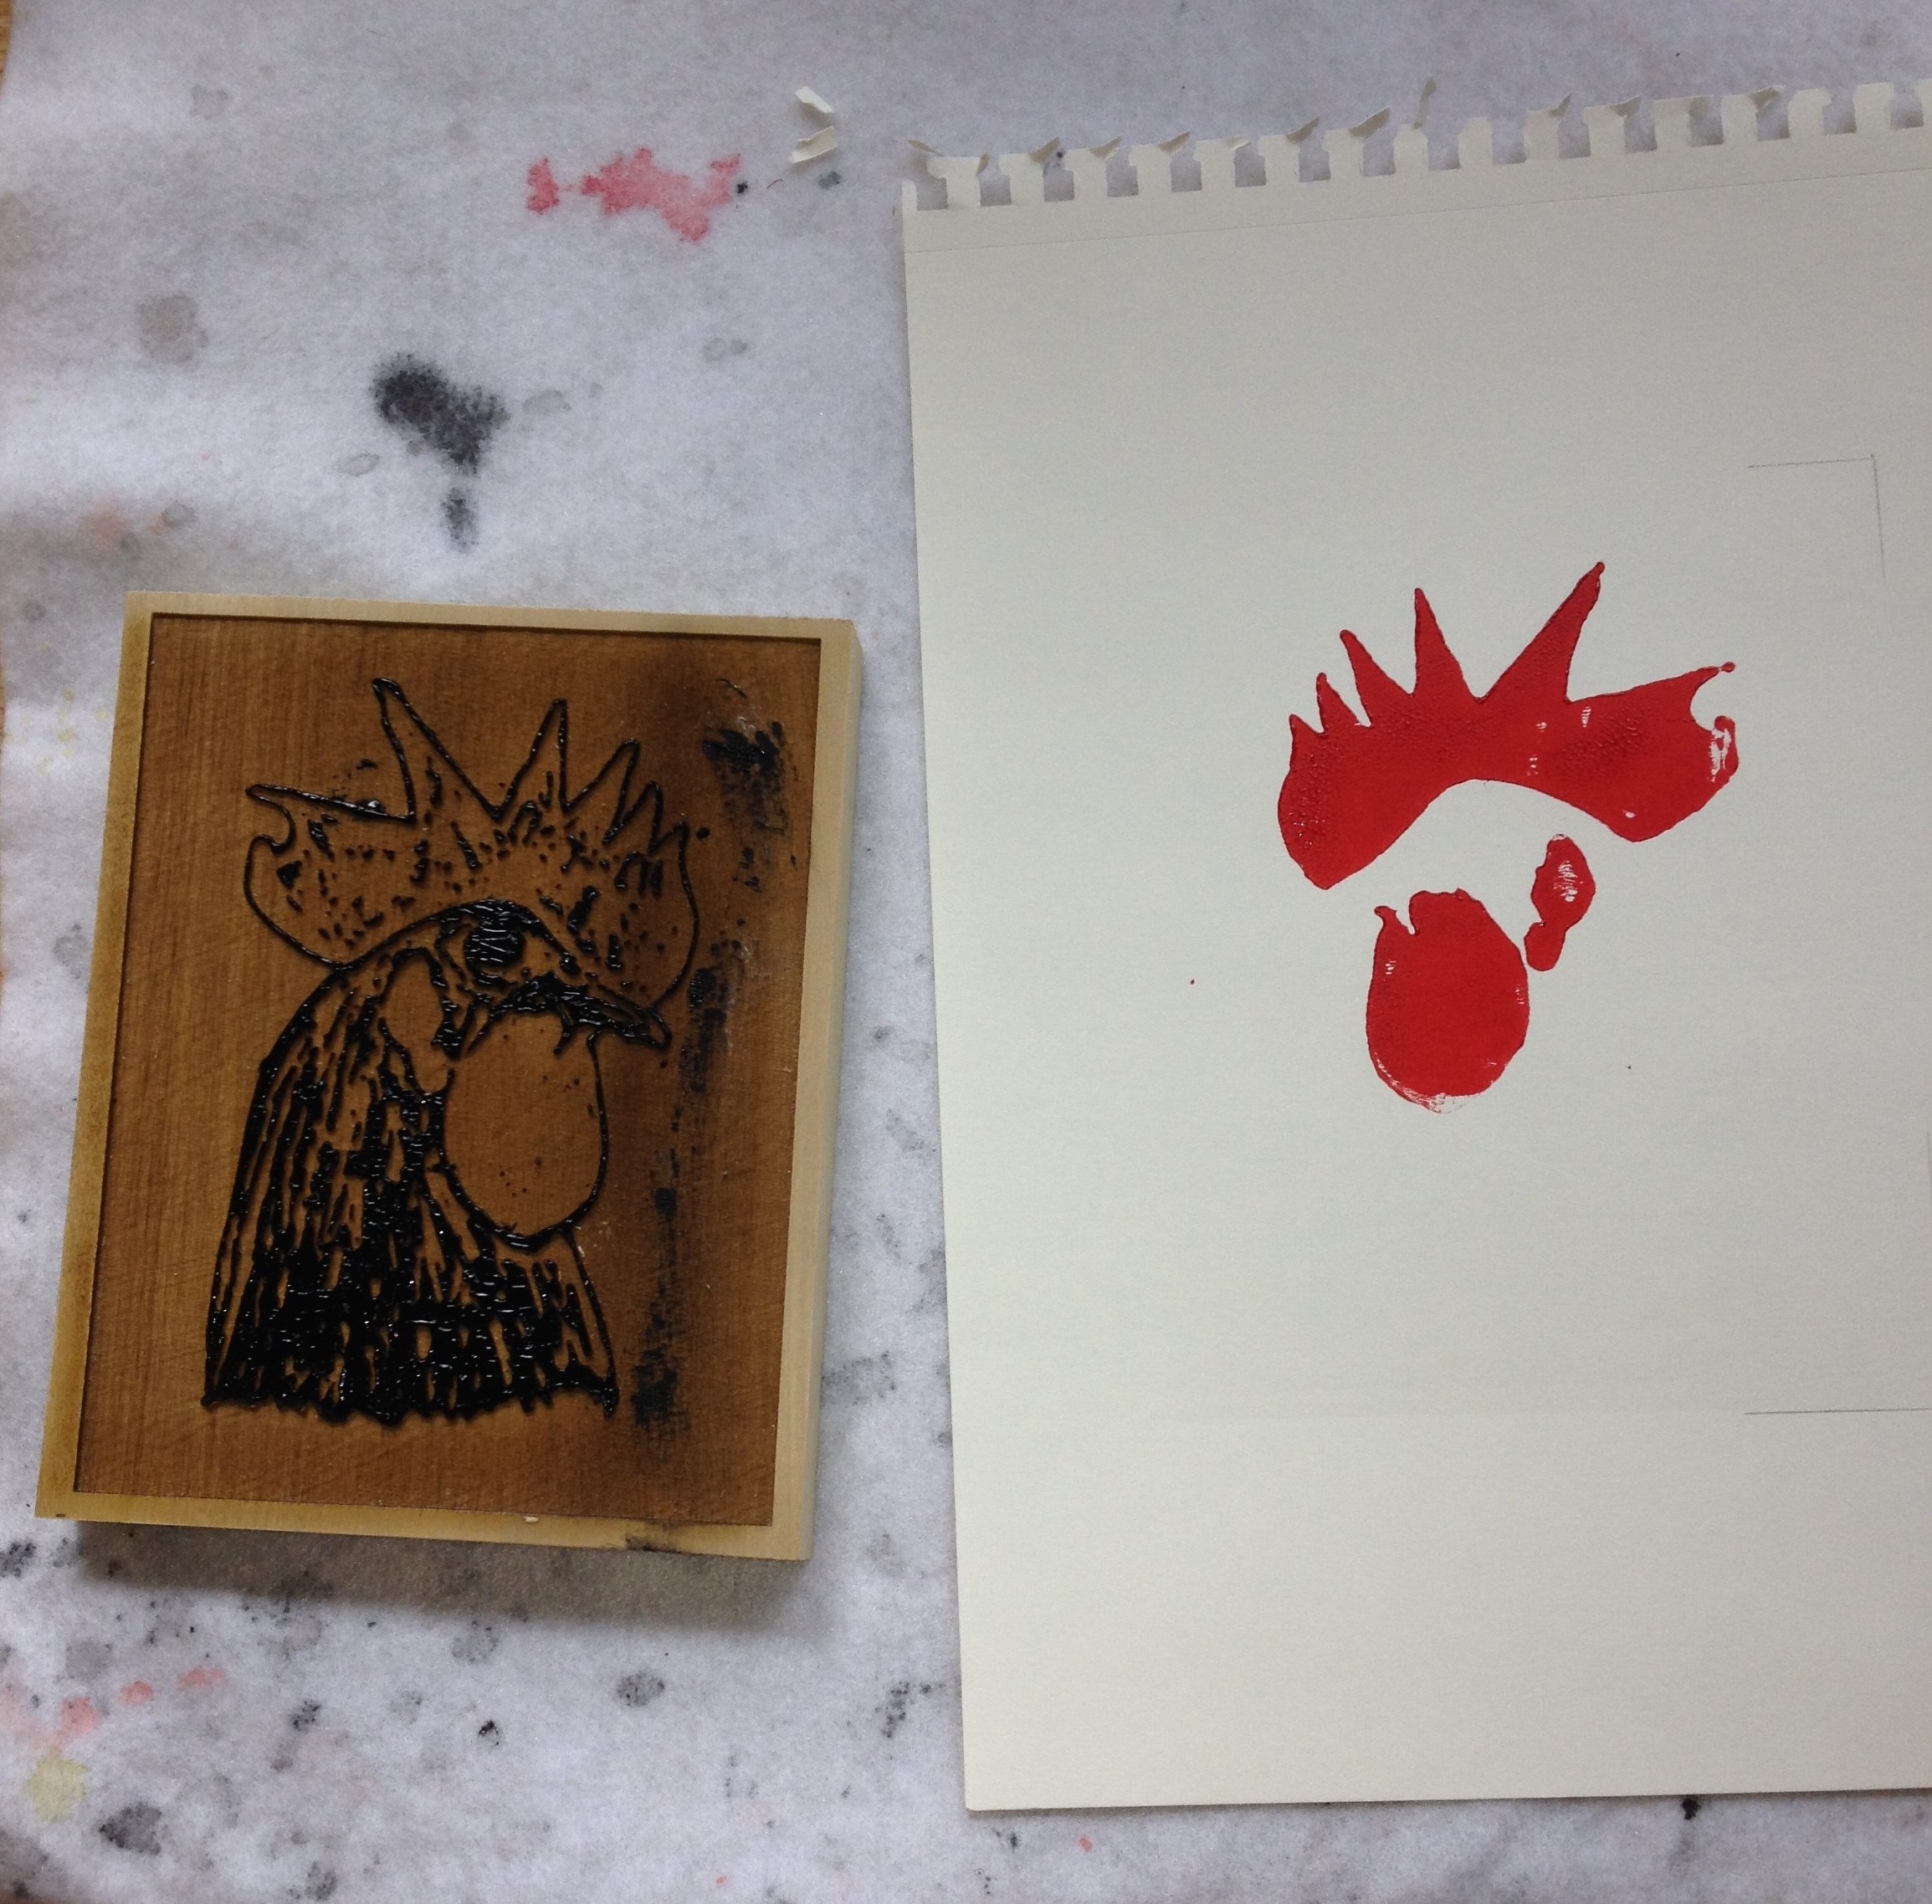
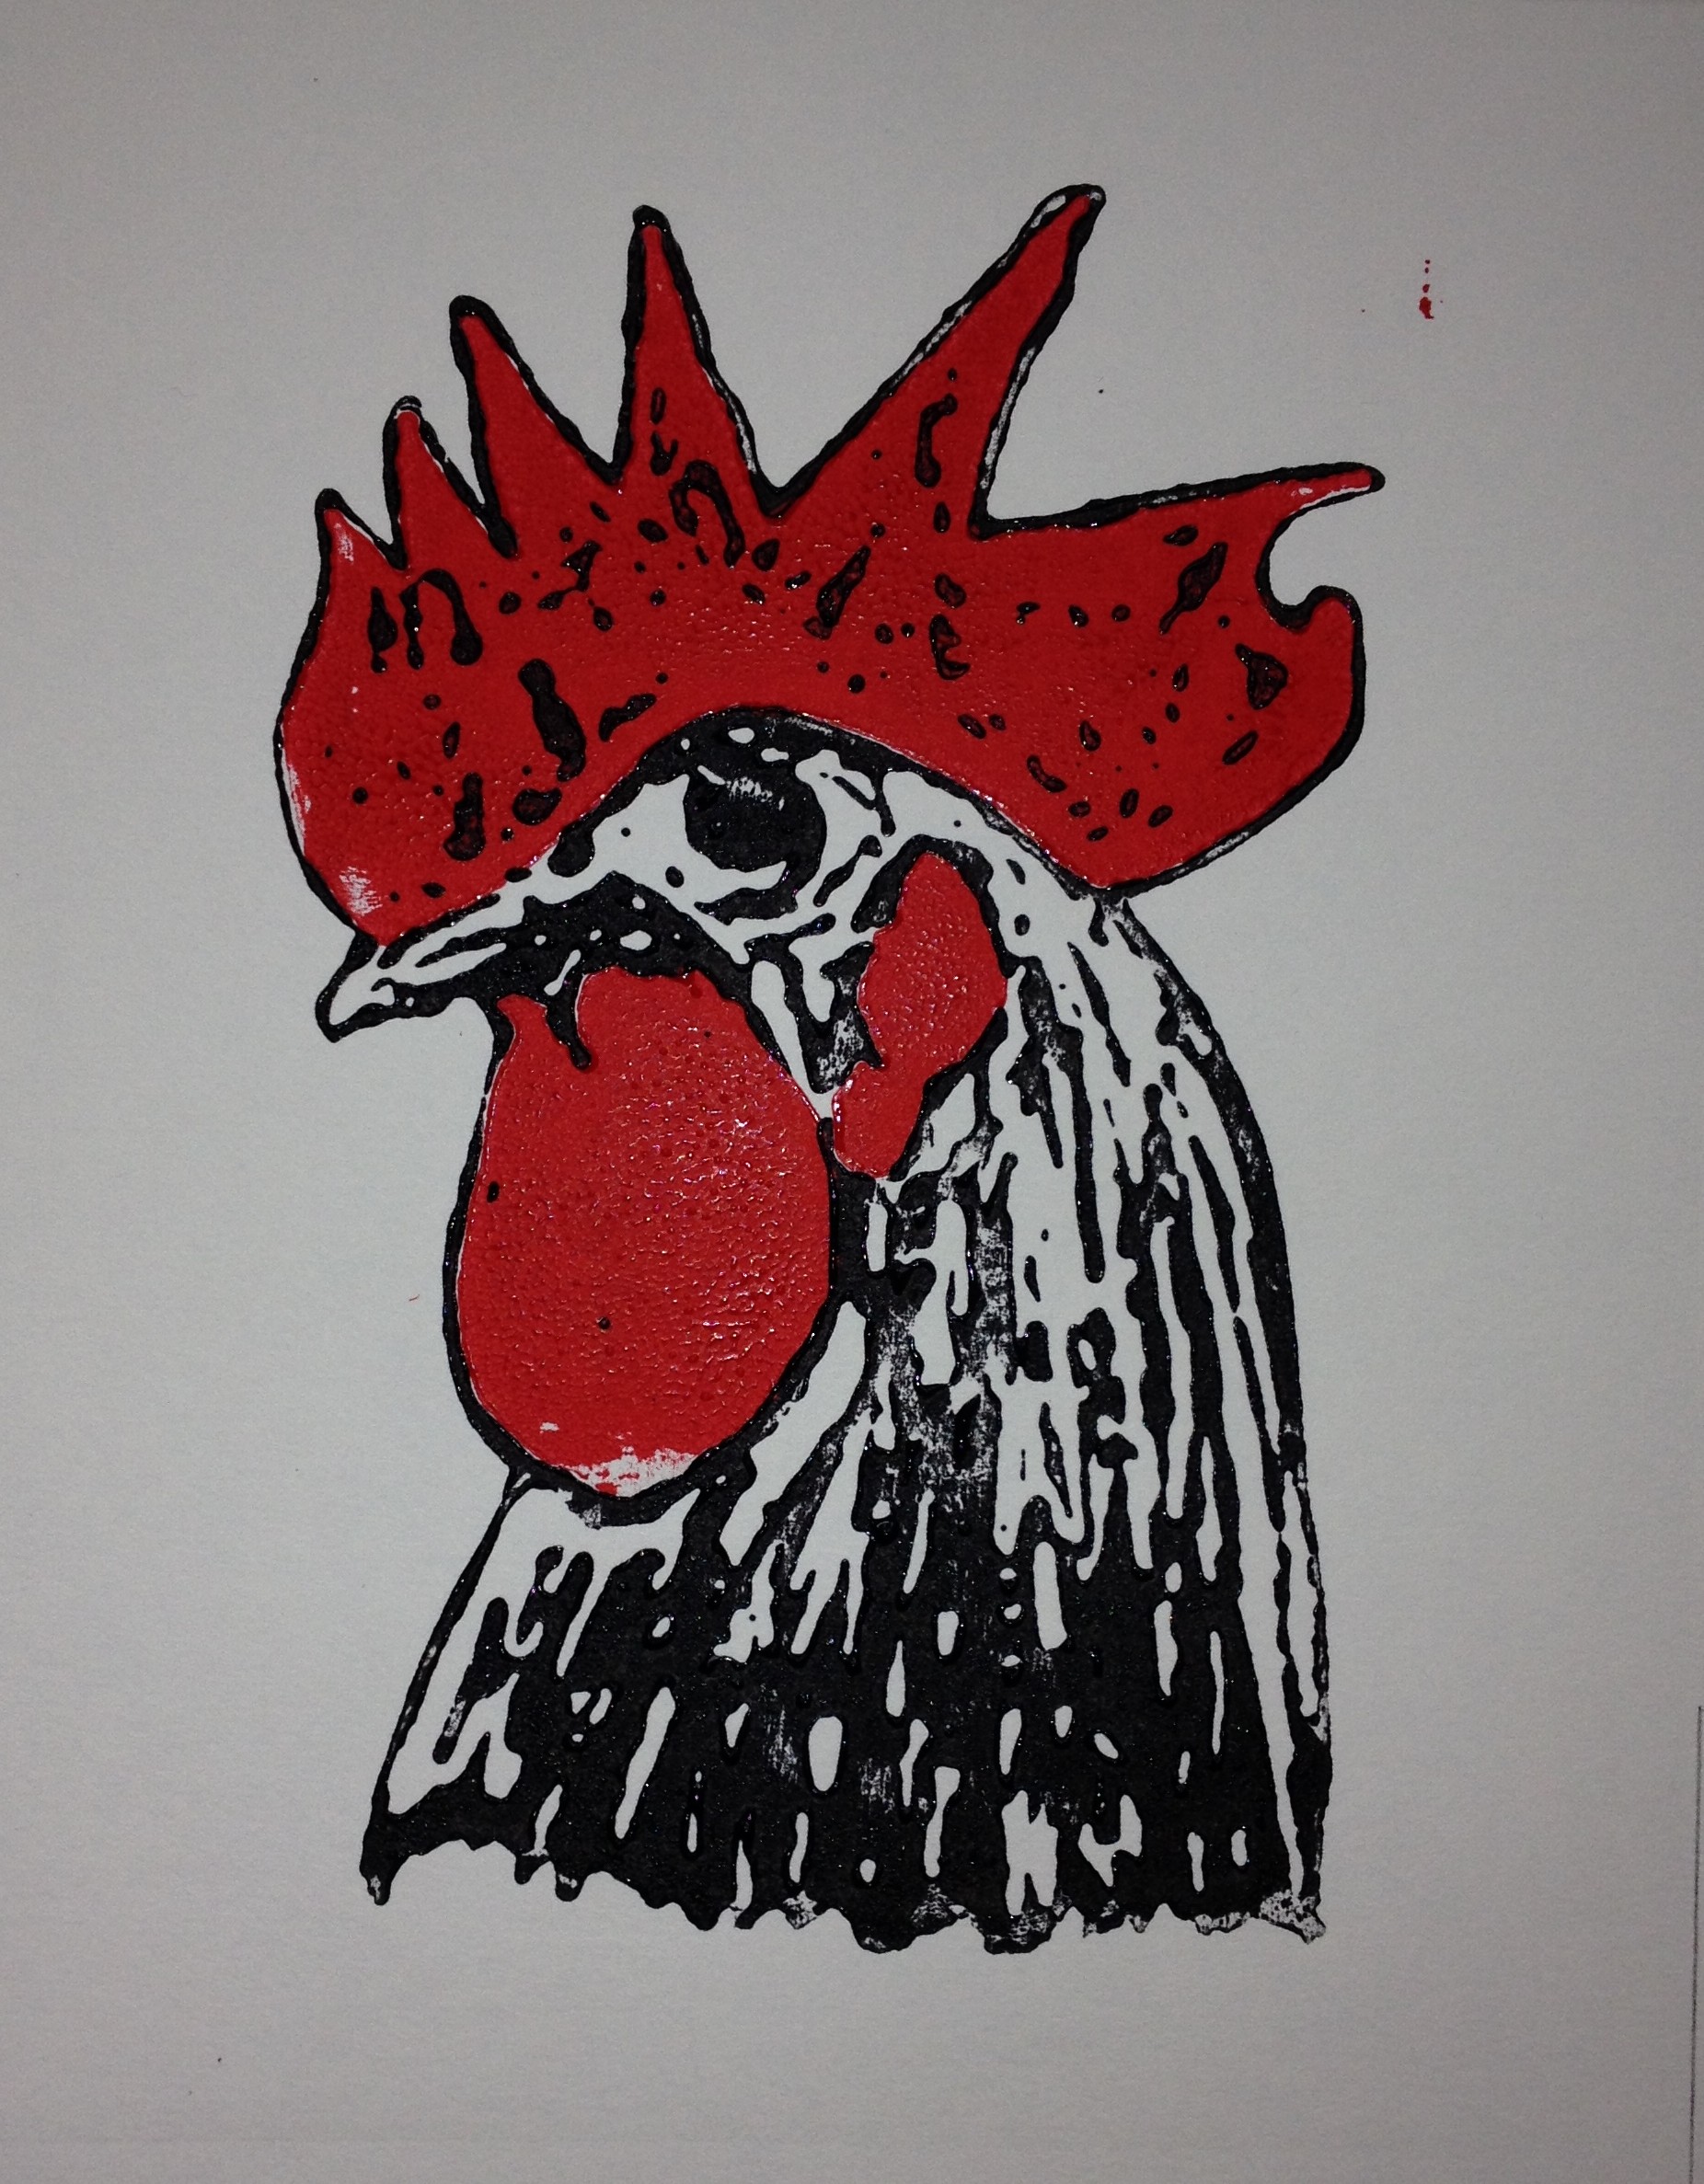
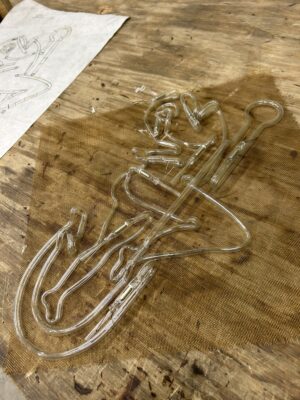
- He mounted a printed image to 1/8″ white acrylic sheet.
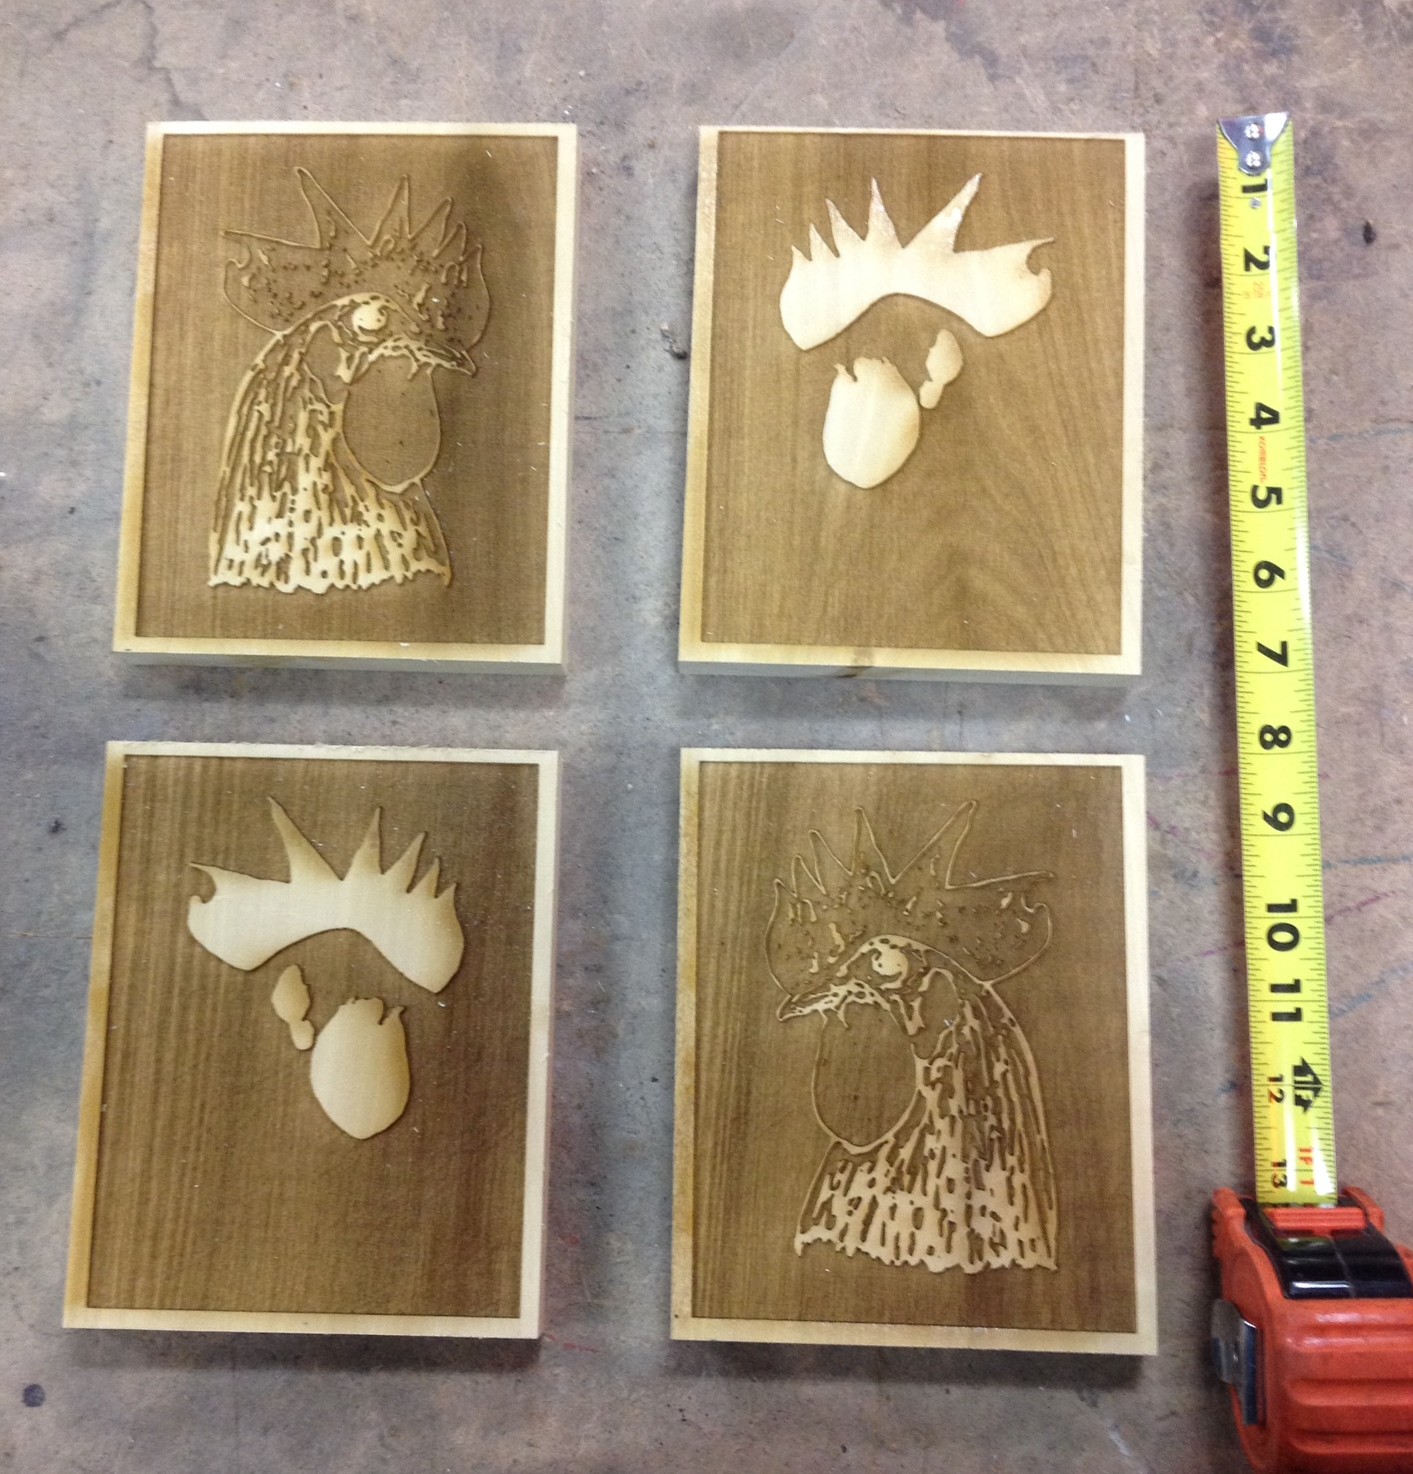
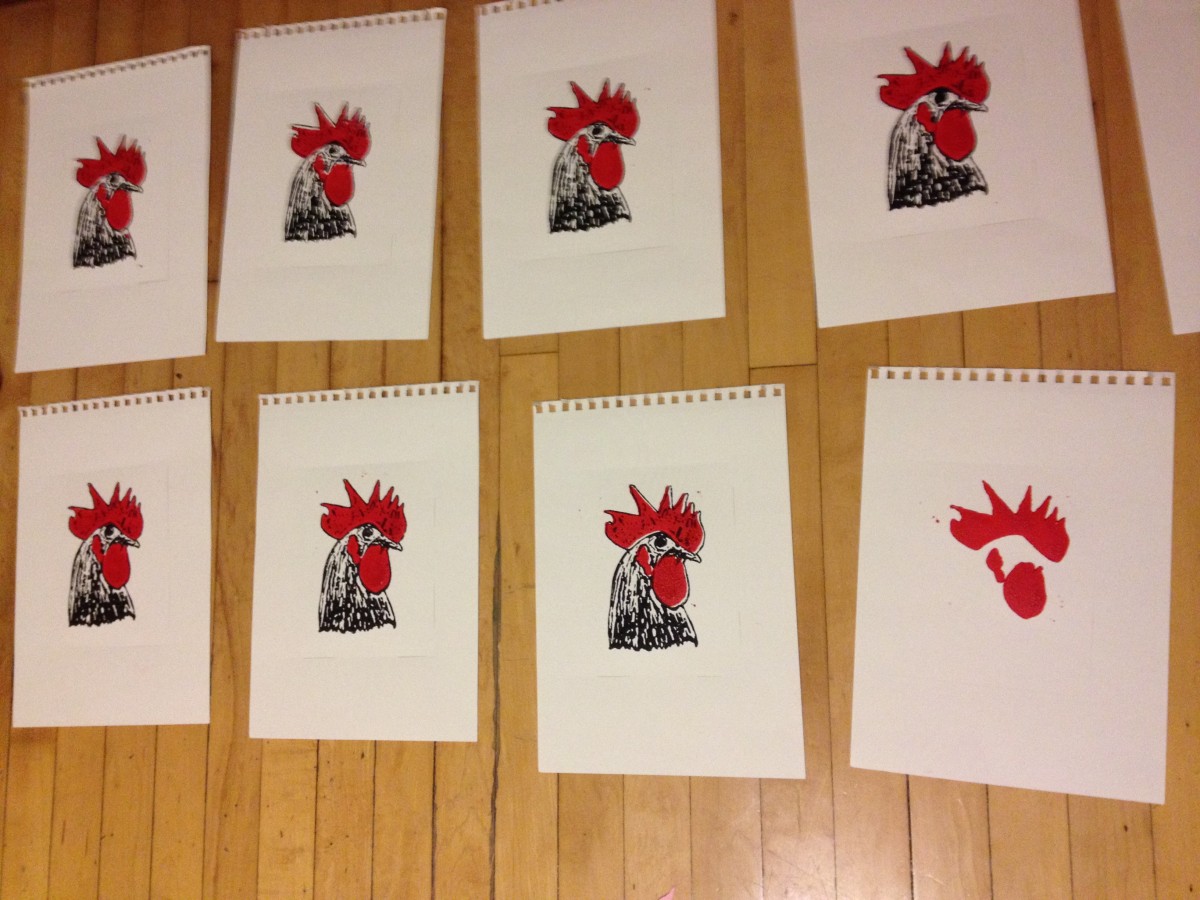
- Using a x-acto knife, he carefully cut out the image from the printout to expose the white acrylic (lower right)
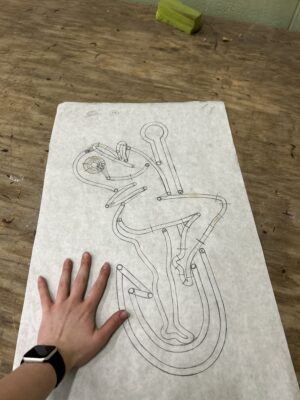
- A paper pattern was drawn and used to create the glasses
- A separate pattern was created to create an outline around the image in the lower right
- The glasses are filled with Ne gas and are mounted on top of the print
- Underneath the acrylic, a white-coated tube filled with HgAr was used to construct the outline that glows through the acrylic cutout
Ghosts
For Peter’s 3rd Neon project, he created some ghosts to hang up in his son’s room
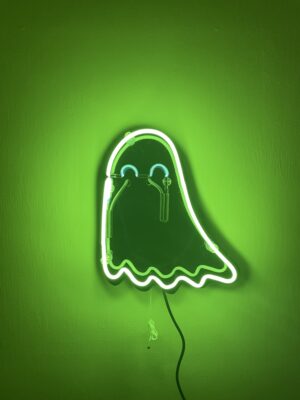
Size (to be added) constructed with acrylic, 10mm green phosphor coated glass with HgAr for the green ghost, Ne with clear tubing for the red ghost
From 50K feet, how was it done?
- Starting with a paper pattern, Peter constructed the ghosts in such a way that the eyes could connect without distracting from the image.
- Looking at the green ghost, the eyes are made of clear glass, and the ghost itself, from green phosphor-coasted glass. This allows the ghost to have 2 colors in the final piece. Clear glass filled with HgAr – blue, green phosphor glass filled with HgAr produces green.
- From the final glass form, Peter then cut out the acrylic to exactly match the shape of the ghost
- Mounting the transformer and french hinge on the back allows the ghost to seem like it is gloating on the wall
Wisco!!!!
Sam’s first neon piece!!!
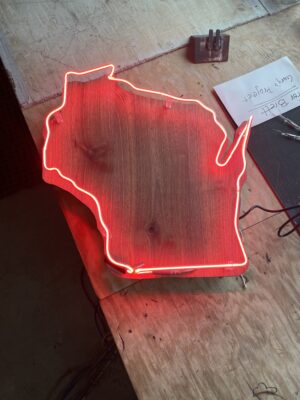
Size (to be added), 10mm clear glass filled with Ne, mounted on (wood, type to be added)
From 50K feet, how was it done?
- It all starts with the paper pattern, drawing the actual size shape and then flipping it over to bend the glass
- Note: all Neon pieces are bent backwards to accommodate electrodes and other mounting supports
- Once created, the wood background was cutout and the glass was mounted.
- Utilizing a french hinge, the piece can hang on the wall and appear as if it is floating
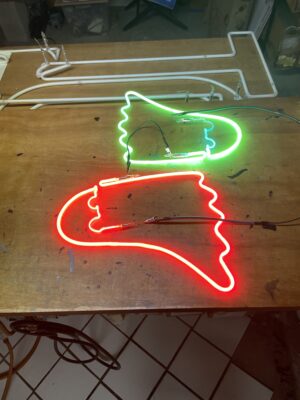
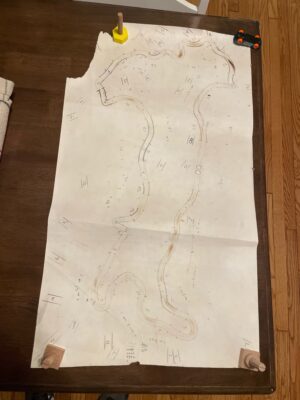
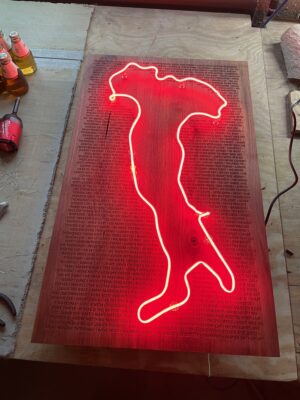
The hook dancer
Our Neon area champion (Rosie) created this fish dancer on a hook
Size (to be added), made with 10mm and 8mm glass filled with Ne and HgAr
From 50K feet, how was it done?
- As seen in the photos the pattern was created (backwards) where the order of the bends can be figured out along with how to bed the glass.
- glass can be bent in 1 continuous section or in smaller sections that are welded/fused together.
- the final pieces were mounted on acrylic
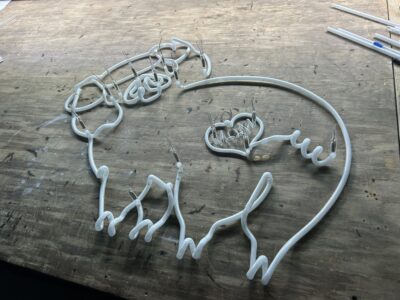
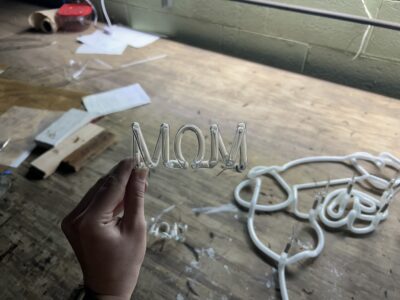
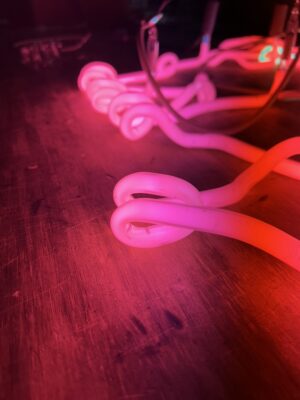
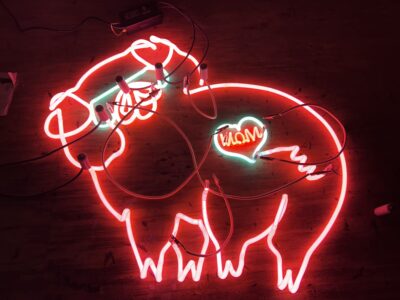
The Pink Pig
Another Rosie creation the Pink Pig
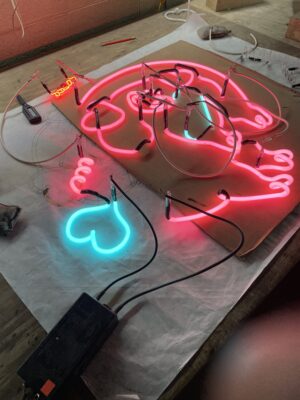
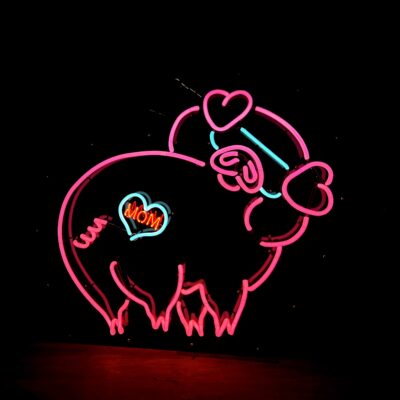
Size and other infor to be added
From 50K feet, how was it done?
- It all starts with the pattern. Sections can be bent individually and assembled at the end.
- Undesirable sections can be painted (block out paint) to hide them where pieces connect.
- Note the pigtail in the final that connects to the MOM. Using the block-out paint, Rosie was able to mask the light from the connecting pieces.
We play on Wednesday nights at the Norwich site. Please swing by or ask the artists for specifics about their pieces.
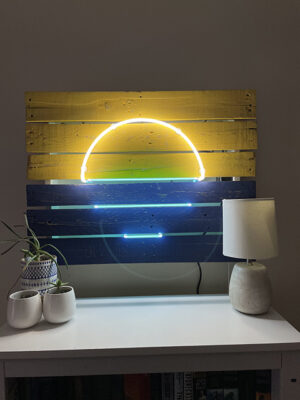
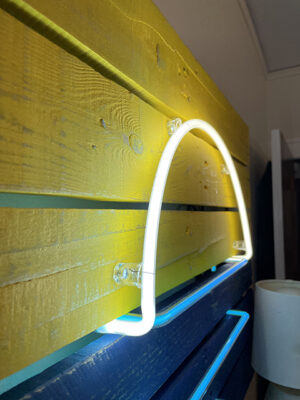 Another Beginning Neon project has been completed by member Peter Merrick. This project was a bit complex as there is only 1 continuous tube that weaves in and out of the wood “pallet-like” substructure. In addition to the complexity, beginners have challenges learning to use phosphor-coated glass and projects with symmetry. Peter was able to overcome these obstacles and create something awesome at the Norwich neon space :)