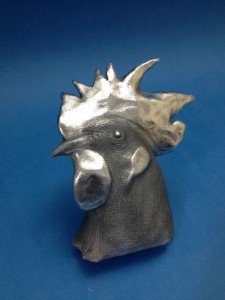
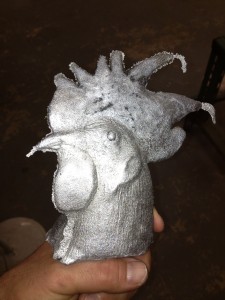
The rooster head above was cast in aluminum at the space on July 25th. Steps of the process are outlined below.
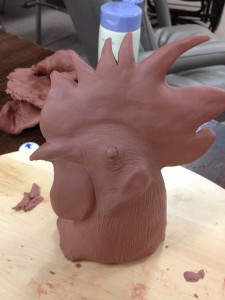
First, carve rooster out of plasticine modeling clay. The clay comes in many forms and can be purchased at most art stores
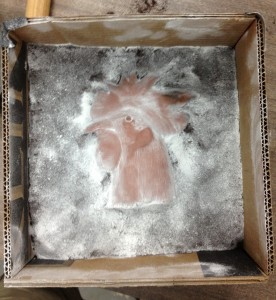
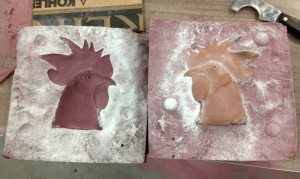
Next, make a 2 part mold. The left image shows the plasticine rooster in a bed of sand, dusted with parting compound. (parting compound helps separate the 2 parts to remove the clay core)
I then mixed up a batch of resin bonded sand (90 Mesh sand, resin and catalyst) and covered the clay core (about 2 inches high)
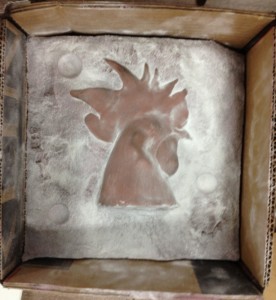
The right image shows the cured resin bonded sand with the clay core still in place. I re-dusted with parting compound and mixed another batch of sand. Note the 3 dimples that were added to help “key” the mold when reassembling.
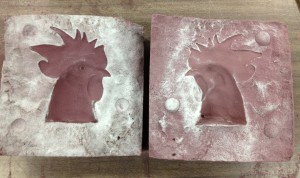
After the second batch of sand cured (24 hrs) I split the mold apart revealing the open mold on the left and the clay core in place on the right. Removing the clay, you can see the 2 halves of the mold ready to be reassembled for casting. Note the “key” locations on the right image.
The pour hole (sprue) that was carved into the middle of the neck for pouring the metal, is not shown.
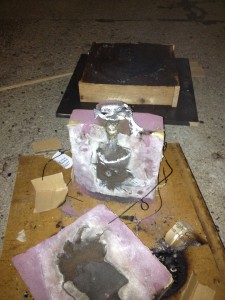
After pouring the metal, allowing some cool time, you can see the mold broken apart in the left image. Remove the pour sprue, and clean up the flashing (seen in the right image) and with a little polishing, its good to go.
I encourage everyone to try it out!
