I Made Trash!

This week, I had the opportunity to create a unique housewarming gift for my coworkers who are moving into their first house. Being passionate about pottery and wanting to experiment with a themed set, I found the perfect inspiration after discussing ideas with Dennis and his wife Sabrina. Dennis, a member of a local band called the Stalley Cats, sparked the creative idea behind this gift. Although I may have embraced the alley cat theme wholeheartedly, the final result turned out to be a delightful surprise.


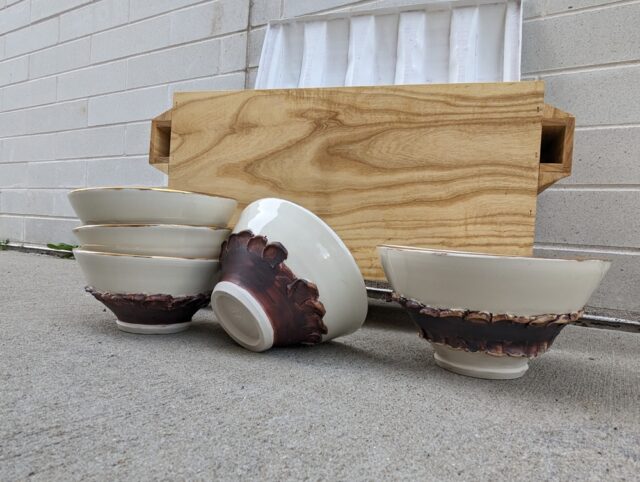
Bowls for Band Practice:

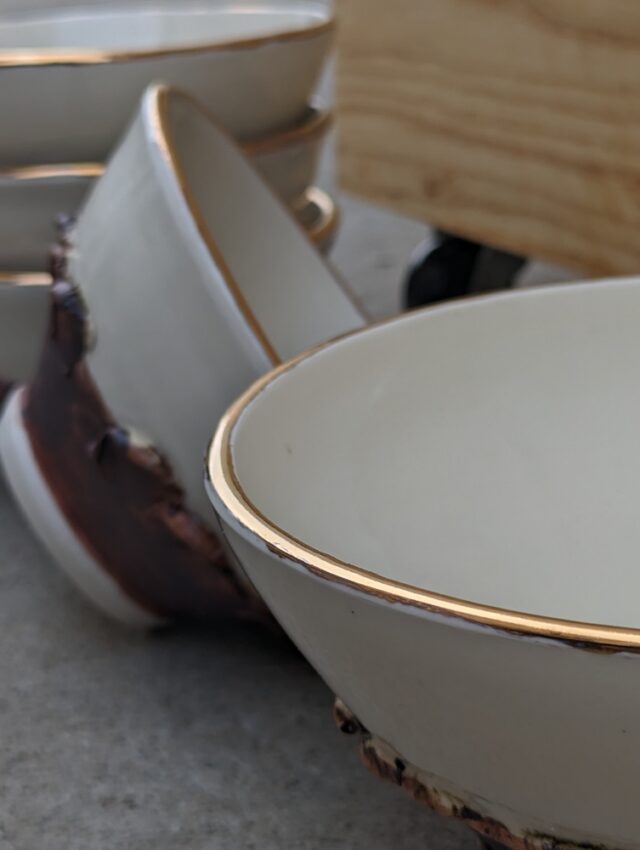
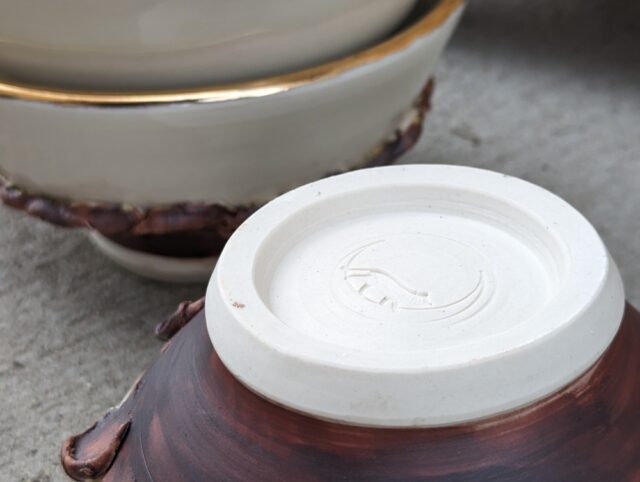
The project began with crafting a set of bowls intended for the band’s use during their practice sessions. Each bowl features the stamped logo of the Stalley Cats on the foot, adding a personalized touch to the pieces. These bowls will surely enhance the band’s practice sessions while providing a sense of unity and identity.
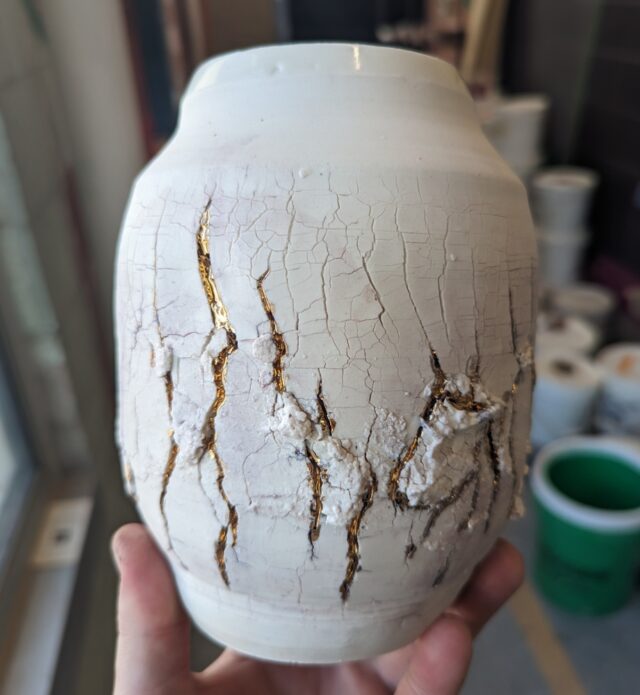
The Dumpster:

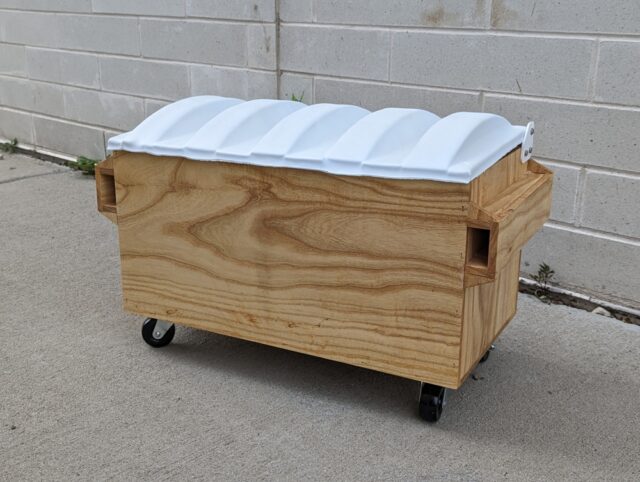
A Sticker Holder: During a conversation with Dennis, he mentioned that the band enjoys trading stickers with other local bands during their shows. That’s when the idea struck me to create a unique holder for their sticker collection. The solution? A dumpster! The dumpster serves as a creatively fitting container for their stickers, embracing the band’s lively spirit.

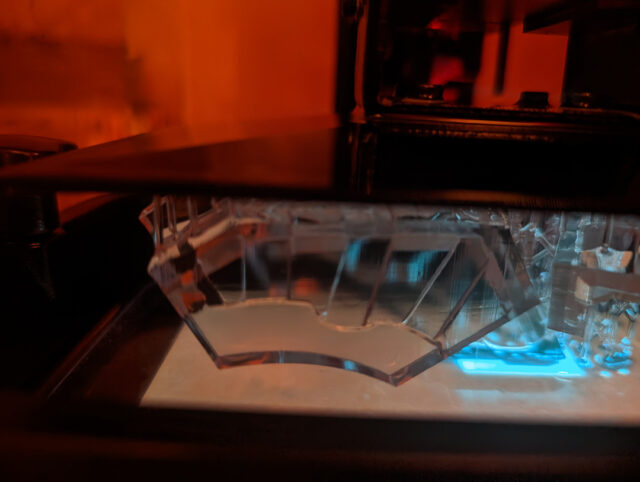
Vacuum-Formed Top and Custom Bowl Holder:

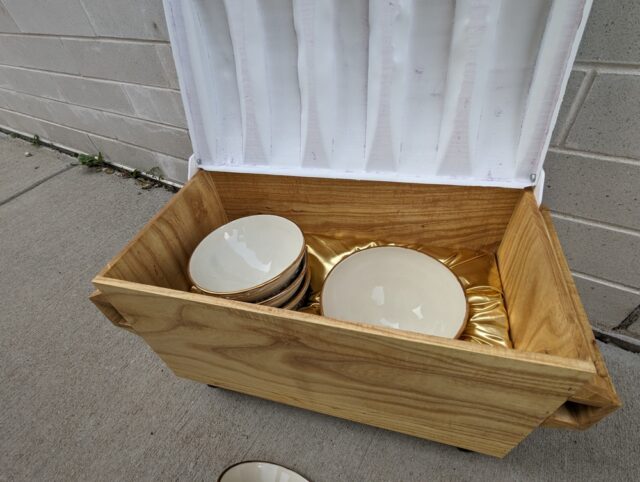
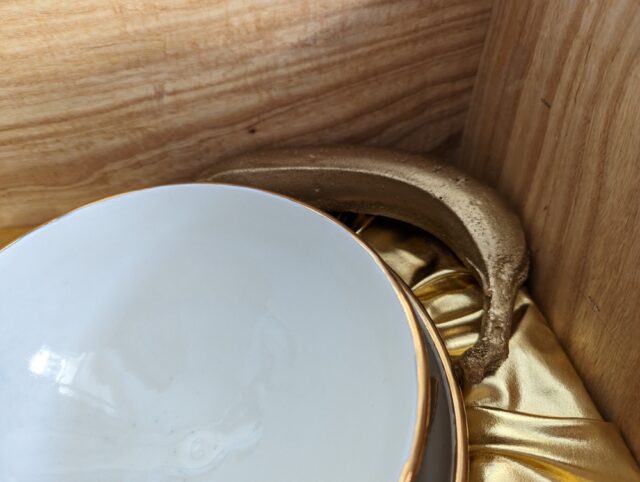
To elevate the presentation of the gift, I decided to go the extra mile. The top of the dumpster box is vacuum formed, giving it a sleek and polished appearance. Additionally, I crafted a custom bowl-shaped holder inside the box to ensure the stickers and other small items remain organized and easily accessible. The attention to detail in both the design and functionality of the gift showcases the dedication put into this project.

Creating this alley cat-themed housewarming gift has been an enjoyable experience from start to finish. The Stalley Cats-inspired pottery bowls, complete with the band’s logo, will serve them well during practice sessions. The dumpster sticker holder adds a unique touch and showcases their passion for trading stickers with fellow bands. Finally, the vacuum-formed top and custom bowl holder add an extra level of craftsmanship and practicality.

I’m thrilled to have completed this project on time, and I hope Dennis and Sabrina enjoy this one-of-a-kind gift as they settle into their new home. It’s a true testament to the joy of handmade creations and the personal touch they bring to special occasions.

Space improvement day was fun! Please come next time!

OK, so maybe clearing sludge from the horizontal band saw isn’t, honestly, fun. But it felt good to help improve the space. And thanks to a cook-out organized and mostly executed by Bryan Flannery, the afterparty was fun indeed.  Thanks all those who helped with grunt work and some key projects. As for those who missed out, we’d love to share the fun with you next time!


SID June 3 '23

SID June 3 ’23

Iron Casting: Workshop

Sunday June 11th @ 2pm. please RSVP by emailing Dave at dave@davidmarnold.com or texting at 414-215-0449

“Workshops are for Scratch Blocks and Doodle Bowls. These are premade molds that you just scratch your design in.

This includes the cost of metal and prices are below.

3″ Artist Tiles – $7
5″ Artist Tiles – $15

*Doodle Bowls – $45

*You must complete one Artist Tile Mold before purchasing a doodle bowl.”

Casting Area Wiki

GOLD!!!! I Love Gold!

Hello Makers!

Ever wondered how pottery artists create those stunning, metallic gold accents on their pieces? The secret lies in a wonderful material known as gold luster. Today, we’re diving into the world of gold luster – what it is, how it’s used, and some key things you need to know before you start experimenting with it in your own pottery projects.

What is Gold Luster?

Gold luster is an overglaze – a decorative element applied to pottery after it’s been bisque fired and glaze fired. Its primary ingredient is gold, making up about 10-20% of the mixture. The rest is a blend of fluxes and oils. Fluxes help the gold adhere to the ceramic surface, while the oils assist in the application process.

Application and Firing

Gold luster is usually brushed onto the pottery piece, allowing you to highlight specific areas with that luxurious gold finish. Once applied, the piece goes back into the kiln for what’s known as a luster or overglaze firing. This firing is at a much lower temperature than the previous firings – around 018-020 in the Orton Cone rating system (approximately 1315-1377°F or 715-747°C).

Safety and Practicality

Before you get started, there are a few safety and practical considerations to keep in mind. Gold lusters often contain materials that can be harmful if not handled properly. Always work in a well-ventilated area when applying gold luster, and make sure to clean up thoroughly afterwards.

Additionally, while the finished product can be stunning, gold luster surfaces may not be food-safe. If you’re creating functional ware, it’s advisable to avoid placing luster on surfaces that will come into contact with food.

The Cost of Beauty

One more thing to bear in mind is that gold luster is a luxury item in the pottery world. The gold content makes it quite expensive, and it should be used sparingly. However, the impact it creates can be worth the cost – a little goes a long way in adding that extra sparkle to your ceramics.

Tool Design Challenge

Ever see a YouTube video of someone making something and have an immediate need to make one for your-self?  Happens to me all the time.  Last week I saw this video from creator Steven Bennett.  In it he designs and builds a fume extractor designed to look like a Makita power tool.

It seamed like a fun design exercise and I have been doing a lot of soldering at home any way.  I choose to make my fume extractor in the style of Milwaukee Tool for obvious reasons.  This is not my first project that adopts the over molding look of a red and black power tool.  SO it was also a good opportunity to have another go at DIY over molding using resin printed molds.  Resin is the way to go here for a couple reasons.  First the material come in clear, this means that when filling the mold it is easy to see when and where it is filling up.  Second, no sanding is necessary on the interior of the mold.


I am using a Smooth-On urethane rubber colored with black pigment.  On a side note the inside of the mold needs a heavy coat of mold release if you want to remove it with the part intact.  I may or may not have learned that the hard way.   The mold shells are held on with some clamps and then the edges are sealed with modeling clay.  After the urethane is mixed it can be injected with a small syringe into a hole in the mold shell.