Fix Your Symbols

BadSymbol

This Saturday I continued with the commissioning of my unified singing pumpkin controller. I got all the sub-systems working except for the power amplifier. In the picture above, on the left is the pumpkin controller. On the right is a (normal) Arduino amplifier shield using the same amp chip.  That shield works. If you look carefully you can see that the chip pins are mirrored between the two boards.

Mirroring pins is an innocent enough mistake. It happens to everyone once in a while. The problem is that I made the EXACT same mistake on the first round of that amplifier shield. (Notice the R2 on the right hand silk?) Apparently I fixed that problem manually without correcting my library symbol. That was many months ago and I forgot about it, thus resulting in a repeat of the same error on the unified pumpkin controller. Dumb mistake! It would have taken 10 mins at most to fix the symbol.

Don’t be like me, fix your symbols the moment you notice the mistake! You may not get back to it for a while and may not remember there was a problem.

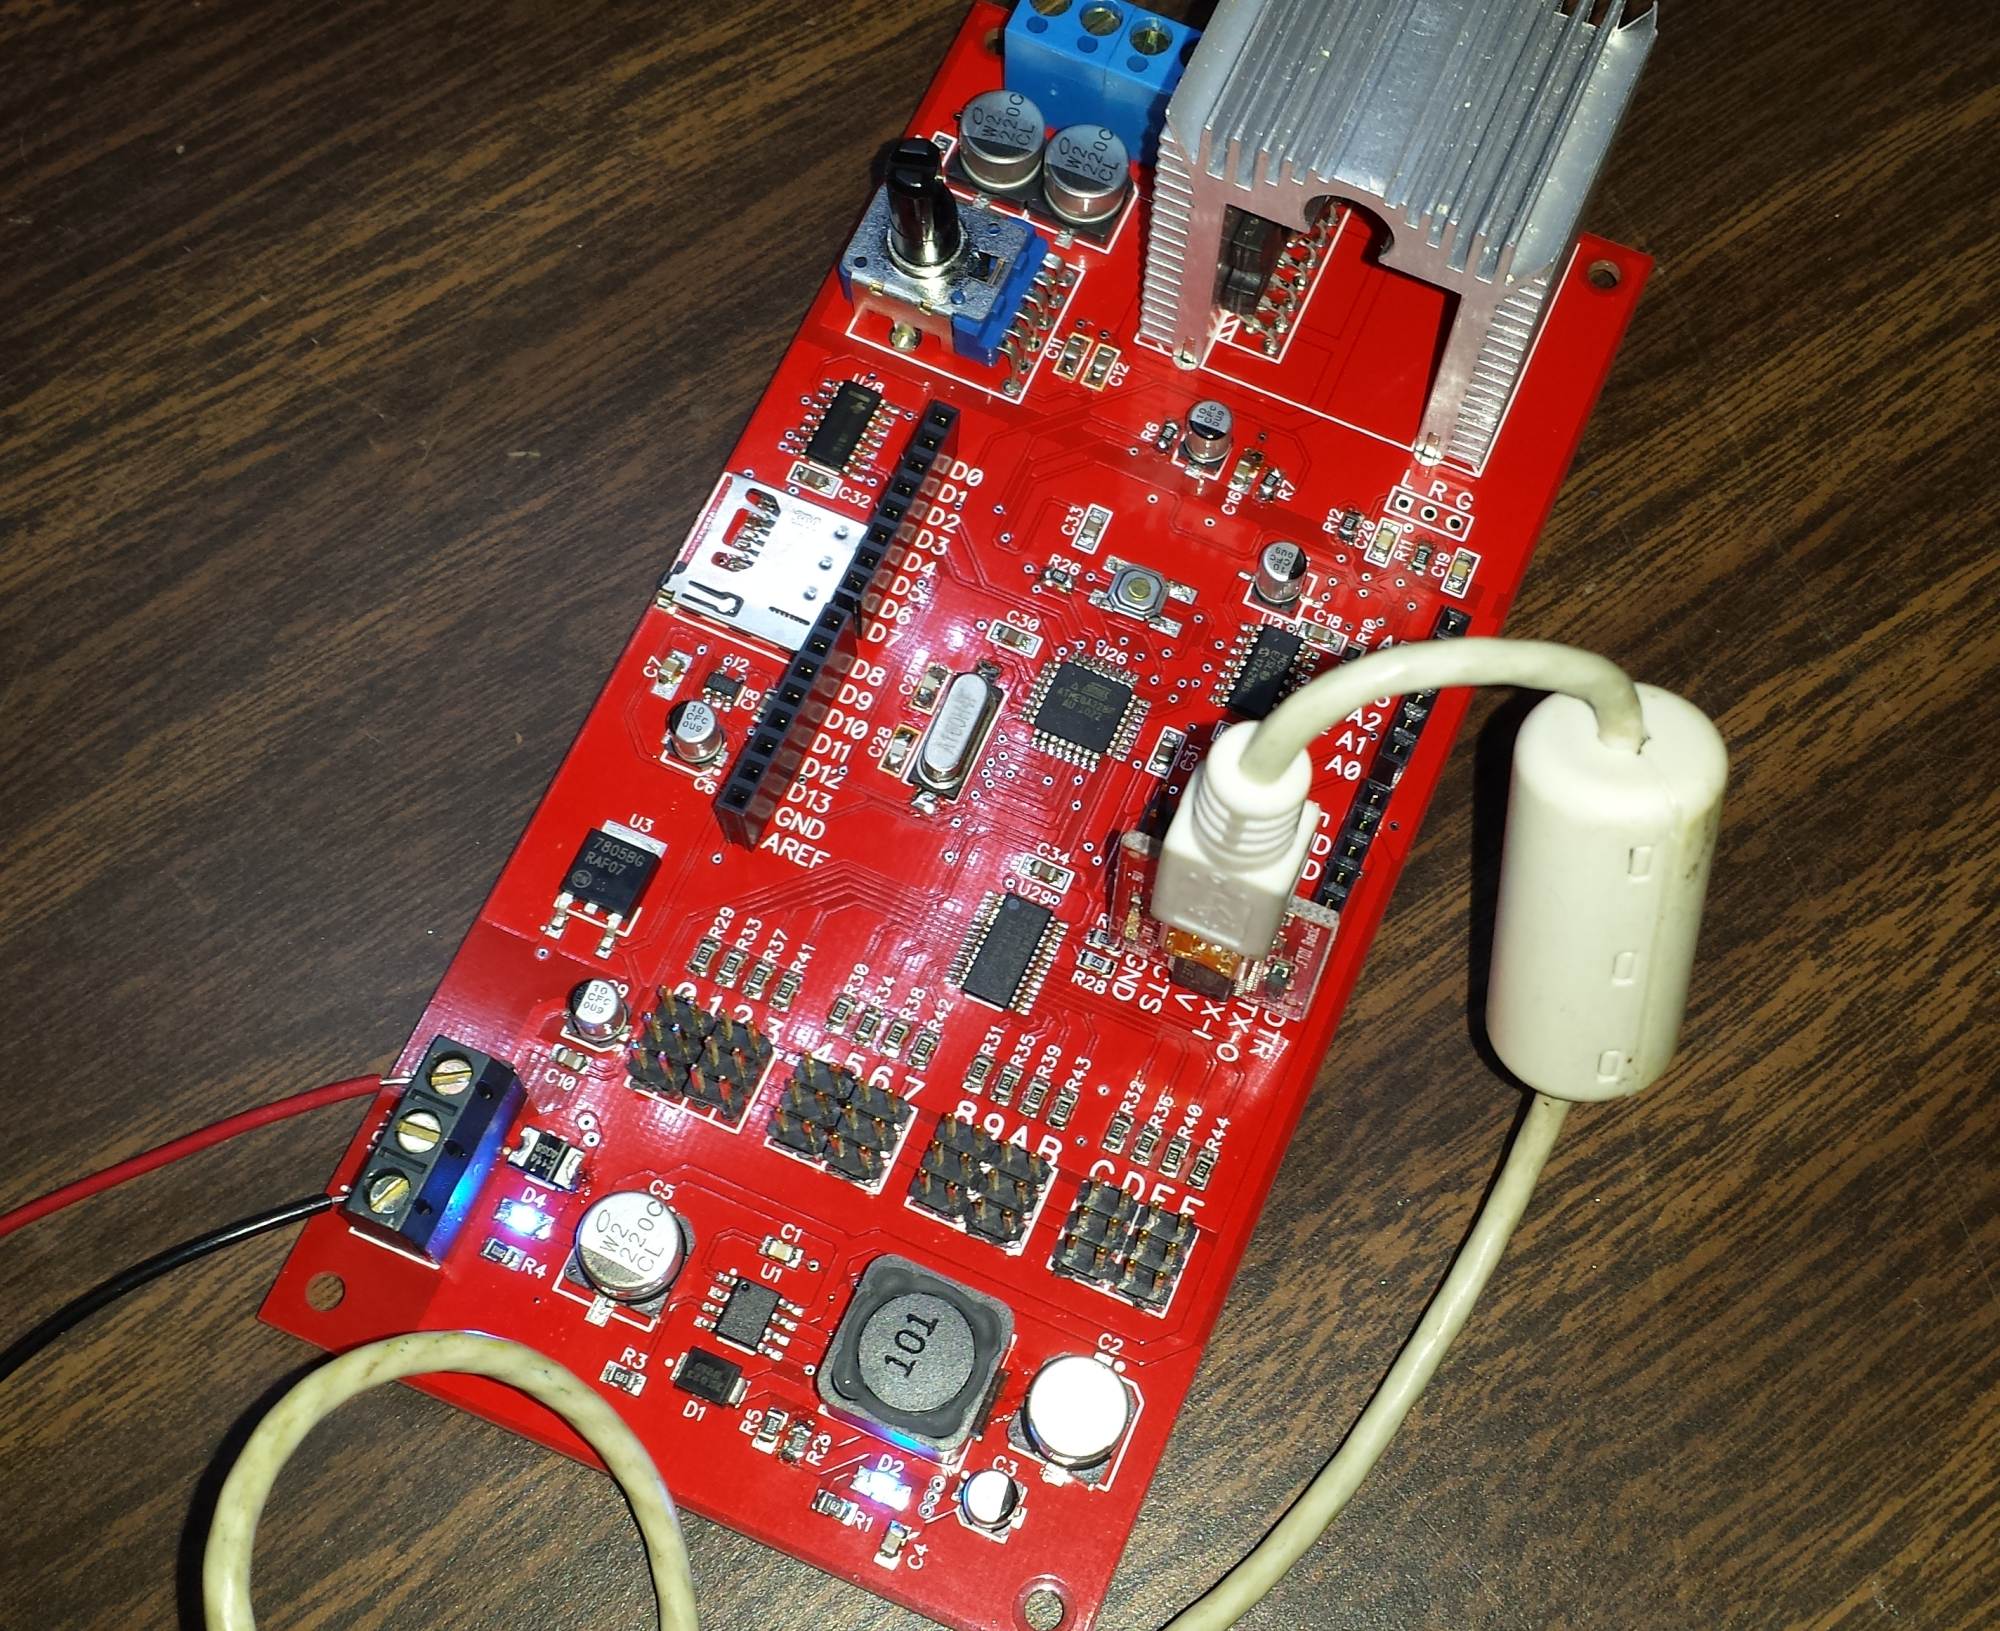
 

Singing Pumpkin Controller

pumpkins pcb smallA few years ago I made animatronic singing pumpkins using an Arduino Uno, a Wave shield, a 16-channel servo/pwm controller, and some DC-DC power converters, all from Adafruit. I designed a single PCB that unified all of that and included a 15W amplifier. Today I completed assembling that board and began its commissioning. I used solder paste and a mylar stencil cut on our laser. Its the first time I have ever soldered a TSSOP package with no shorts.

Anyway, I managed to forget to bring a microSD card, but the program loaded into the AVR OK and is running. All the various power supplies are outputting the correct voltage.  6 volts for the servos, 5 volts for the AVR, and 3.3V for the microSD card and buffer chip. The amplifer gets the raw 12 volts. So, I’m hopeful that over the next week I’ll be able to bring the board completely online.


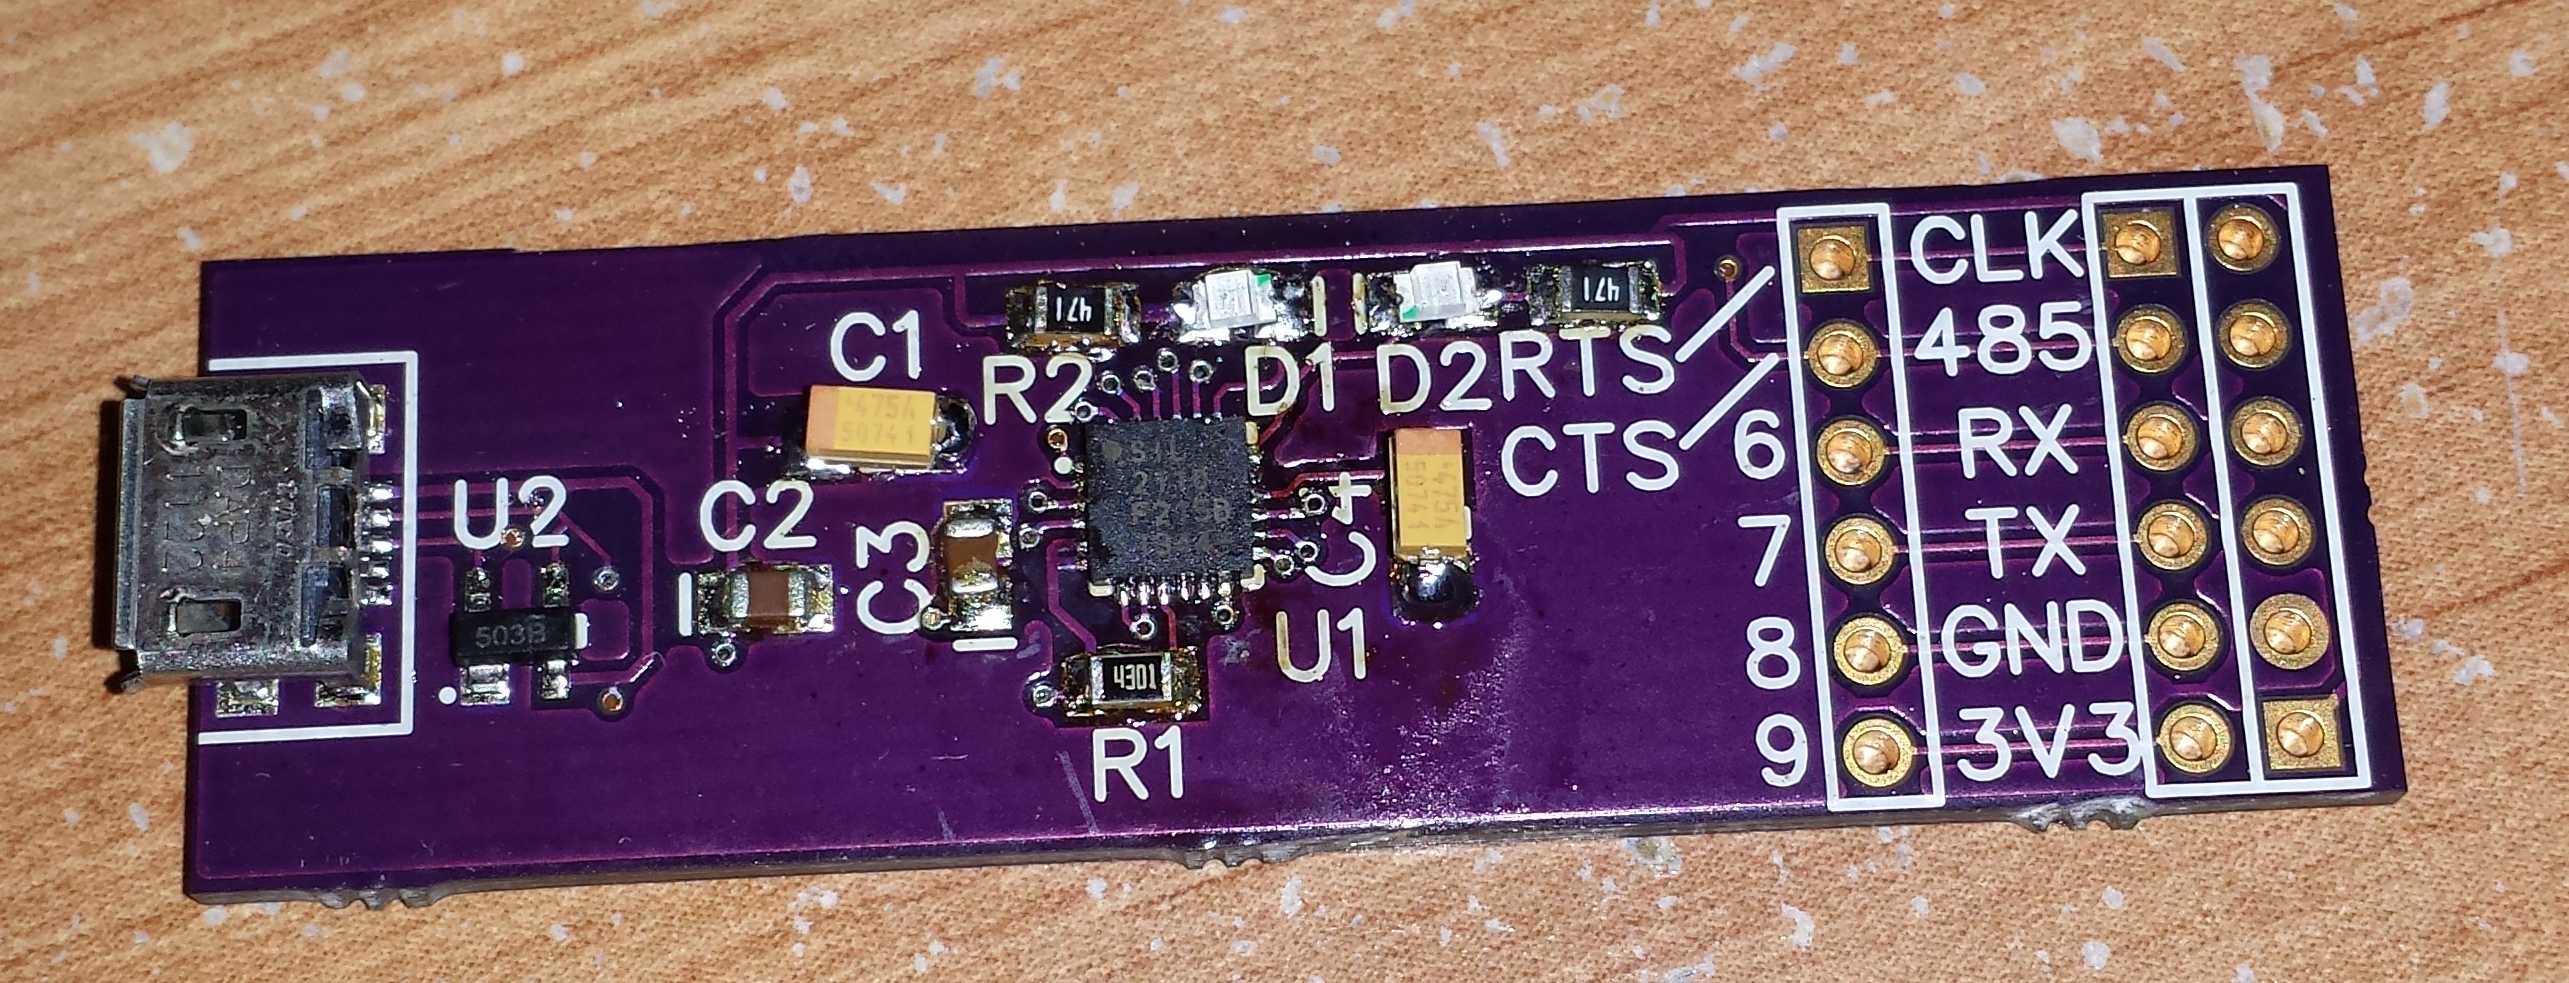
CP2110 Breakout Board

cp2110_small

In following the internet chatter about the FTDI bricked-chip dust up some months ago I came across mention of a Silicon Labs USB-Serial chip, the CP2110, that worked a bit different. The device enumerates as a regular HID device and uses a standard OS driver rather than a manufacturer specific one. Being a HID device, there is no COM port. Instead you link a library into your application that knows how to engage the standard HID driver to talk to the chip in a serial-like fashion. In effect, this moves the driver from the OS to your application.

So I grabbed some of the chips and made up an OSHPark board that implemented the minimum passives and broke out the pins. Tonight, during Builder’s Night Out, I finally got around to soldering it up. The worst part about the CP2110 is that it is a 4mm x 4mm QFN with a 0.5mm pin pitch. I used the space’s 50W laser to make a solder paste stencil out of some of the giant roll of 3 mil mylar we have. My first go at it with one pass of the solder paste squeegee didn’t put down enough paste on the QFN and my second go with 3 or 4 passes in orthogonal directions put down too much solder paste.  There is probably a middle ground there.

Anyway, I used the space’s Zallus reflow toaster oven to reflow that second paste attempt and wound up with a number of the QFN pins shorted together. (I should have wiped the paste off and looked for that middle ground.) To fix the shorts I used the space’s hot air rework gun to pull the QFN chip off. That allowed me to solder wick the pads to a point free of shorts and then use the hot air gun once again to put the chip back. I over heated and burnt the tantalum caps and the LEDs in that rework process. So I used the hot air gun to remove those components and then hand soldered replacements back on to the board.

The moment of truth came when I plugged the freshly soldered board into my laptop’s USB port. I fully expected it to say “over current limit”, but to my delight it happily installed the HID driver! I’m looking forward to trying out the link library.

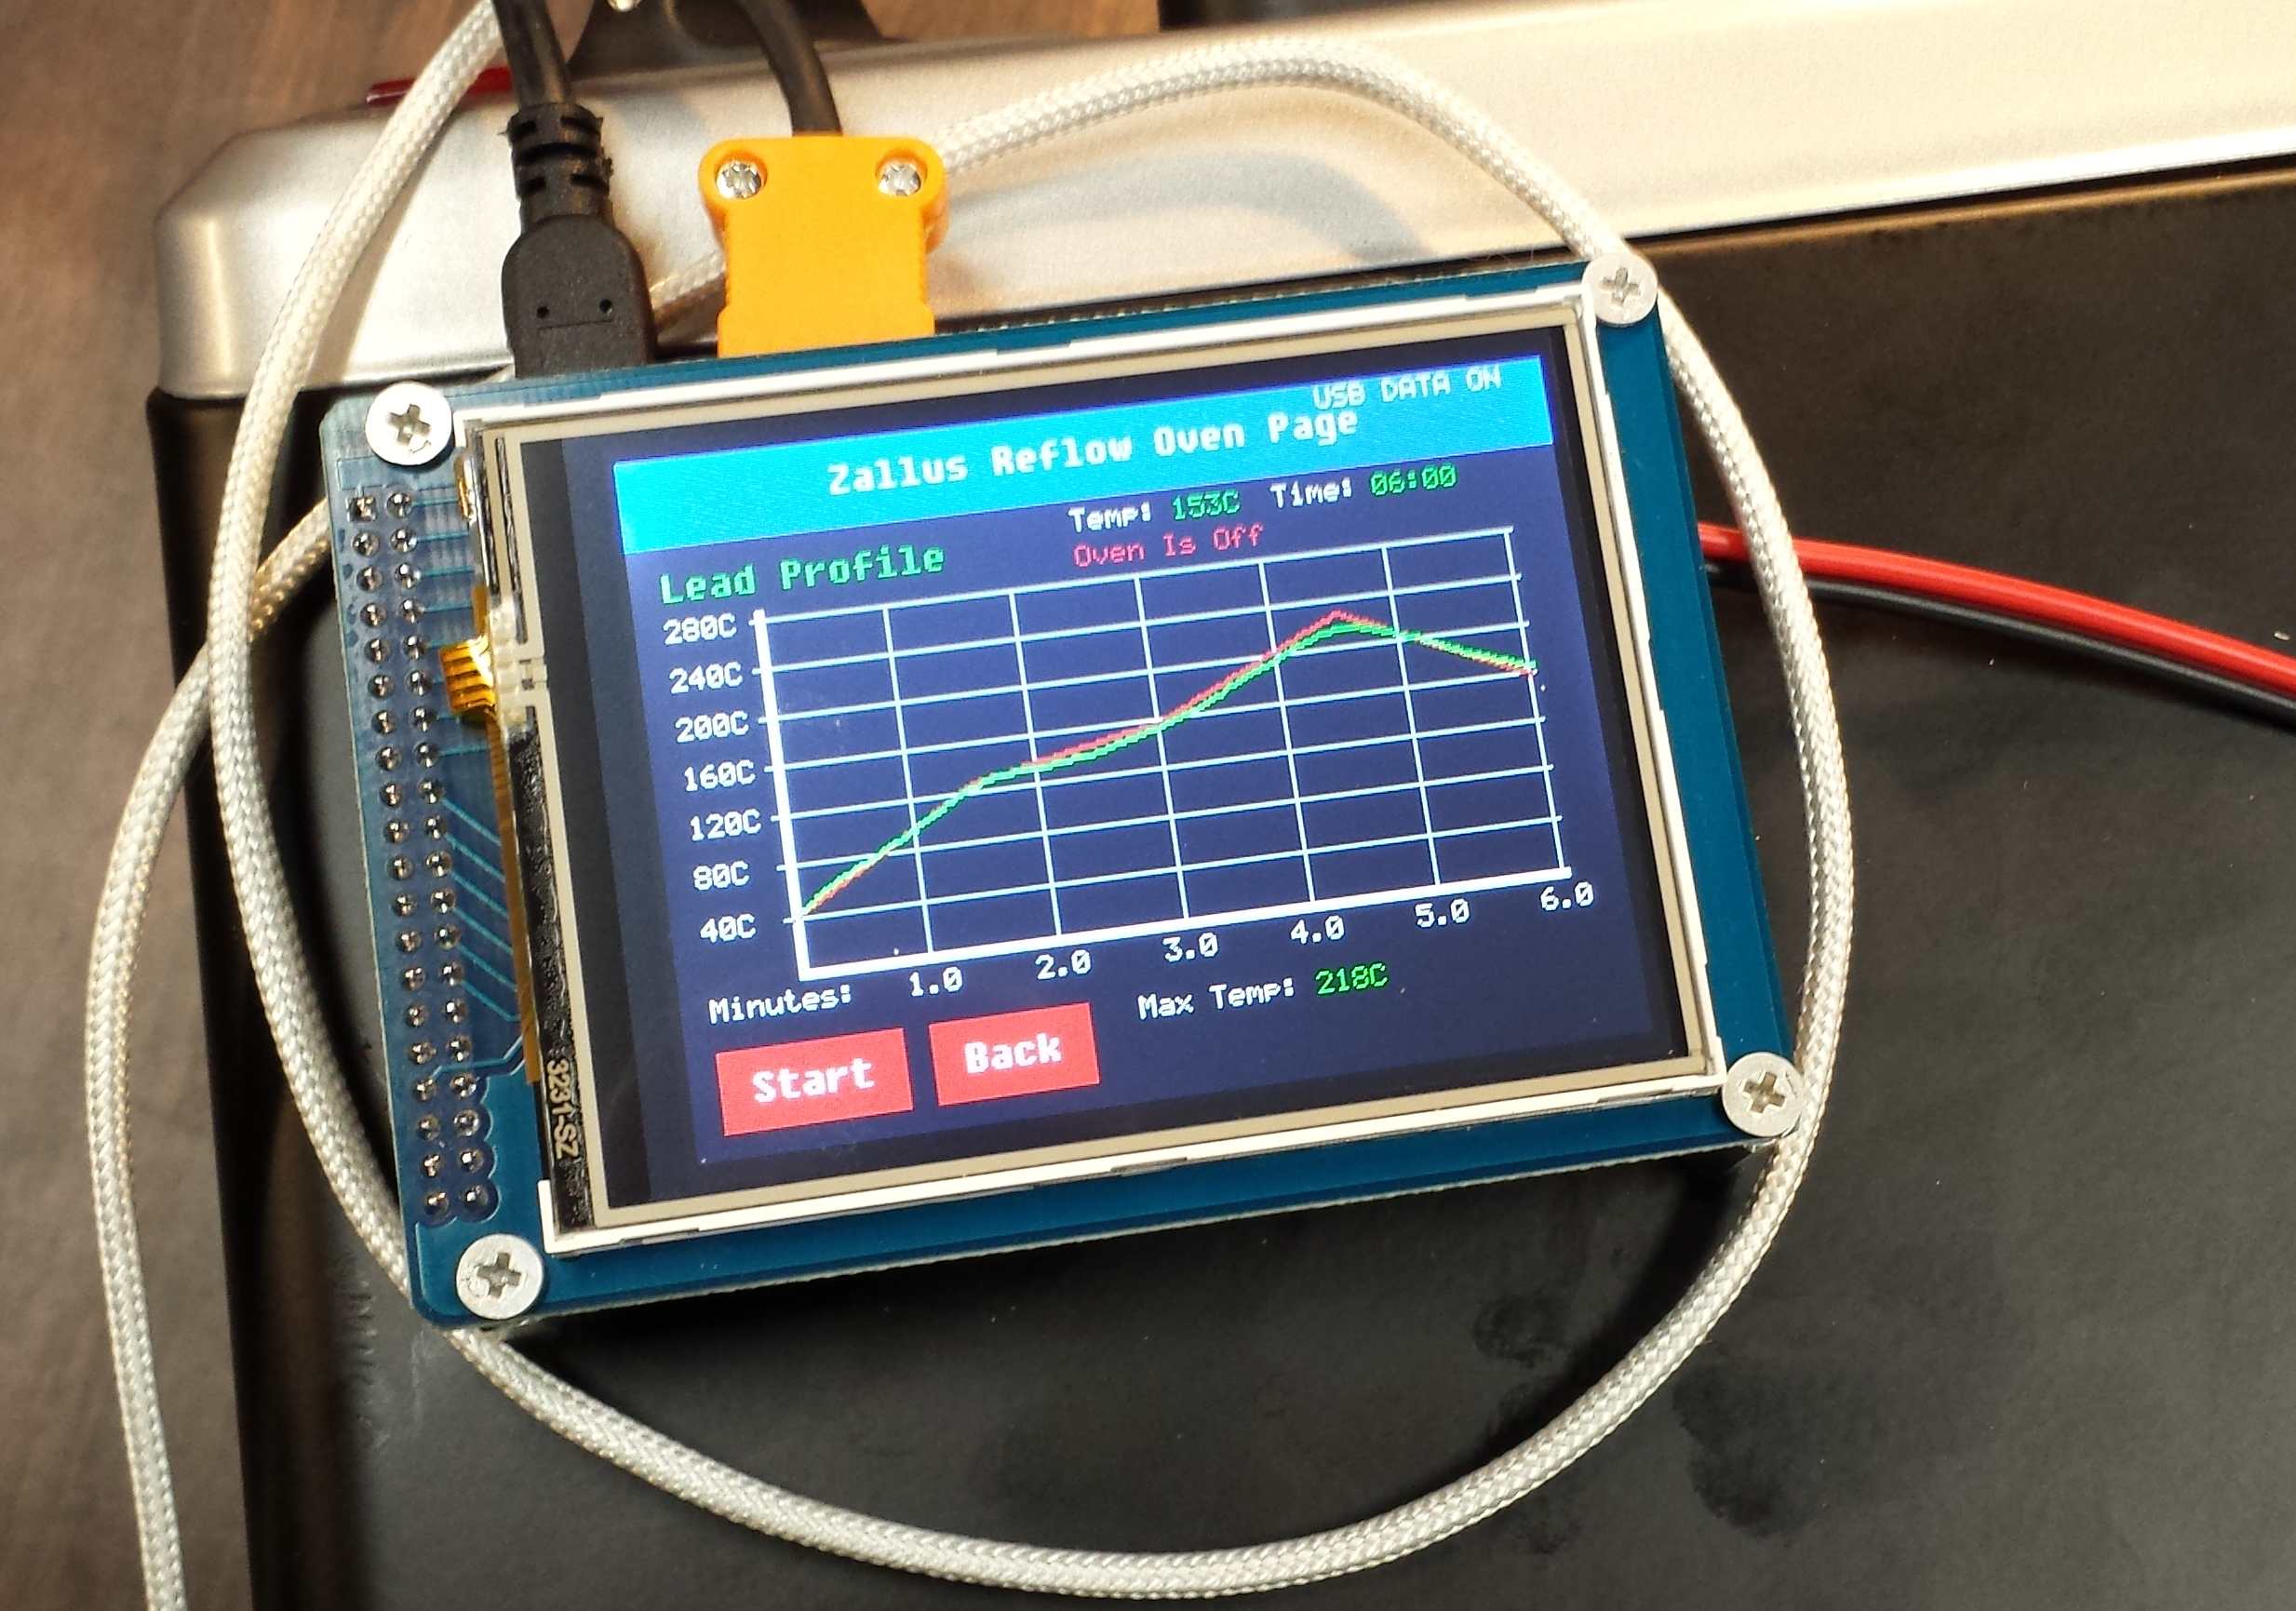
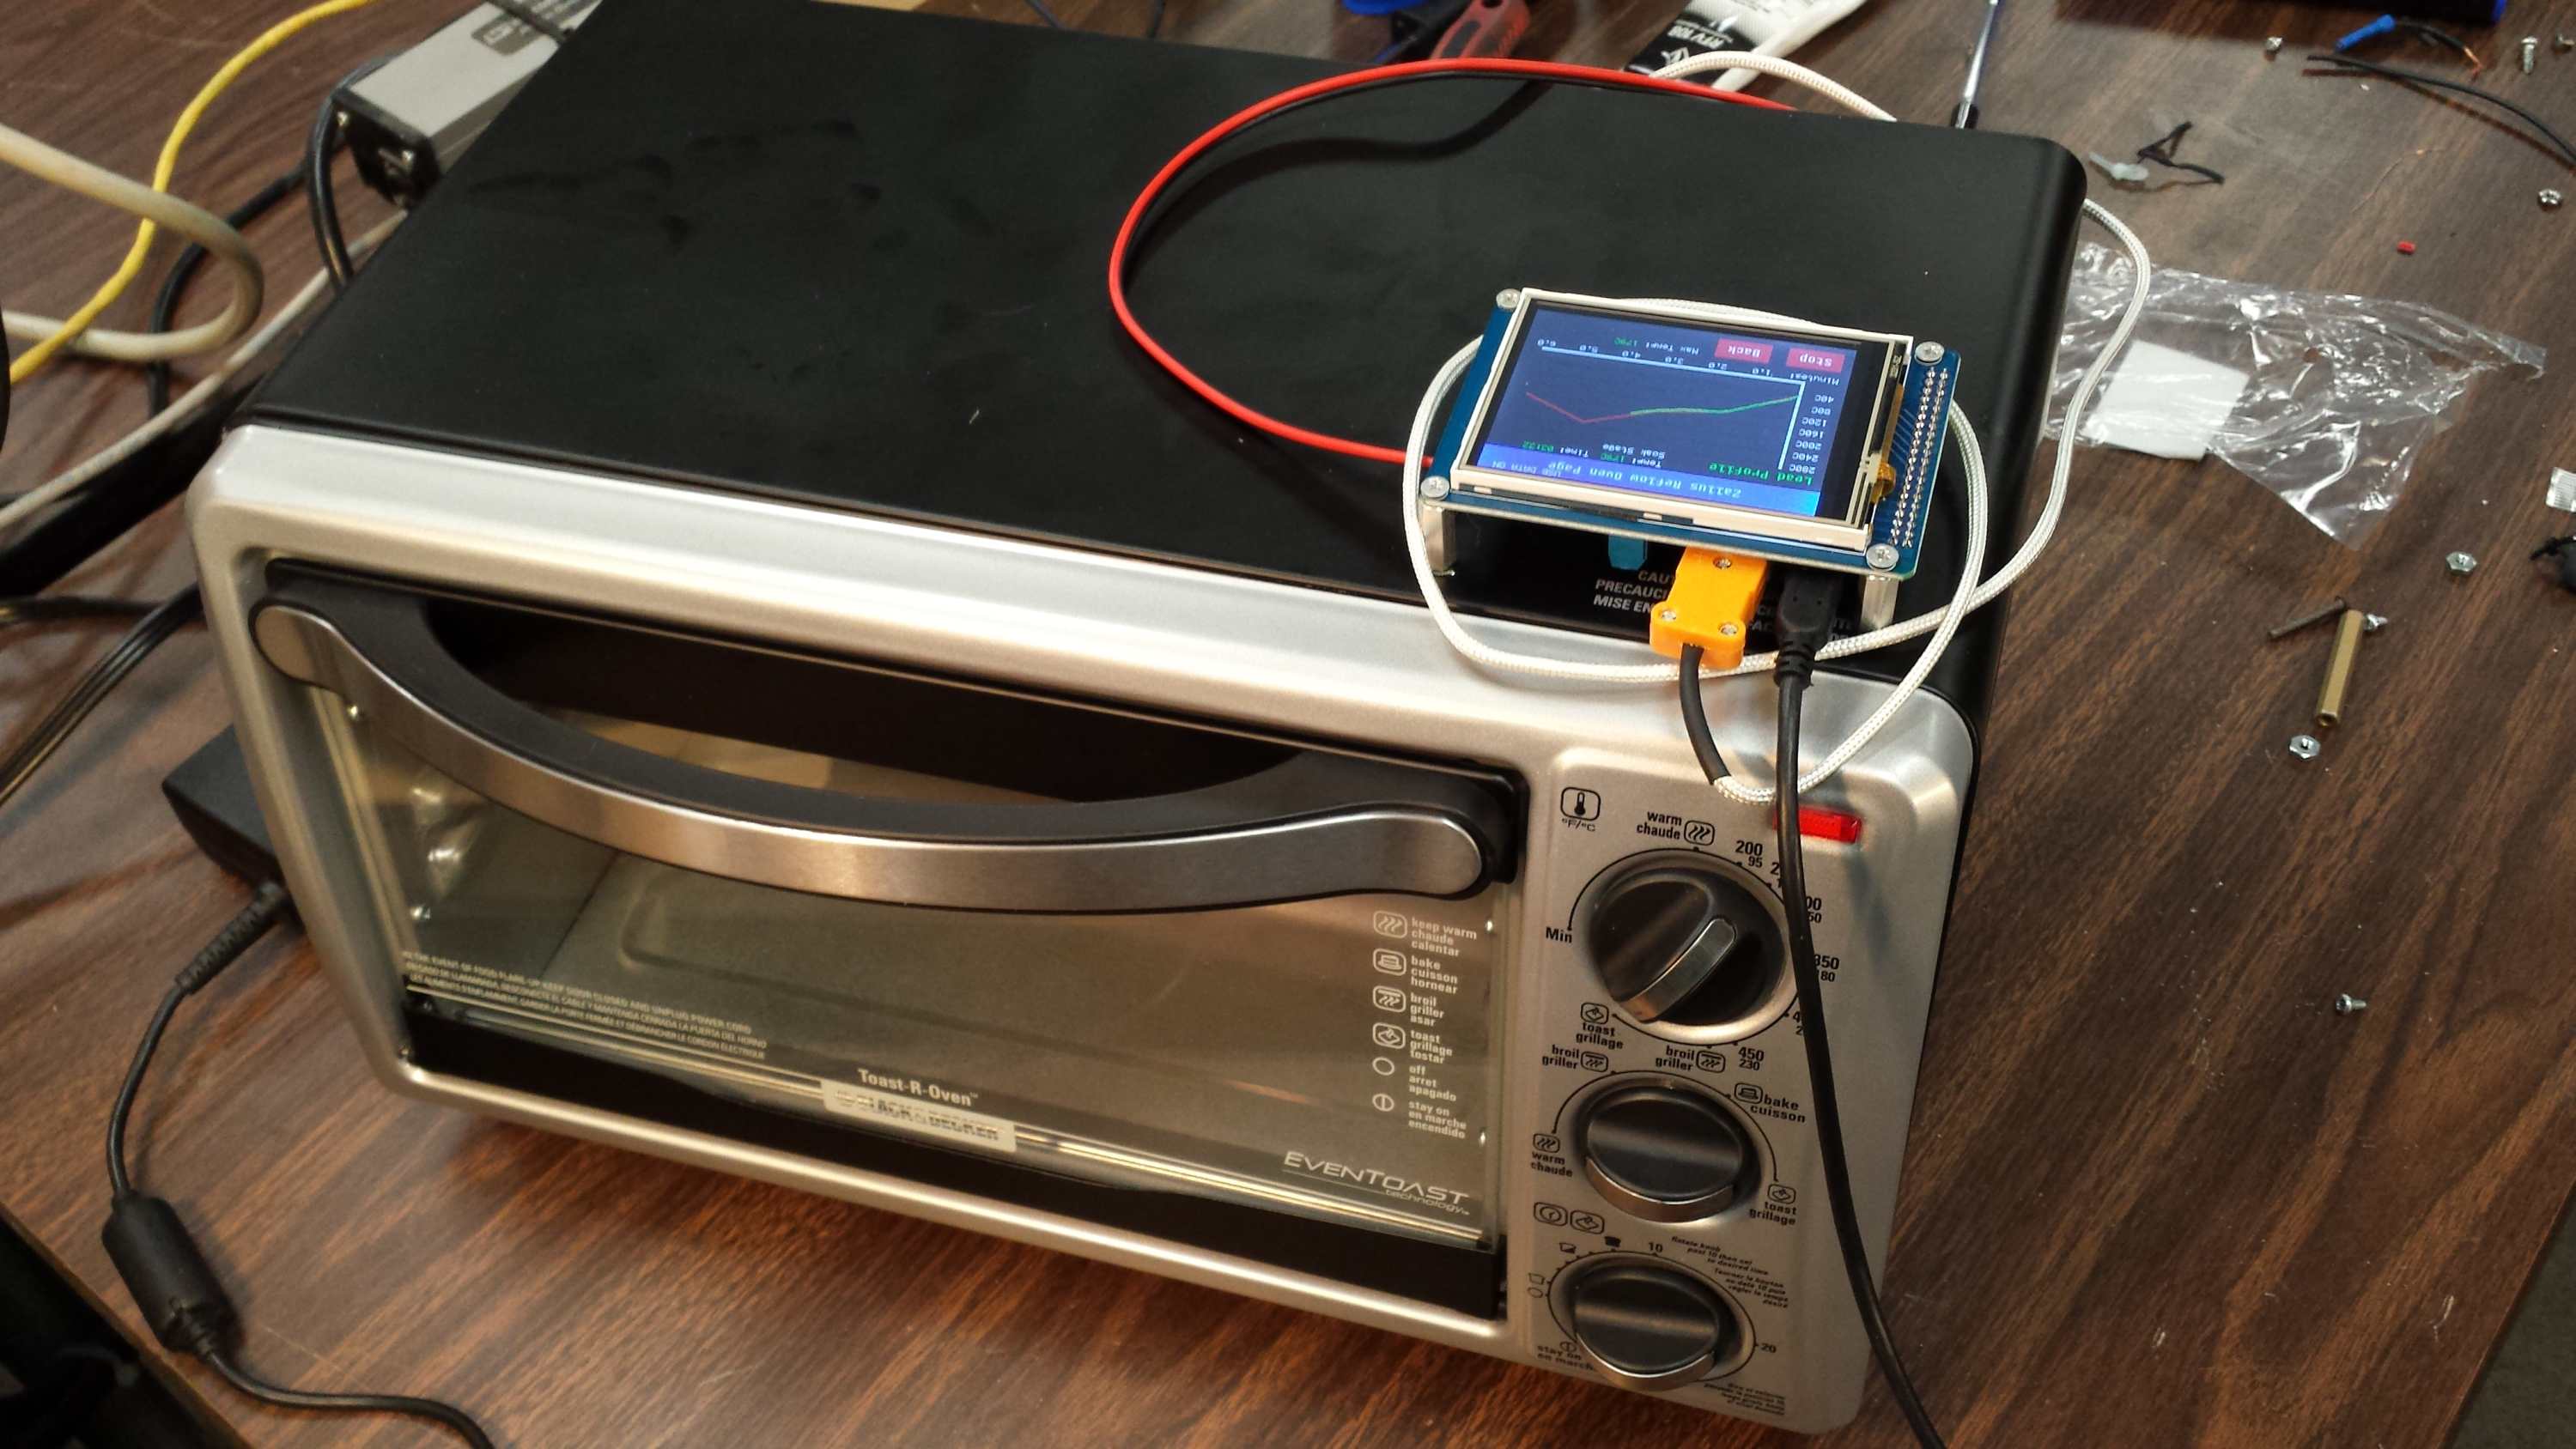
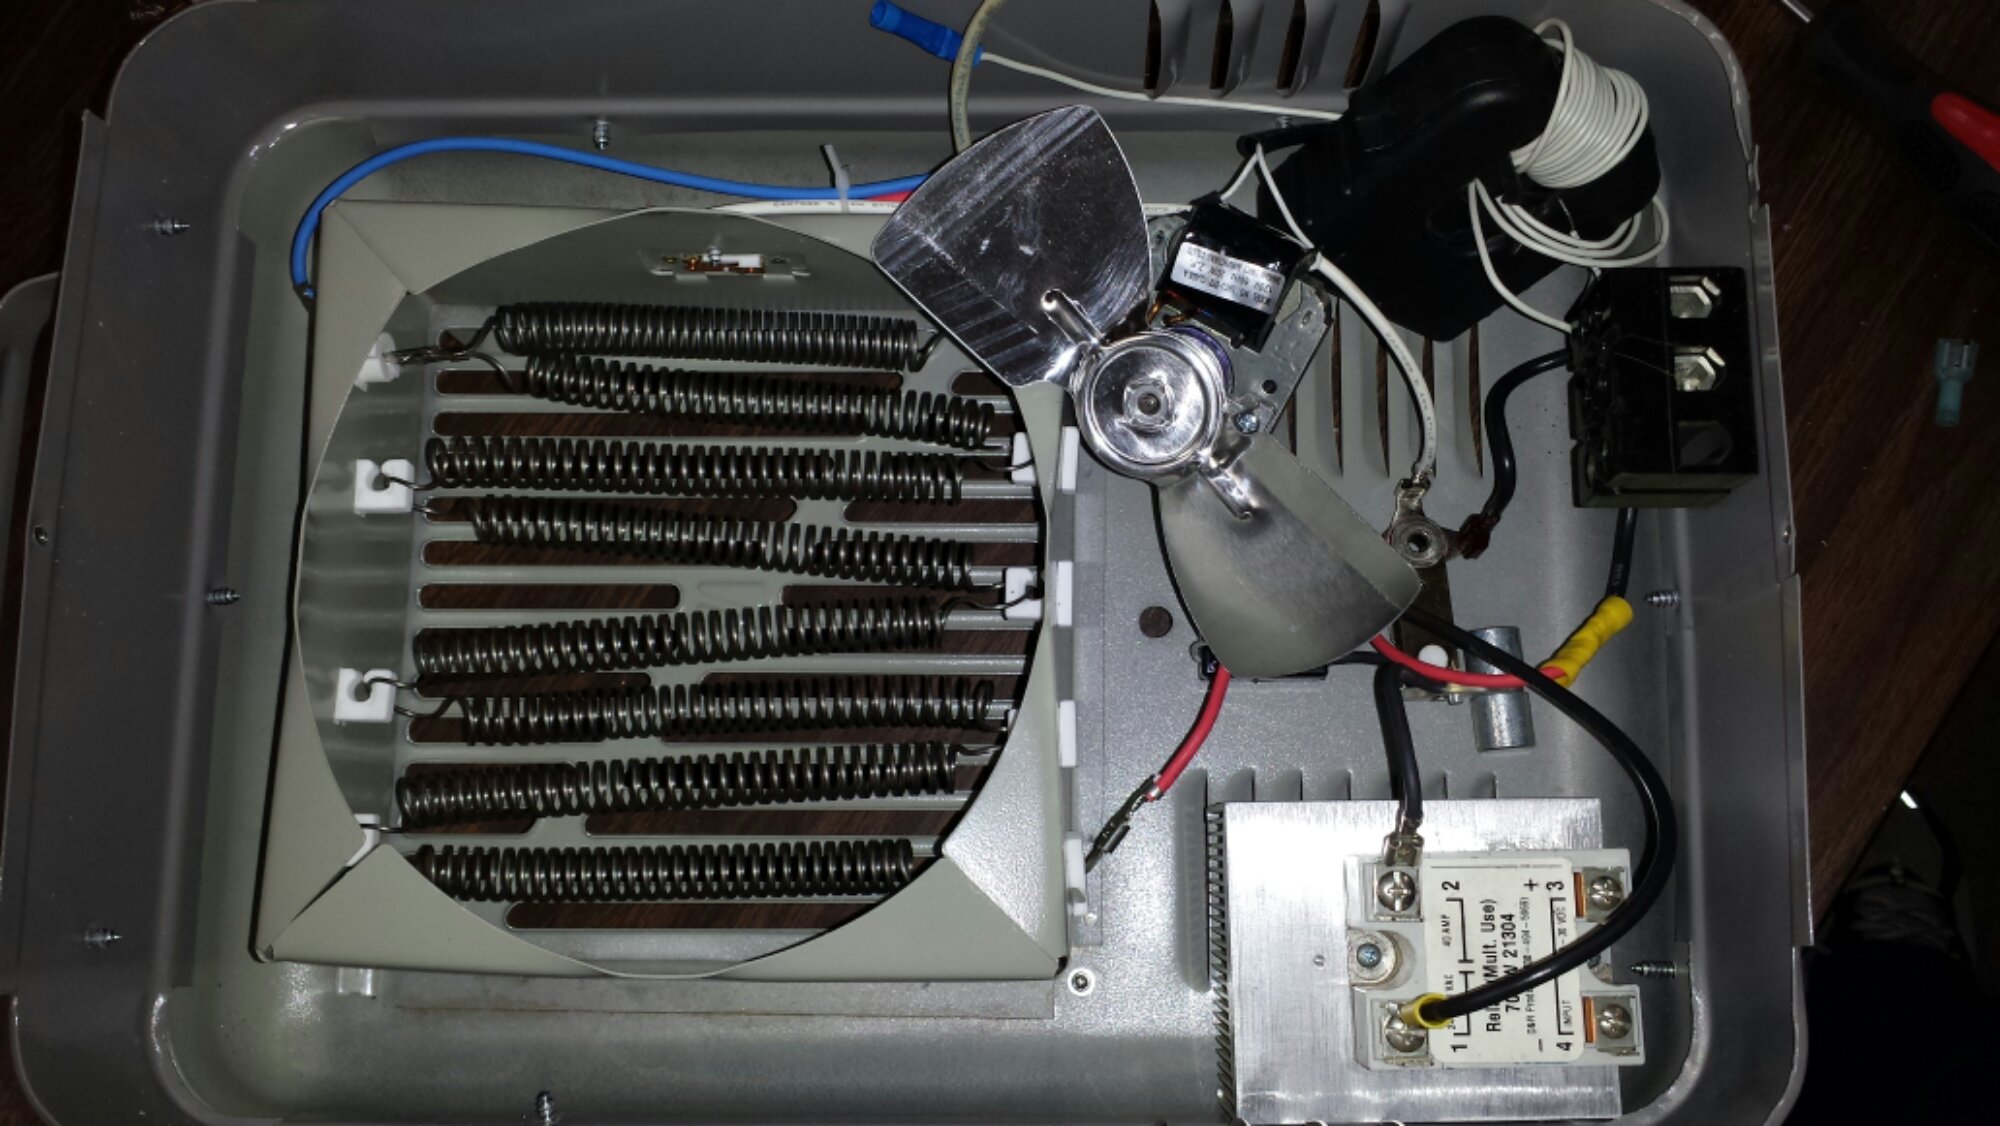
Zallus Reflow Oven Controller

zallus run completeA few months ago, we noticed a Kickstarter being run in Milwaukee for a pretty nifty looking reflow oven controller by Marquette student Nate Zimmerman. We love to support makers in their endeavors and as it happened none of our members had ever gotten around to converting a toaster to reflow. This, despite the fact that a number of us regularly design and build surface mount boards.

So, a few of us got together and backed Nate’s Revision 2 controller kit. The kit came in last week, I picked up a cheap toaster on clearance, and this past weekend we installed the kit into the oven.

From the kit installer’s perspective Nate’s kit couldn’t be simpler. A supplied SSR is inserted in series with the main AC line, and a K-type thermocouple is fed into the oven cavity. Both items connect up to a pre-assembled circuit board and LCD touchscreen.

Zallus runningWe fired up the oven and ran it through its paces right from the touch screen. It performed great right away. There were no real issues. I did manage to install the display upside down, but that will take 5 minutes to flip the next time I’m at the space. I just plain ran out of time. Next time I’ll also be able to play a bit with the PC software, but it was great that the controller fired up and ran right away without having to mess with the PC at all.

So now the space has a nice profiling reflow oven! I am looking forward to using it! I know one member already has a board lined up to go this Tuesday (Feb 3rd, 2015). So if you’d like to see it run in person stop on by the space on Tuesday at 7PM!